Adjusting the white balance – Panasonic Lumix DC-FZ1000 II Digital Camera User Manual
Page 39
DVQX1774 (ENG)
39
Recording
Adjusting the White Balance
Recording mode:
This item adjusts to the color of white which is closest to what is seen by the eye in
accordance with the light source.
1
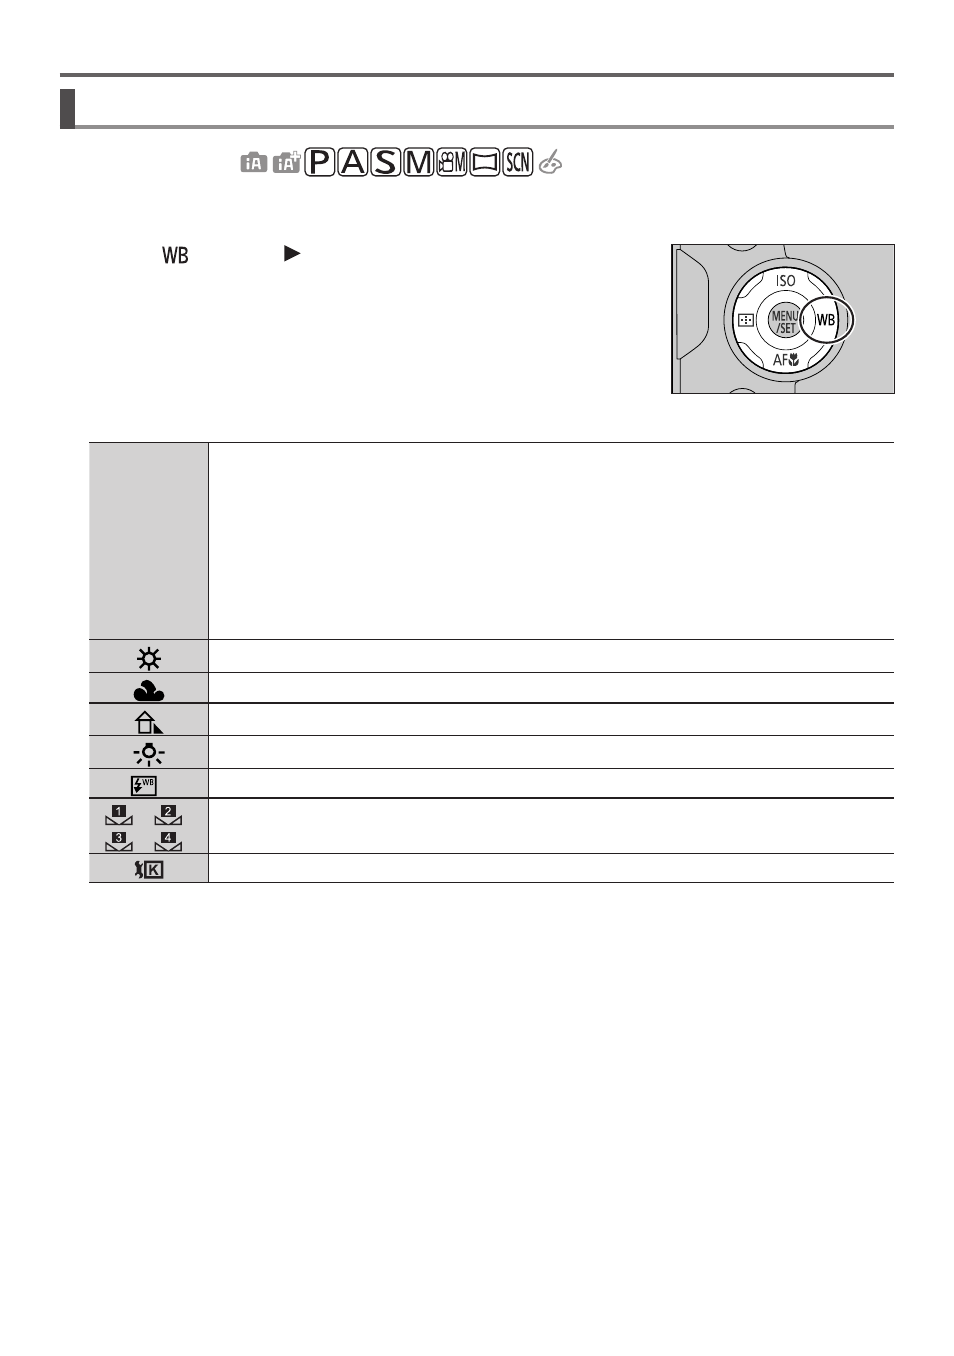
Press [ ] button ( )
2
Rotate the rear or front dial to select the White Balance
[AWB]/
[AWBc]/
[AWBw]
Automatic adjustment in accordance with the light source.
• Under a light source (such as an incandescent light) that produces reddish
pictures:
– [AWBc] gives higher priority to the original colors of the subject and reduces
the reddish hue.
– [AWBw] gives higher priority to what is seen by the eye and retains the
reddish hue.
• When the white balance is set to [AWBc] or [AWBw], the adjustment effect may
be similar to that of [AWB], depending on the light source.
[
]
Adjust to the color under a clear sky.
[
]
Adjust to the color under a cloudy sky.
[
]
Adjust to the color in the shade.
[
]
Adjust to the color under incandescent lights.
[
]
Adjust to the color that is optimal for taking pictures using the flash.
[
]/[
]/
[
]/[
]
Use the White Balance value that was set manually.
[
]
You can set the White Balance using color temperature.
The [AWB] setting is applied while recording motion pictures, recording 4K photos, or recording
in [Post Focus].
3
Press [MENU/SET] to set
• You can also press the shutter button halfway to set.