Panasonic Lumix DC-FZ1000 II Digital Camera User Manual
Page 47
DVQX1774 (ENG)
47
Recording
Taking Pictures with Time Lapse Shot/Stop Motion
Animation
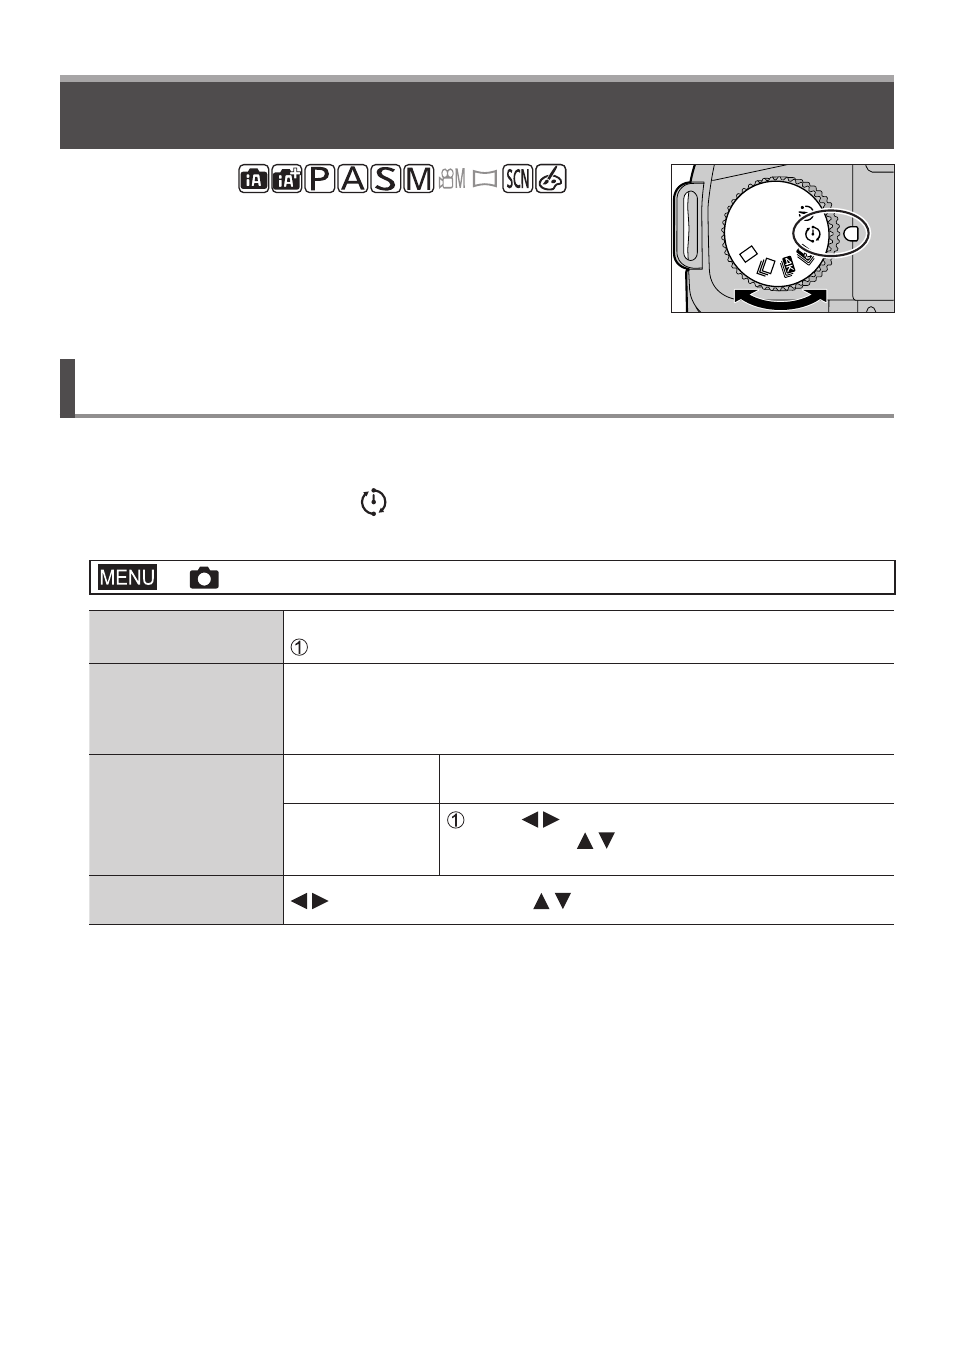
Recording mode:
You can take pictures with Time Lapse Shot or Stop Motion
Animation.
• The pictures are recorded as a set of group pictures.
•
Complete the date and time settings in advance. (→21)
Taking pictures automatically at set intervals
[Time Lapse Shot]
The camera can automatically take pictures of subjects such as animals or plants as time
elapses and create a motion picture.
1
Set the drive mode dial to [ ]
2
Set the menu
→
[Rec] → [Time Lapse/Animation]
[Mode]
To switch between Time Lapse Shot and Stop Motion Animation
Select [Time Lapse Shot]
[Shooting Interval
Setting]
[ON]:
Sets the time from recording start time to the next recording start
time.
[OFF]:
After recording is finished, the next recording is started without
any interval.
[Start Time]
[Now]
Starts the recording by fully-pressing the shutter
button.
[Start Time Set]
Press to select the item (hour and/or
minute), and to set the start time, and press
[MENU/SET]
[Image Count] /
[Shooting Interval]
:
Select the item (digit) /
:
Setting /
[MENU/SET]:
Set
Can be set only when [Shooting Interval Setting] is set to [ON].
3
Press the shutter button halfway to exit the menu
4
Focus on the subject and take a picture
• The recording starts by fully-pressing the shutter button.
●
After recording is finished, a confirmation screen will appear asking whether you want to continue
and create a motion picture. To create a motion picture, select [Yes] and proceed to “Creating
motion pictures from recorded pictures” (→48).