Installing and cleaning the filter, Appendices, Installing the filter – Optoma W350 User Manual
Page 62: Cleaning the filter, Removing the filter
62
English
Appendices
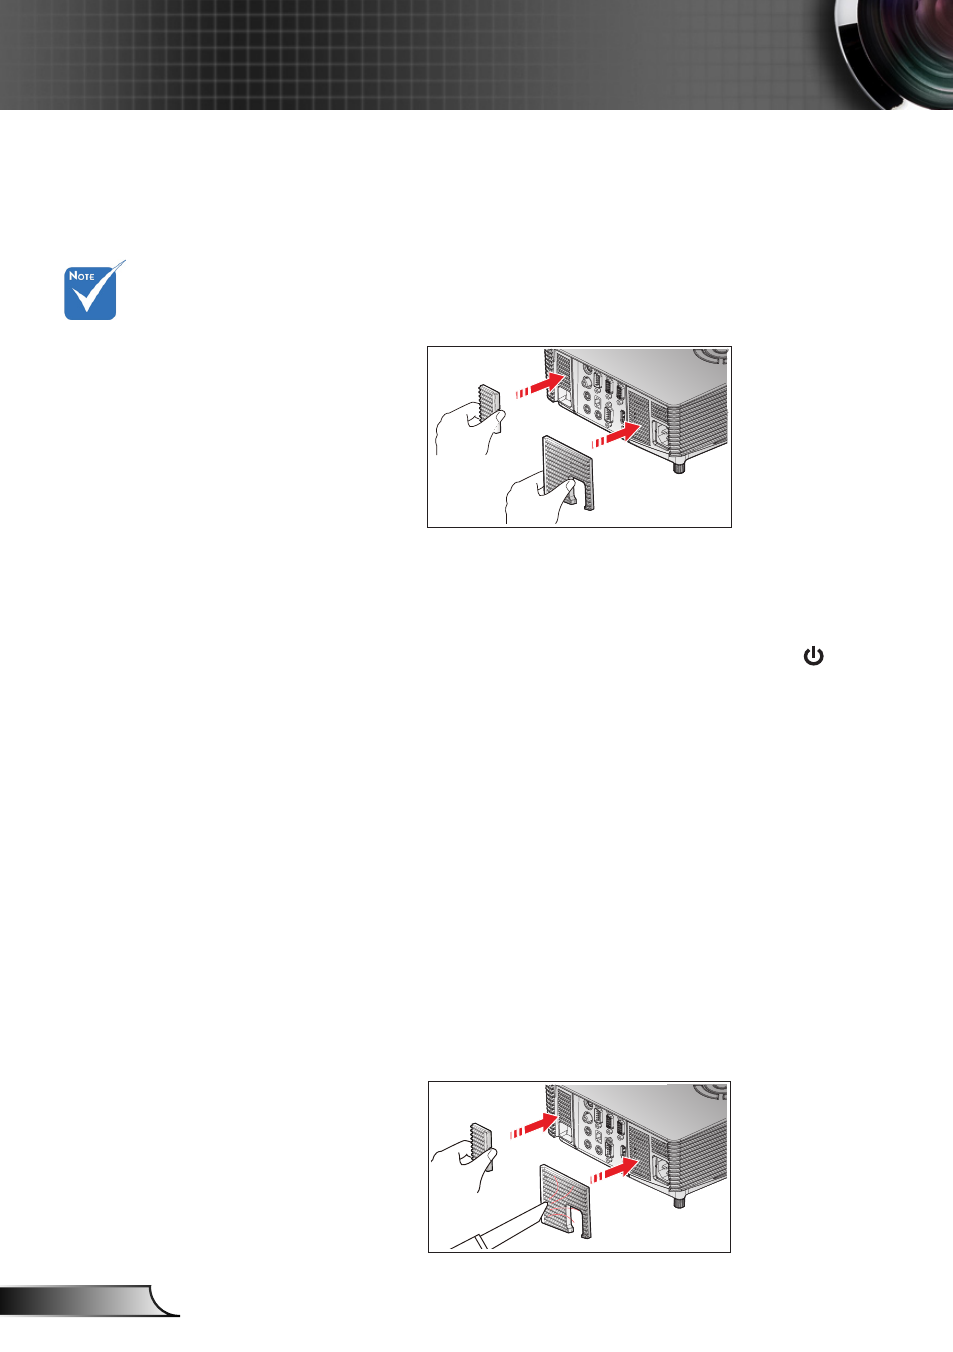
Installing and Cleaning the Filter
Installing the Filter
Install two filters.
1.
Turn on the projector then press “Menu”, go to “OPTIONS ->
2.
Optional Filter Settings -> Optional Filter Installed” and select
“Yes”.
A
B
Cleaning the Filter
It is recommended to clean/replace filters every three months or
sooner depending upon the environment by following the steps below.
Switch off the power to the projector by pressing the “
1.
” button.
Disconnect the power cord.
2.
Remove the filter slowly and carefully.
3.
Clean or replace the filter.
4.
To install the filter, reverse the previous steps.
5.
Reset the filter counter after replacing or cleaning the dust filter.
6.
Press “Menu”, go to “OPTIONS -> Optional Filter Settings ->
Filter Reset”
Removing the Filter
1. Remove the filters from the projector. Remove dust (if any).
2. Turn on the projector.
3. Press “Menu”, go to “OPTIONS -> Optional Filter Settings ->
Optional Filter Installed” and select “No”. (Remove when you
pull out the dust filter and would not install it again.)
4. Close the OSD.
A
B
Dust filters are
only required/sup-
plied in selected
regions with ex-
cessive dust.