Casella CEL Environmental enclosure for Microdust User Manual
Page 9
All optical measurement systems are sensitive to the presence of
moisture droplets both in the air and bonded to particulate matter. To
prevent possible measurement errors, the system should not be used in
conditions of high humidity, rainfall or condensation.
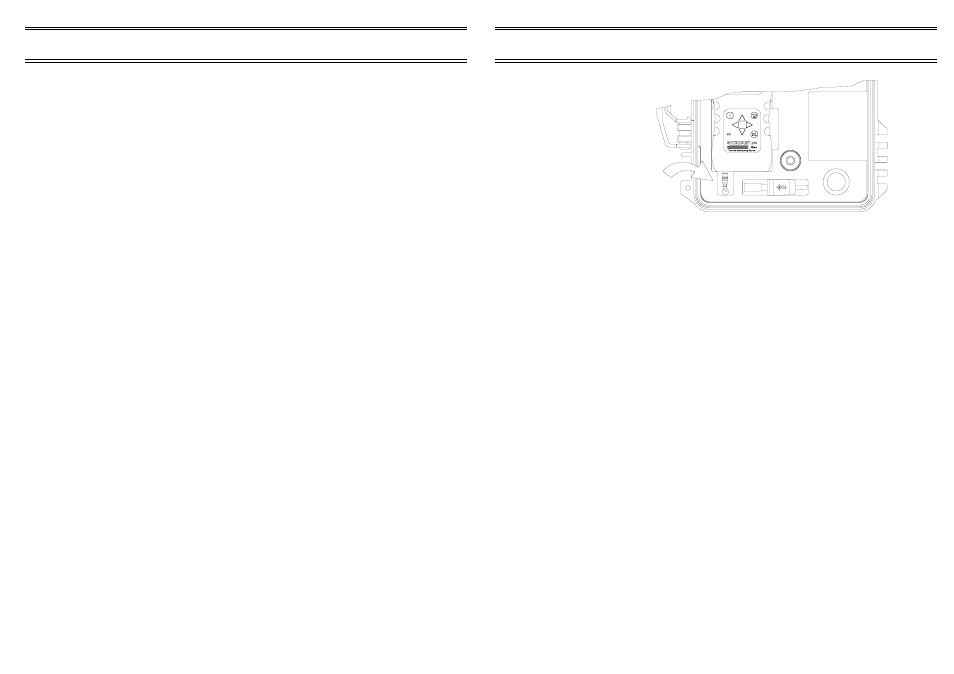
The main ON/OFF switch and Red indicator are located on the control unit
adjacent to the charger socket. When this switch is set ON, the Microdust
pro will be powered from the 12 volt lead acid battery, extending the run
time beyond the normal 20 hours (with alkaline batteries).
When the system is not being used, set this switch OFF to prevent the
12 volt lead acid battery discharging into the Microdust battery.
Switch the Microdust pro ON.
2.5.1 Checking the Instrument’s Span
The span of the Microdust pro should be checked in accordance with the
relevant User Manual; refer to Chapter 2.
The span can also be checked by inserting the calibration filter and checking
the reading. If required, adjust the span control according to the User Manual.
2.5.2 Checking Probe Zero
An inline filter is provided to simplify the task of zeroing the dust monitor.
1.
Remove the inlet head and fit the filter to the end of the inlet tube.
2.
Start the pump by pressing both buttons on the VORTEX
simultaneously.
3.
Allow the purge air to blow any residual dust from the probe.
4.
When a steady zero is achieved, set the zero calibration point of the
Microdust pro.
5.
Stop the pump by pressing both buttons on the VORTEX until the
pump stops.
6.
Remove the inlet filter and replace the inlet head.
2.5.3 Sampling Pump
Check the performance of the sampling pump and adjust the flow rate as
described in Chapter 3.
Page 12 of 20
Page 9 of 20
Using the Enclosure
Using the Enclosure
00041
Figure 4: After disconnecting
the power lead, insert a fin-
ger here to ease the unit
from the cutout
2.2
Battery Charging
Warning !
DO NOT connect the Environmental Enclosure charger directly to any
Microdust Instrument. DAMAGE to the instrument will occur.
DO NOT enable the Microdust pro internal charging circuit unless
re-chargeable batteries have been installed.
DO NOT leave the main power switch ON when the system is out of use.
The Enclosure’s 12 volt lead acid battery will discharge into the
Microdust pro battery causing DAMAGE.
Observe the other Battery Warnings on page 3.
It is safe to leave the charger (supplied by CASELLA CEL) connected and
switched on until the unit is required for use. The charger is suitable for
indoor use only.
The Environmental Enclosure is powered by a 12 volt lead acid gel battery
which may be re-charged via the socket located on the power control unit
within the enclosure. The charger is a split rate type that will fast charge
the battery to full capacity and then switch to trickle charge. Plug the lead
from the charger into the socket on the power control unit and connect the
charger to the mains electricity supply.
The light on the charger will show Red to indicate that the battery is
charging, Yellow to indicate the battery has reached 80% of capacity, and
Green to indicate that the battery is fully charged and ready for use. Once
the battery has reached 80% capacity there is sufficient charge for at least
24 hours continuous use. When the charger is connected, the 12 volt
lead acid battery and the nickel cadmium battery in the Microdust will both
be charged at the same time.
ENVIRONMENTAL ENCLOSURE
For MICRODUST pro - User Manual
ENVIRONMENTAL ENCLOSURE
For MICRODUST pro - User Manual