One Systems PT-10 User Manual
Page 6
One Systems, Inc. 6204 Gardendale Dr., Nashville, TN 37215
6
The wall bracket section should be secured firmly to the mating surface using the
appropriate fastening system. The fastening system should be determined by the
structure of the mating surface.
IT IS CRITICAL THAT THE MATING SURFACE BE CAPABLE OF SUPPORTING THE
LOAD OF THE PT BRACKET, THE LOUDSPEAKER AND ALL SUSPENSION
HARDWARE, AS WELL AS PROVIDING THE PROPER SAFETY FACTORS. DO NOT
ATTEMPT TO SUSPEND THE BRACKET AND LOUDSPEAKER UNTIL THE
STRUCTURAL CHARACTERISTICS OF THE MATING SURFACE ARE
UNDERSTOOD. DO NOT INSTALL THE PT BRACKET AND LOUDSPEAKER IF THE
MATING SURFACE IS NOT CAPABLE OF SUPPORTING THE ENTIRE ASSEMBLY
WEIGHT, AS WELL AS PROVIDING THE REQUIRED SAFETY FACTORS!
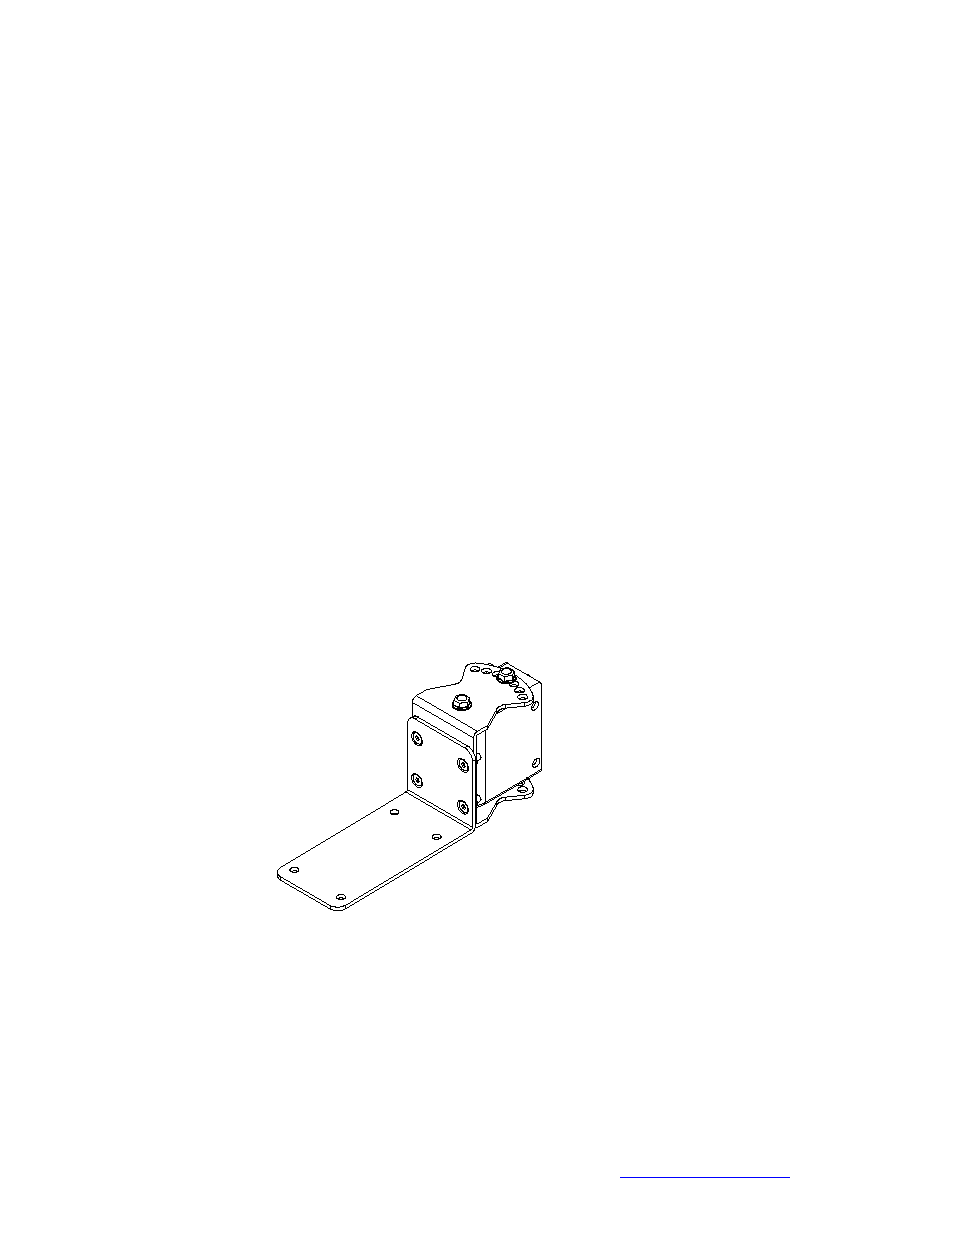
After the PT wall section of the bracket is securely mounted to the mating surface, the
loudspeaker section should be mounted to the loudspeaker using the fasteners supplied.
(DO NOT SUBSTITUTE FASTENERS) The loudspeaker mount section of each bracket
is shown in figures 2a and 2b.
IMPORTANT, see the note below regarding the supplied
gasket. This note applies to the PT-76a bracket ONLY!
NOTE: There is a silicone rubber gasket supplied with the PT-76a. This gasket is used
when the 112IM, 212CIM, 212IM, 312CIM or 115TW is mounted using the PT-76a.
(This gasket is NOT REQUIRED when mounting the CFA or CFA-2 enclosures.)
Remove the pressure sensitive adhesive covering and attach the gasket to the
mounting surface of the PT-76a bracket where it joins the loudspeaker as shown below.
Figure 2a PT-38a speaker mount bracket