Rigging, 1 rigging overview, The autolock rigging system – Adamson E-Series User Manual
Page 19
Page 19
3.1 Rigging Overview
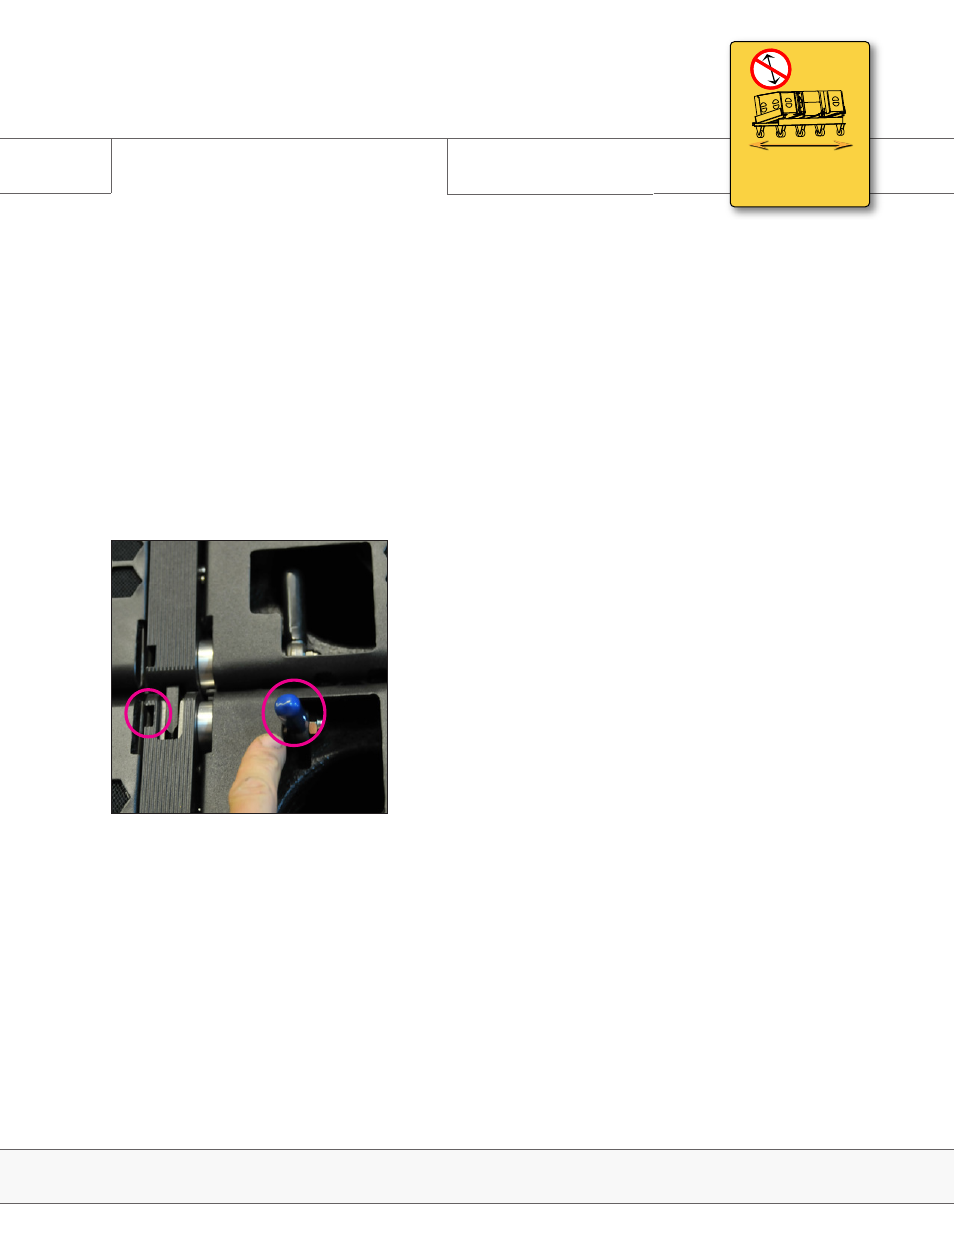
The Autolock™ Rigging features a ‘peep
hole’ where you can see the rigging bar
when it is locked. When it is unlocked you
will see a clear avenue. To be sure, make
sure you can set all blue and red levers to
‘Closed’ position (down).
Fig. 1
The Autolock Rigging System™
Rigging
E-Series | Rigging
TIP HAZARD
ALWAYS MOVE LOADED
DOLLY ON THE LONG EDGE
The Autolock Rigging System™ is the main attachment for all of the points in the E15/E12 system. The idea is
to only guide the latches to the right spot, where a spring-loaded bolt snaps into place, and is then secured with
the very same lever by turning it into its lock down position. Caution should be taken while connecting cabinets to
ensure hands are out of the way.
The order of operation of the rigging system is: prep angles, arm pins, guide into place (pinning happens
automatically) and secure rigging parts manually to ‘closed’ position.
The levers are color coded for ease of use. All front rigging have black levers at bottom and and blue levers on top,
the rear levers are red.
The black bottom levers hold and release the rigging bar from the
box above, the blue top lever receives the rigging frame, as well as
the above box’s rigging bars and locks them into place. The black
lever only has one function; to release rigging bar either to put into
use or to store it away. Pull it to release, let it go and it flips back
into place.
The blue and red levers have 3 functions: Closed, Spring, and Open.
(pages 25-26)
All rigging levers feature a ‘peep hole’(Fig. 1) where you can assure
the the pin is fully ejected and is in fact in its proper place. Always
make sure your red and blue levers are set to ‘Closed’ position.