Installation (for qualified installers only), Vent connector removal and installation – Avalon Firestyles 34 DVL User Manual
Page 17
Installation (for qualified installers only)
17
© Travis Industries
4140813
100-01294
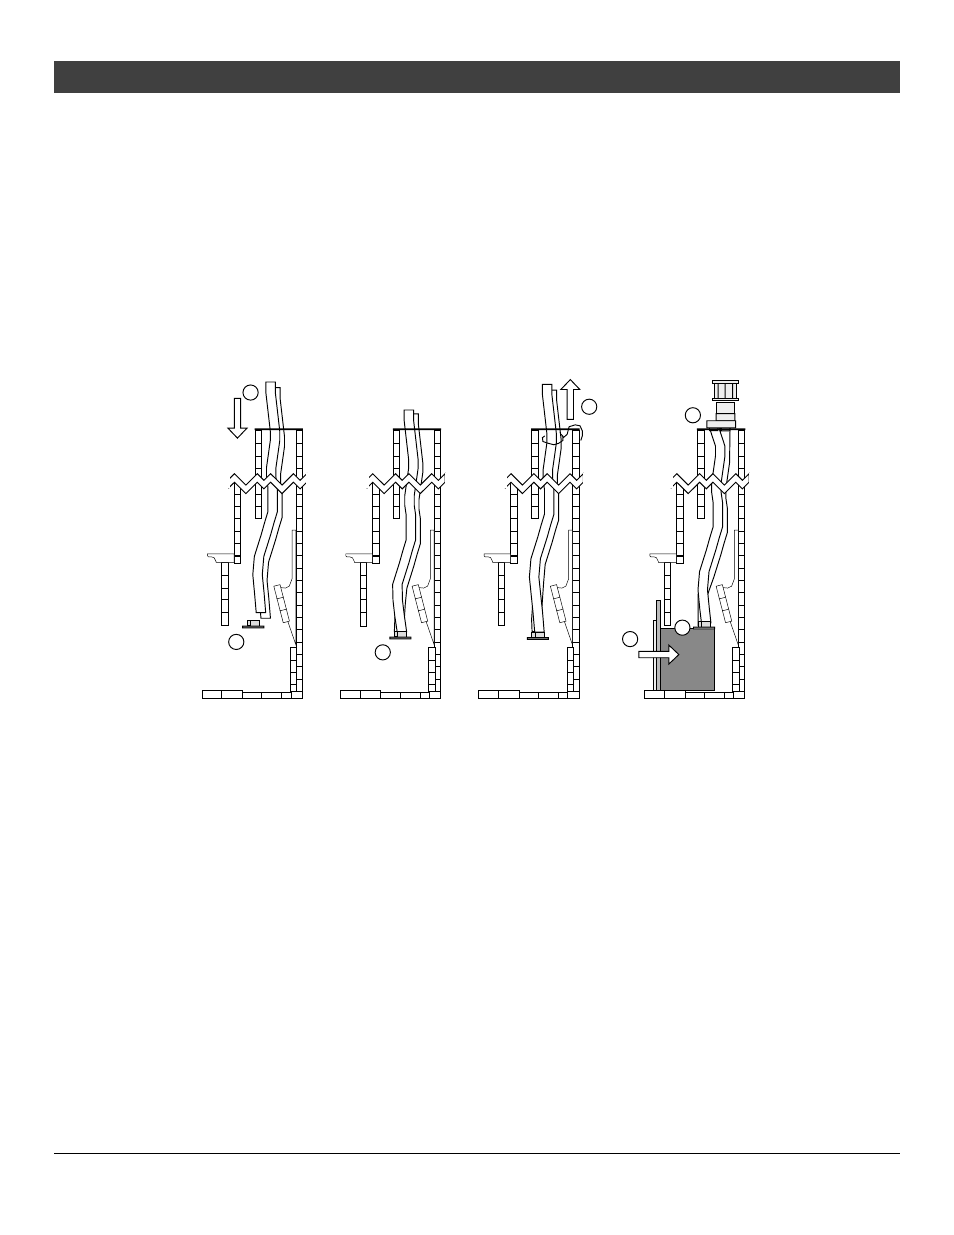
Vent Connector Removal and Installation
The vent connector is shipped attached to the insert, but may be removed to facilitate tight
installations. See the directions below for installation.
1. Route the flex vent through the chimney from above (leave an extra 3' at the top). Make sure the flex
is thoroughly stretched.
2. Remove the vent connector and attach it to the flex vent (see the instructions on the following page).
NOTE: be careful of the anti-seize on the connector – it will stain clothing, etc.
3. Pull on the flex vent until the vent connector is at the same height as the insert. Temporarily attach
the flex vent to the top of the chimney (leave extra slack).
4. Slide the insert into place, guiding the vent connector into the guides on top of the insert.
5. Attach the vent connector to the appliance (see the following page for details).
6. Remove any excess slack in the flex line and attach the vent termination.
4
3
2
1
5
6
2