B.C. Time Recorders Simplex Bravo/Combo/100 User Manual
Page 11
I
NSTALLATION
6
To Mount on Wall
Note:
Do not mount the Simplex 100 directly to plasterboard, paneling, brick, or concrete
block. Rather, using appropriate fasteners, secure a board to the wall and then mount the
Simplex 100 to the board.
1. At a height convenient for all members of the work force
and within 6 ft. of a power outlet, use the mounting
template to mark the points where the mounting screws
for the Simplex 100 are to be installed.
2. Leaving 3/16 in. of screw shank exposed, screw two #8
panhead mounting screws (not supplied) into place.
3. Hang the Simplex 100 from the mounting screws.
4. Screw a third #8 mounting screw (not supplied) into the
lower left-side hole of the base and tighten to the wall.
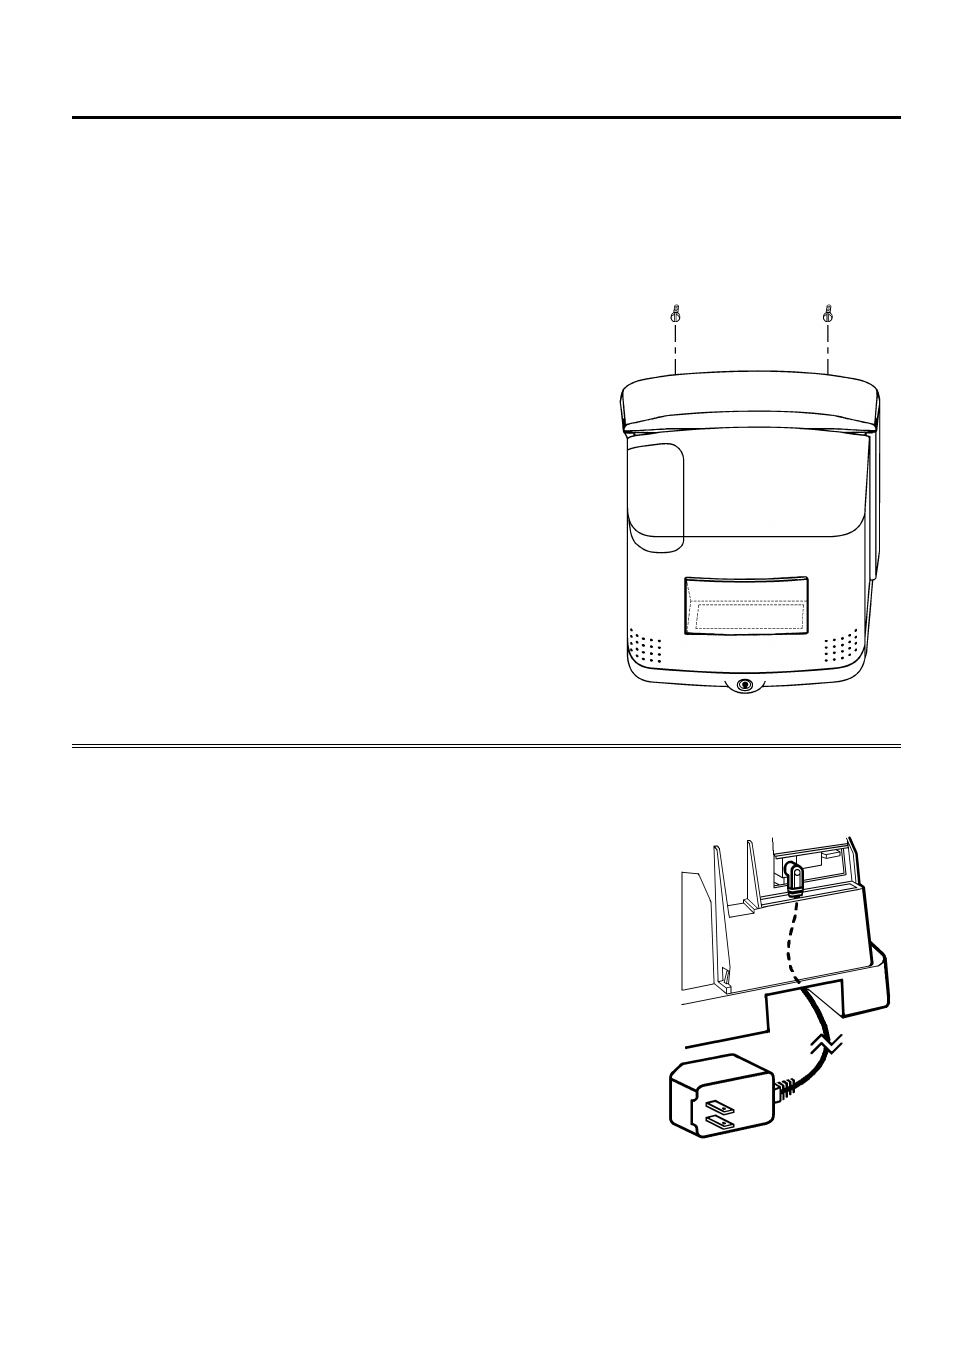
To Connect Power
Connect the power cable to the clock by removing the cover,
passing the cable up the channel in the rear of the unit, and
plugging the adapter into the circular connector.
• Plug the AC adapter into the power outlet.
Caution!
Do not hold the clock when applying power. The
Simplex 100 performs a self-test which includes
cycling the printhead.
You are now ready to set up and program the Simplex 100
(refer to the Programming section of this publication).
Note: Be sure to remove the release key before replacing the cover on the clock.
Wall Mounting
Connecting the Power