Caution, Eyelet, Attaching 4 hole buttons – Baby Lock Destiny (BLDY) Instruction & Reference Guide-Part1 User Manual
Page 157: Attaching a shank to the button
SEWING THE STITCHES
U
tili
ty
S
tit
ch
es
155
3
e
Gently hold the end of the upper thread and
start sewing.
→ The machine stops automatically when sewing is
finished.
f
From the wrong side of the fabric, pull the
end of the bobbin thread to pull the upper
thread through to the wrong side of the
fabric. Tie the two thread ends together and
cut the threads.
g
After the button is attached, select another
stitch and rotate the handwheel toward you
(counterclockwise) to raise the feed dogs.
■ Attaching 4 Hole Buttons
Sew the two holes closest to you. Then raise the
presser foot and move the fabric so that the needle
goes into the next two holes, and sew them in the
same way.
■ Attaching a Shank to the Button
a
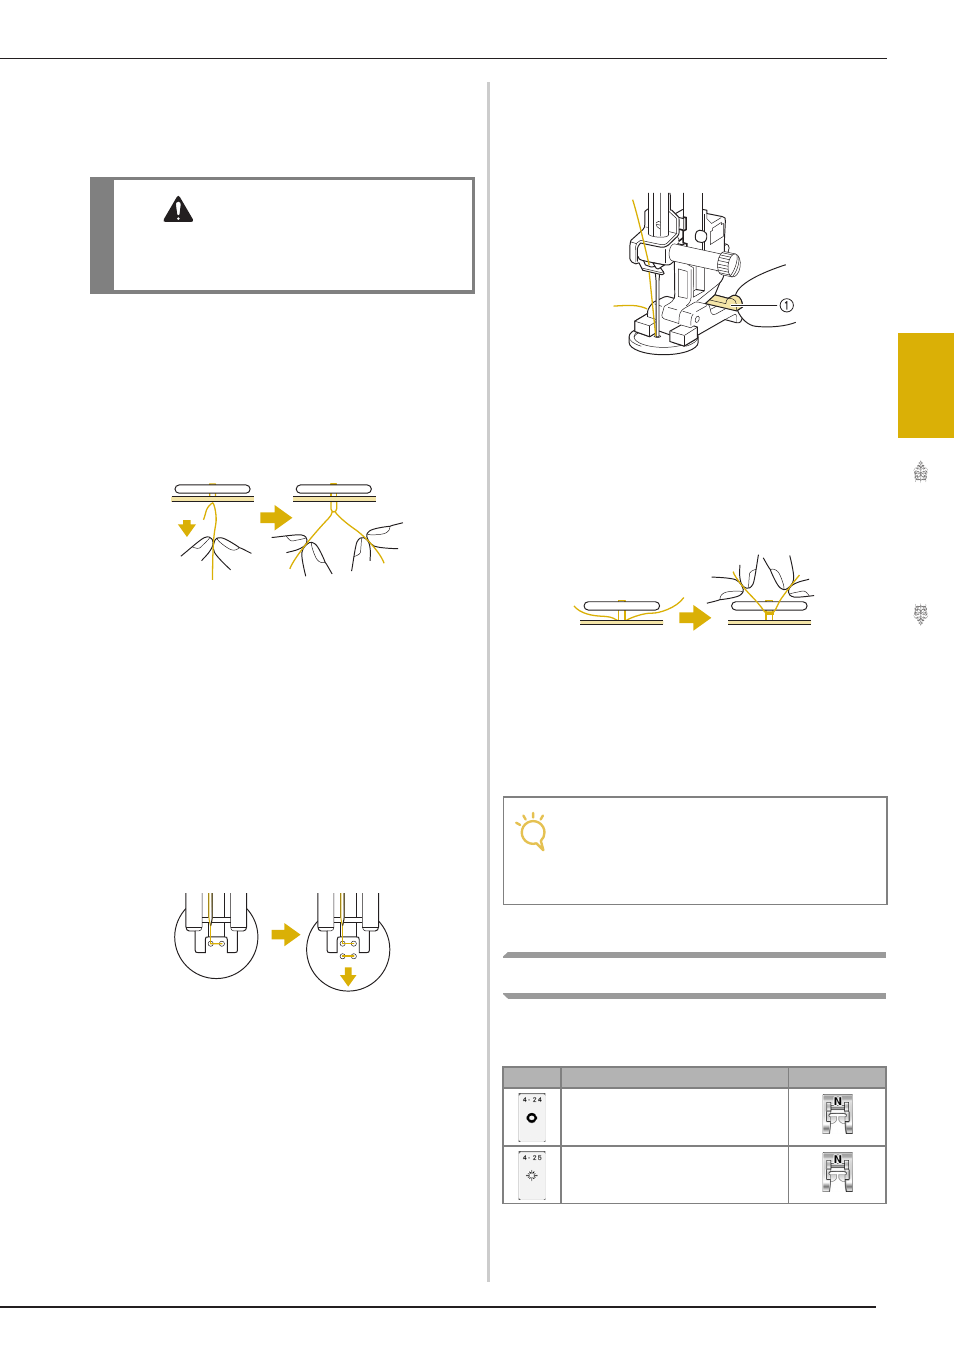
Pull the shank lever toward you before
sewing.
a Shank lever
b
Pull the two ends of the upper thread
between the button and the fabric, wind
them around the shank, and then tie them
firmly together.
c
Tie the ends of the bobbin thread from the
beginning and end of sewing together on
the wrong side of the fabric.
d
Cut off any excess thread.
Eyelet
Use this stitch for making belt holes and other
similar applications.
CAUTION
• Make sure the needle does not strike the
button during sewing. The needle may break
and cause injury.
Note
• When sewing is completed, be sure to
select the other stitch and rotate the
handwheel toward you (counterclockwise)
to raise the feed dogs.
Stitch
Stitch name
Presser foot
Eyelet
Star eyelet