Edge sewing – Baby Lock Destiny (BLDY) Instruction & Reference Guide-Part1 User Manual
Page 162
SEWING THE STITCHES
160
n
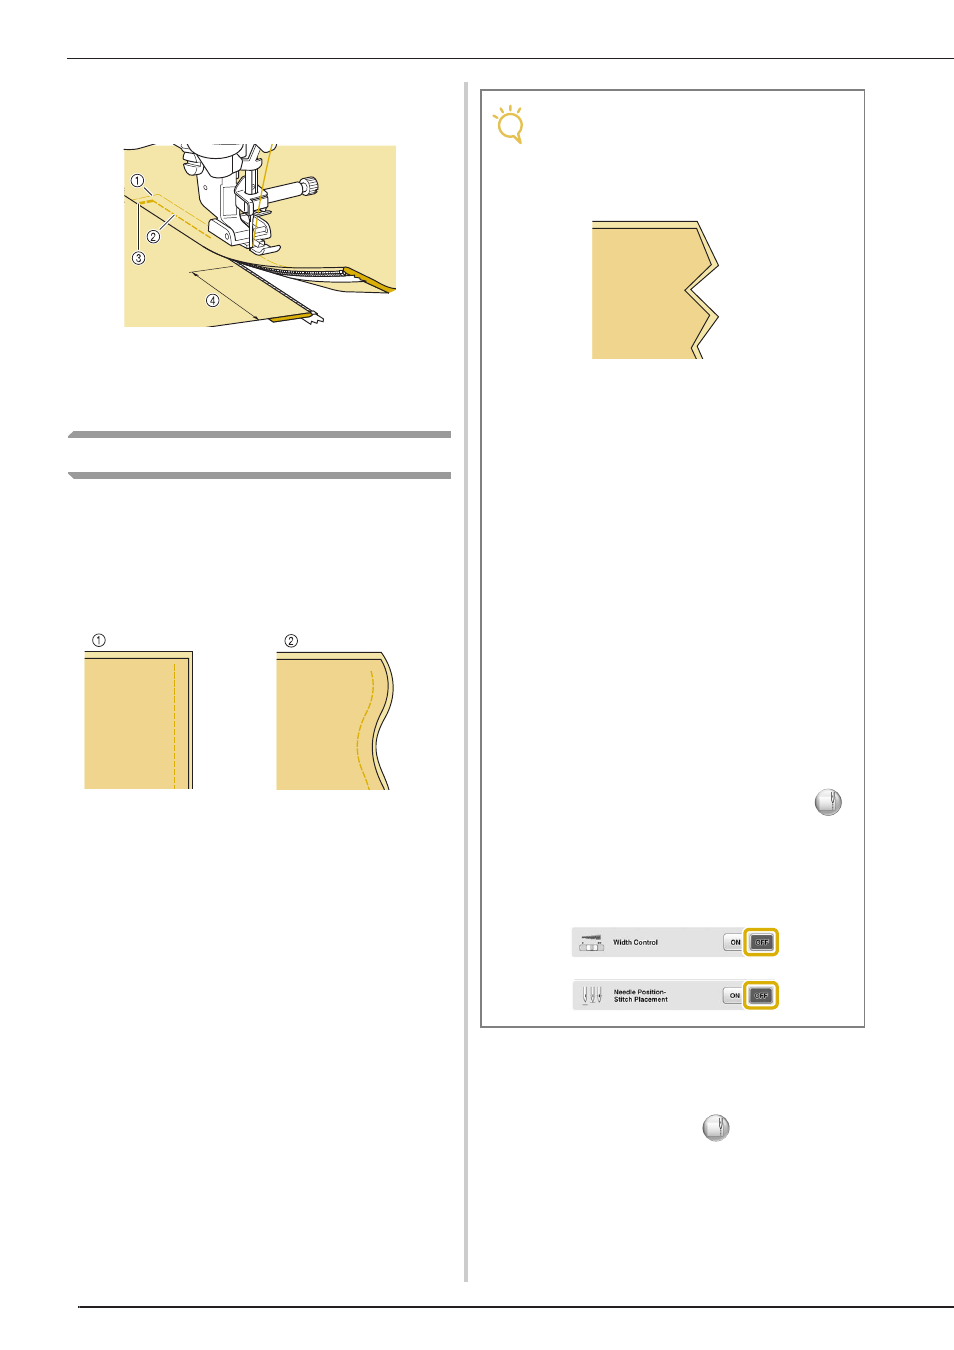
Open the zipper and sew the rest of the
seam.
a Basting stitches
b 7 to 10 mm (approx. 1/4 inch to 3/8 inch)
c Reverse stitches
d 50 mm (approx. 2 inches)
Edge Sewing
Using the built-in camera, the width of the area
from the edge of the fabric to the stitching line can
be measured and set for edge sewing.
This function can be used when the edge of the
fabric is straight or a gentle curve.
a Straight
b Curved
a
Select a stitch.
*
Edge sewing using the built-in camera cannot be
used with patterns where
appears in gray
when the pattern is selected.
Note
• Clean stitching cannot be sewn if this
function is used when the edge of the fabric
has corners as shown below.
• When edge sewing using the built-in
camera, make sure that the room is evenly
lit. If the brightness in the room changes
while edge sewing, the built-in camera may
not be able to detect the edge of the fabric.
• The built-in camera detects the contrast
between the fabric and the background.
Therefore, observe the following
precautions.
– If the edge of the fabric is fraying, cut off
any excess fabric threads.
– If the fabric has a complicated pattern, is
sheer or is glossy, such as a vinyl
material, the built-in camera may not be
able to detect it correctly.
• For best results, iron the fold when folding
the edge of the fabric for edge sewing.
• When “Width Control” on page 1/8 of the
settings screen is set to “ON” or when
“Needle Position - Stitch Placement” on
page 3/8 is set to “ON”, the built-in camera
cannot be used with edge sewing. If either
of these parameters are set to “ON”,
appears gray and cannot be selected.
Before using the built-in camera for edge
sewing, set “Width Control” and “Needle
Position - Stitch Placement” in the settings
screen to “OFF”.