6 installation procedure – Lynx Studio LT-MADI User Manual
Page 7
Advertising
Page 4
6 Installation Procedure
1.
Remove the AC power cord and take the top off of the Aurora 16 or Aurora 8. There are
seven large screws plus one small screw near the center of the front faceplate.
2.
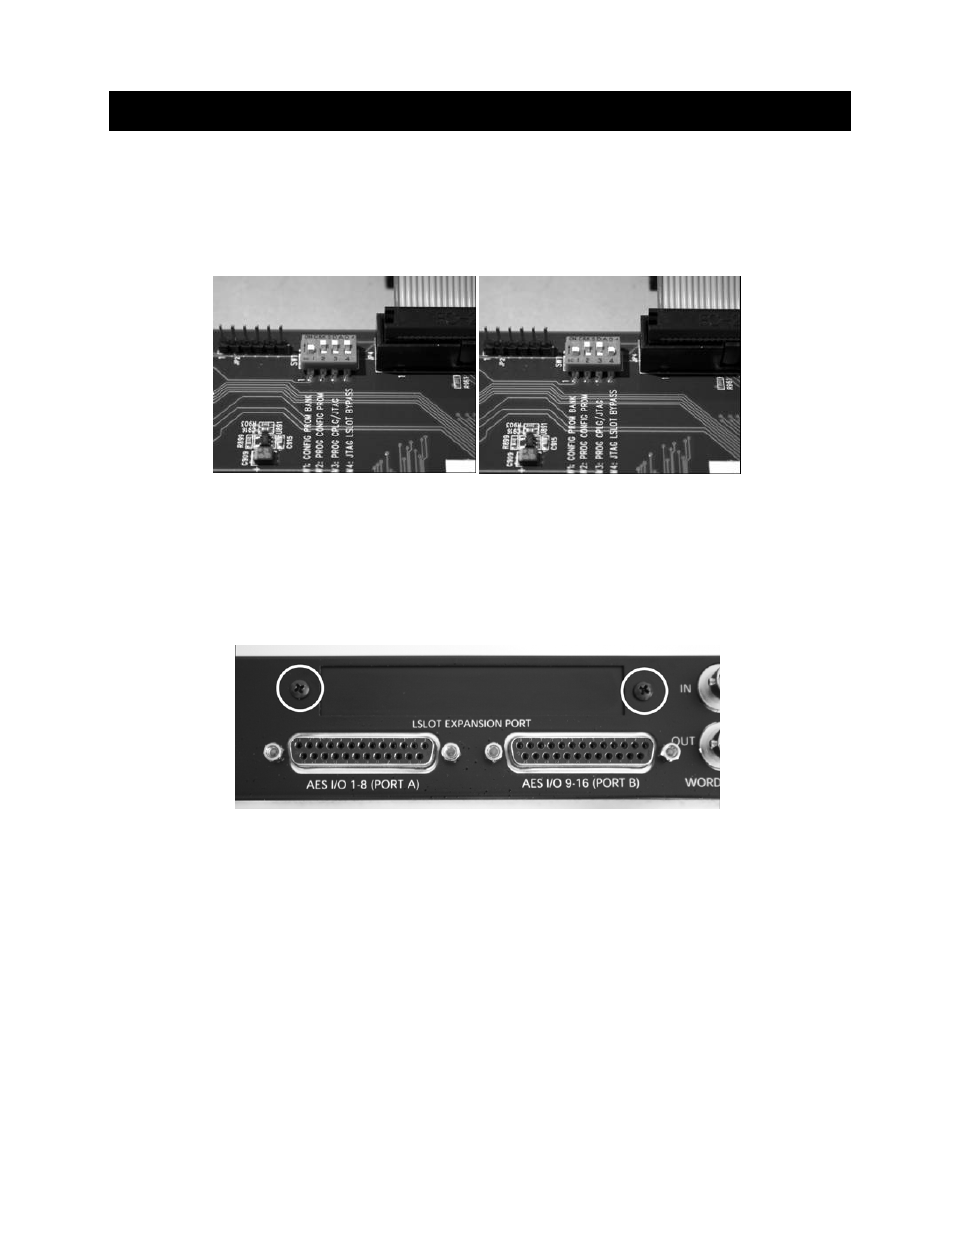
Before installing the LT-MADI card, slide switch 4 (labeled W4 on PCB) of SW1 to the
OFF position (towards back panel)
If you are updating an older Aurora that has jumper pins at JP6, instead of the W4
switches, please call Lynx Technical Support for instructions.
3.
Remove the LSlot Expansion Port cover above the AES I/O Ports by removing the two
mounting screws. Set these two screws aside, as they will be used to secure the LT-
MADI after installation.
Advertising