Step 1 – install the software, Step 2 – determine the type of network connection – Measurement Computing DaqScan 2000 Series User Manual
Page 36
6-2 Configuring the System for Operation
947091
DaqLab/2000 Series & DaqScan/2000 Series
STEP 1 – Install the Software
1. Remove previous version Daq drivers, if present. You can do this through Microsoft’s
Add/Remove Programs feature.
2. Place the Data Acquisition CD into the CD-ROM drive. Wait for PC to auto-run the CD. This
may take a few moments, depending on your PC. If the CD does not auto-run, use the
Desktop’s Start/Run/Browse feature to locate and run Setup.exe [from the applicable
CD-ROM drive].
3.
After the intro-screen appears, follow the screen prompts.
STEP 2 – Determine the type of Network Connection
To properly connect and configure the device you must determine the type of network it will
become part of. This is because the type of network used has a direct bearing on the IP
address of the device.
Briefly, the four network types are as follows:
Dedicated Network - with a direct cable connection from the PC to the
device
Dedicated Network - making use of a network hub or switch
LAN with a DHCP server
(Local Area Network with a Dynamic Host Configuration Protocol)
LAN without a DHCP server
(Local Area Network with no Dynamic Host Configuration Protocol)
Brief descriptions and illustrations follow.
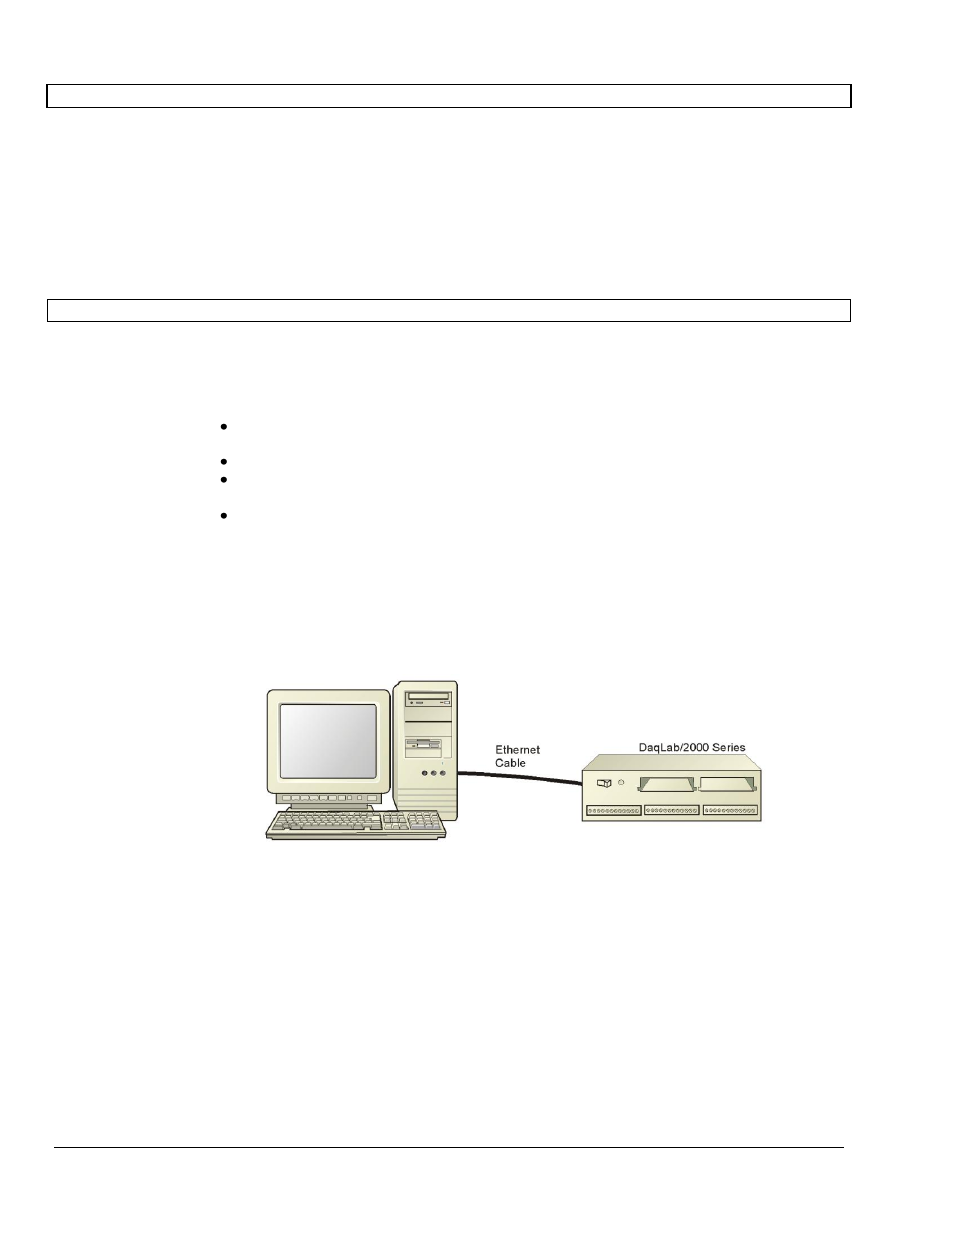
Dedicated Network - with a direct cable connection from the PC to the device
In this scenario a DaqLab/2000 Series device is connected directly to an Ethernet
jack on a host computer. The following figure could just as easily portray a
DaqScan/2000 Series device.
Dedicated Network using a Direct Cable Connection