Tiu installation, Tiu installation -13, Tiu connections -13 – Verilink AS2000: The Basics (880-502981-001) Product Manual User Manual
Page 59
Hardware Installation
Verilink Access System 2000: The Basics
4-13
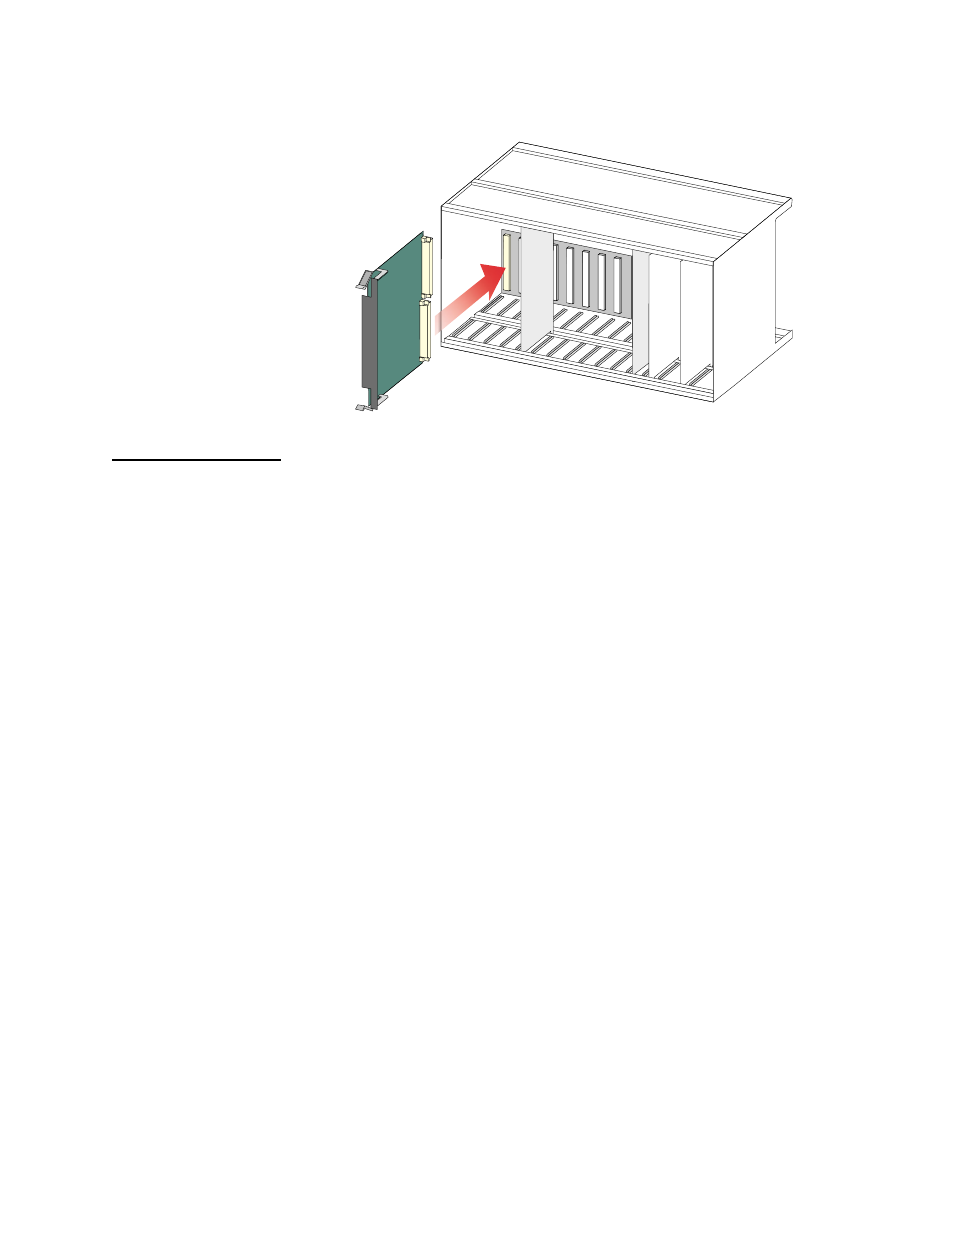
Figure 4-12 Application Module Installation into a Multi-line Shelf
TIU Installation
For TIU installation, verify the AS2000 shelf unit(s), NCC or TAC,
and DIUs have been installed and operating correctly.
After installing the CIM 2010, plug the TIU 2850 into the same slot
in front of the shelf. Slide the unit into the shelf, and plug it firmly
into its mating connectors on the shelf backplane and the CIM. To
ensure a good connection, push in on the plug-in module until it is
fully seated. Ensure the ejector handle is flush with the face plate
of the module.
After plugging in the TIU, verify the following conditions on its
front panel LEDs:
•
The EQPT and NET LEDs are both off.
•
The STAT LED lights red.
TIU Connections
After powering up the TIU, connect the external clock signal to the
CIM 2010 using the cable previously obtained.
shows
the CIM connectors. If a 1.544 MHz AMI clock is furnished, connect
it to the EQPT or Network jack of the CIM and ground the cable
shield at the clock source. If an RS-422 or TTL clock is furnished,
connect it to the EXT TIMING connector of the CIM.
After connecting the reference clock to the TIU, check its front
panel LEDs again. They should be lit as follows:
•
If an AMI bipolar clock is applied to the EQPT jack of the
associated CIM 2010, the EQPT LED is green and the NET LED
remains off.
•
If an AMI bipolar clock is applied to the Network jack of the
CIM, the NET LED is green and the EQPT LED remains off.
•
If an RS-422 or TTL clock is applied to the EXT TIMING
connector of the CIM, the EQPT and NET LEDs are off and the
STAT LED is green.