ACTi Camera_Demo_Tool V1.5.04.13 User Manual
Page 11
Camera Demo Tool v1.5.04.13
3. Start/Stop Manual Recording
Click on it to start or stop recording. While recording, a red light
on upper right corner of the view will indicate the recording is in
process.
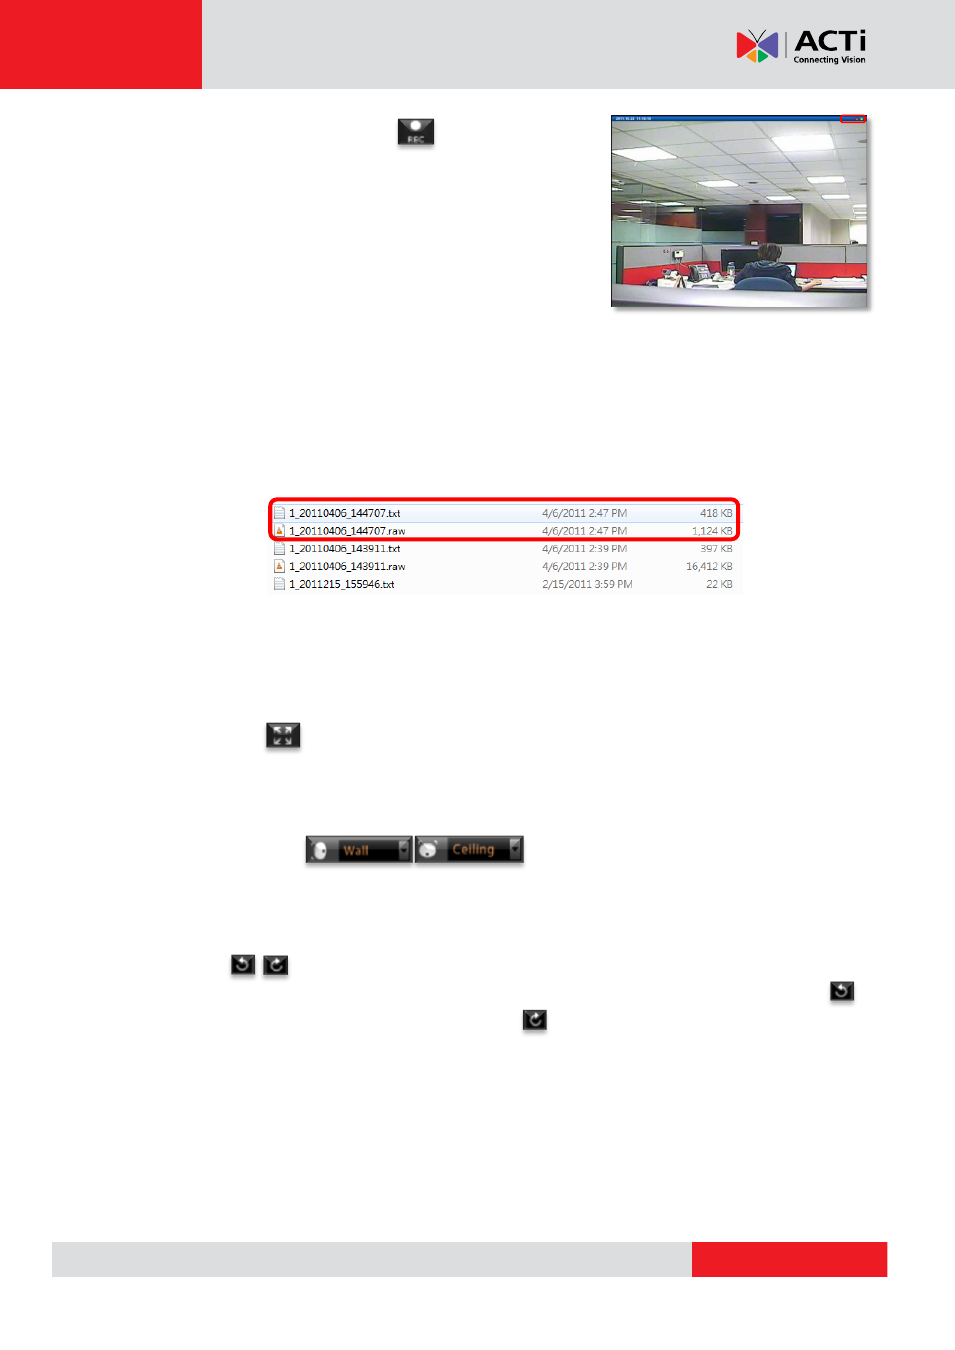
Fig. 8 Single-view recording
After you stop recording, the recorded video clip is saved under C:\[Users]\[User name]\My Picture\,
named by time code as .RAW file. A text file named after the recording file will automatically be
generated under the same folder. This text file contains all the properties information (e.g. resolution,
encoder type, FPS, bit rate, etc.) of the camera while the recording was taking place, which is very
helpful for further analysis.
Fig. 9 Recordings and video info
Note:
Please check if your hard drive is enough for new recordings. Record function will not be able to
carry out if there is not enough memory.
4. Full Screen
Click on this button, image will fit to the entire screen. Double-click on the screen to exit full screen
mode.
5. Hemispherical Camera Options
Camera Position
Select the camera “Wall” or “Ceiling” according to your fisheye camera’s actual installation
position (Default is Wall). These options are only available for fisheye cameras like KCM-3911,
KCM-7911.
Rotate
When the fisheye camera is in
“Ceiling” position, these buttons will become available. Click
to rotate the view angle 15 degrees clockwise or to rotate the view angle 15 degrees
counter-clockwise.
6. PTZ Options
As you move the mouse cursor over the screen, the PTZ control symbols will appear; left-click on
any of these buttons to control PTZ function. For mechanical PTZ cameras, these controls will
automatically act as the mechanical PTZ controls. For the rest of the cameras, these controls do
the digital pan, tilt and zoom within the captured picture of Demo Tool.