Using continuous record – Grass Valley K2 AppCenter v.9.0 User Manual
Page 65
2. Enter the desired length, then select
OK
or
Enter
.
If the entered length is valid, and longer than the amount of material already recorded, the clip
continues to record until it reaches the specified length or until you select
Stop
.
Related Topics
Before you record: Recorder settings checklist
on page 61
Using continuous record
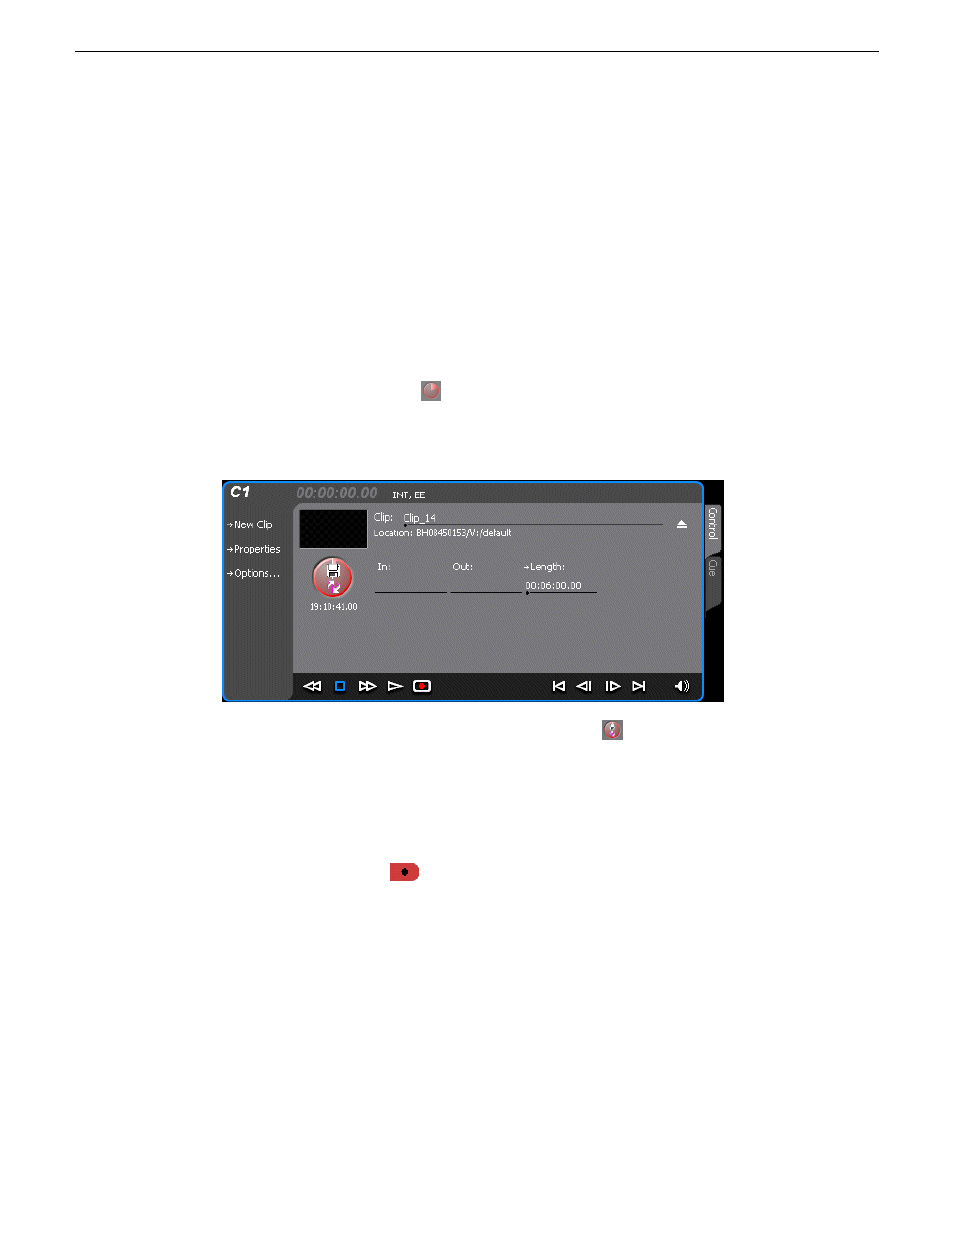
You can configure Recorder for Continuous Record mode. Continuous record is useful for applications
that normally use Continuous Record, for example a manual time delay.
1. Click the
Time Dome
button.
The Time Dome pop-up menu appears.
2. Choose
Continuous Record
in the pop-up menu.
The Time Dome changes to display continuous record.
3. Click
Length
.
The Length dialog box appears.
4. Enter the clip length by typing only numbers, colons are added automatically.
5. Click
OK
in the dialog box, or press
Enter
.
6. Select the record button
on the onscreen transport controls.
Recording continues until
Stop
is selected. While recording, the mark in and mark out update
with the current status of the clip. The Time Dome gives a visual indication record progress.
7. Load and play the clip in Player/Recorder application:
•
Drag and drop from the recording monitor pane to the playing monitor pane.
The play channel becomes the selected channel, and the clip is cued and ready for play.
Related Topics
Before you record: Recorder settings checklist
on page 61
on page 56
29 October 2012
K2 AppCenter User Manual
65
Recording Clips