Loading a layout – Grass Valley KMV-3901 Quick Start v.7.80 User Manual
Page 21
15
KMV-3901/3911
Quick Start Guide
LOGIN Position
Admin
7 Press ENTER to log on to your system as “Admin”.
A message prompting you for a password appears on the LCD display.
8 Press ENTER again (by default, there is no password).
The message “Access granted” will appear on the LCD display if the login is successful. If
a mouse is connected to the Kaleido-RCP2, then you should be able to see and move
the mouse pointer on the monitor wall.
9 Press any of the LAYOUT PRESETS buttons to load a predefined layout on the monitor
wall.
If your system was configured prior to shipment, then a layout will appear on all
displays. Otherwise, a gray screen will appear with the following message in the
middle:
“No layout has been assigned to this room. Please load a layout.”
Loading a Layout
To load a layout on the monitor wall
1 Connect a mouse to the Kaleido-RCP2 (if available) and log on to the KMV-3901/3911
from the Kaleido-RCP2, if you have not already done so (see
Alternatively, connect the mouse directly to the USB port at the front of the
KMV-3901/3911 card.
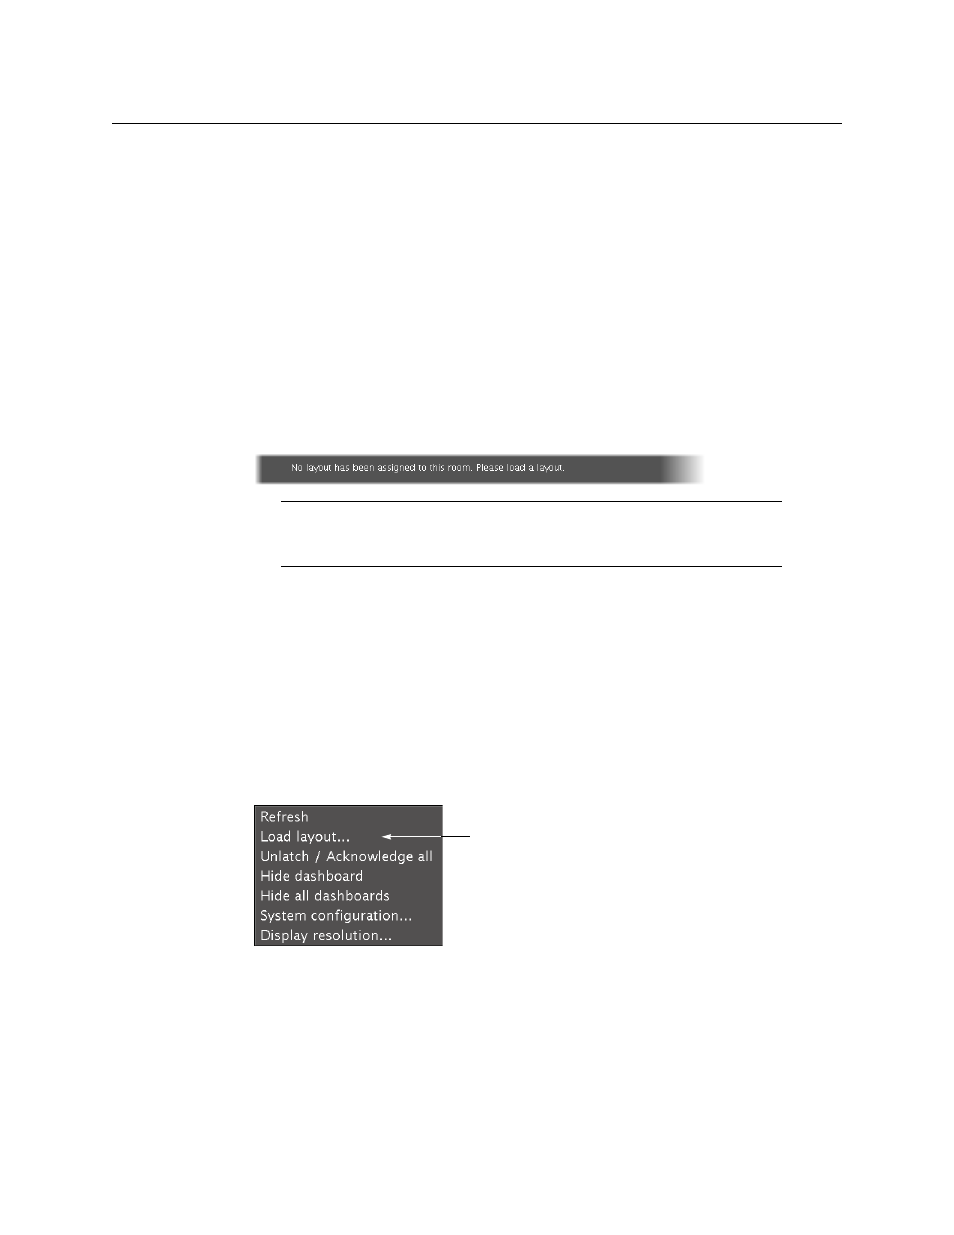
2 Right-click anywhere on the monitor wall, point to Monitor wall (if you clicked a
monitor), and then click Load layout on the shortcut menu.
Monitor wall shortcut menu
A layout browser appears on the displays associated with the current room.
3 Select the layout you wish to load from the list of available layouts for this room, and
then click OK.
The selected layout appears on the room displays.
Note:
To access other layouts, press the LOAD button. To assign a layout to
a preset button, press and hold the button for more than six seconds while
the desired layout is showing on the monitor wall.