iSys i36 User Manual
Page 9
10
i36 ImageMaster User Guide
3
Connecting to your PC
1. Connect the 3 ft. Centronics cable (provided) to connectors 4 and 5 in Figure 1.
2. Connect your Centronics cable from your PC to connector 3 in Figure 1.
Connecting to your Network ( with optional Internal Network Interface)
1. Connect the 3 ft. Centronics cable (provided) to connectors 4 and 5 in figure 1.
2. Connect your network cable to connector 6 in Figure 1. A green indicator light on
the network port will light when connected.
NOTE: The manual and installation software for the optional Internal Network
Interface specified in your order are included with your shipment. You will have to
reset the IP address for the ImageMaster to be recognized by your network.
The following are the iSys factory settings for the optional Internal Network Interface:
- IP address: 90.0.0.1
- Subnet Mask: 255.255.255.0
- Gateway: 90.0.0.1
Connecting to your Network (with your external network interface)
NOTE: Follow the instructions provided by the manufacturer of your network
interface for installation and connection to your network.
1. Connect the 3 ft. Centronics cable (provided) to connectors 4 and 5 in Figure 1.
2. Connect your network interface to connector 3 in Figure 1.
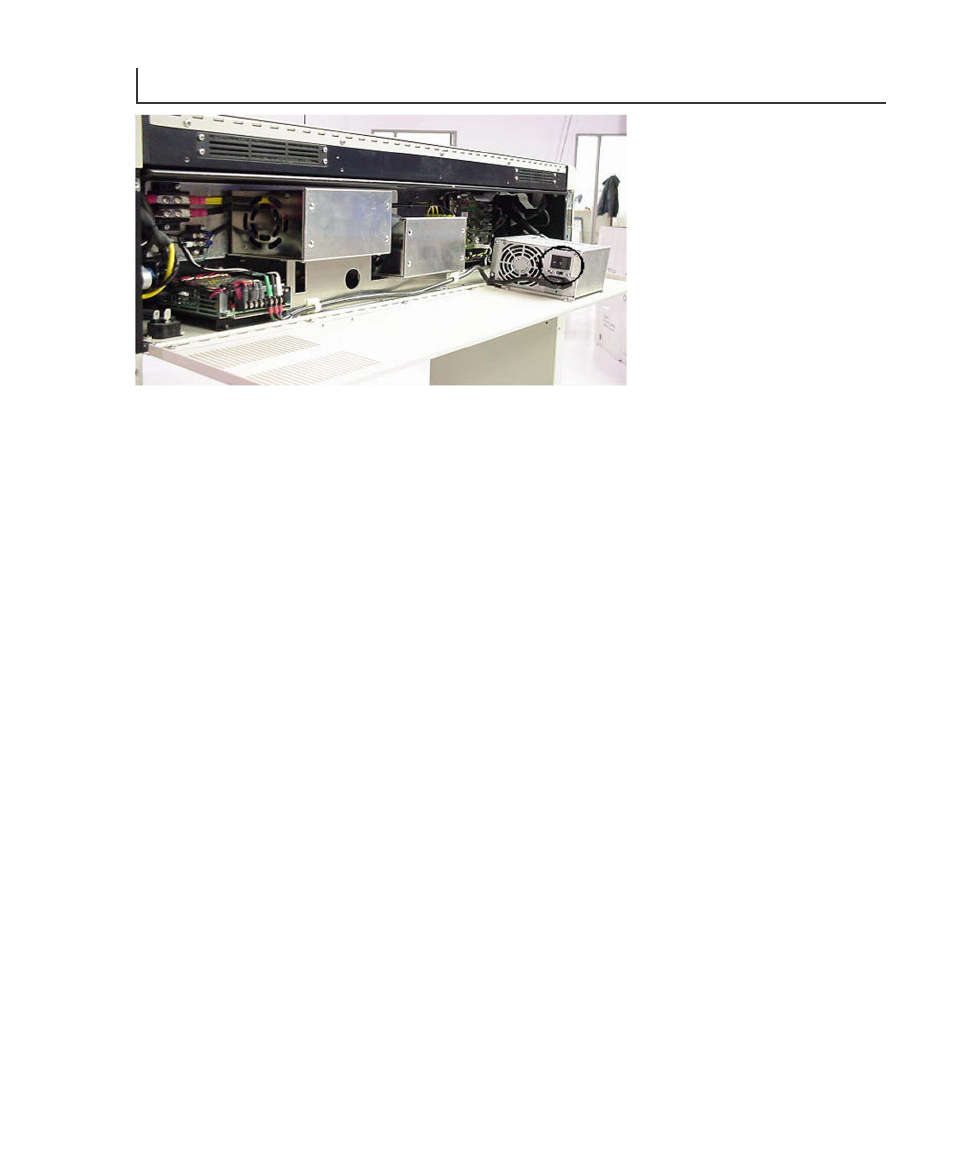
Figure 2. Power Supply