Install the door fan for depressurization test, Set up the gauge for the appropriate test, Connect a fan to the gauge (dm-2 or dm32) – Retrotec Blower Door User Manual
Page 35: 5 install the door fan for depressurization test, 6 set up the gauge for the appropriate test, 7 connect a fan to the gauge (dm-2 or dm32)
Page 35 of 87
©Retrotec Inc. 2015
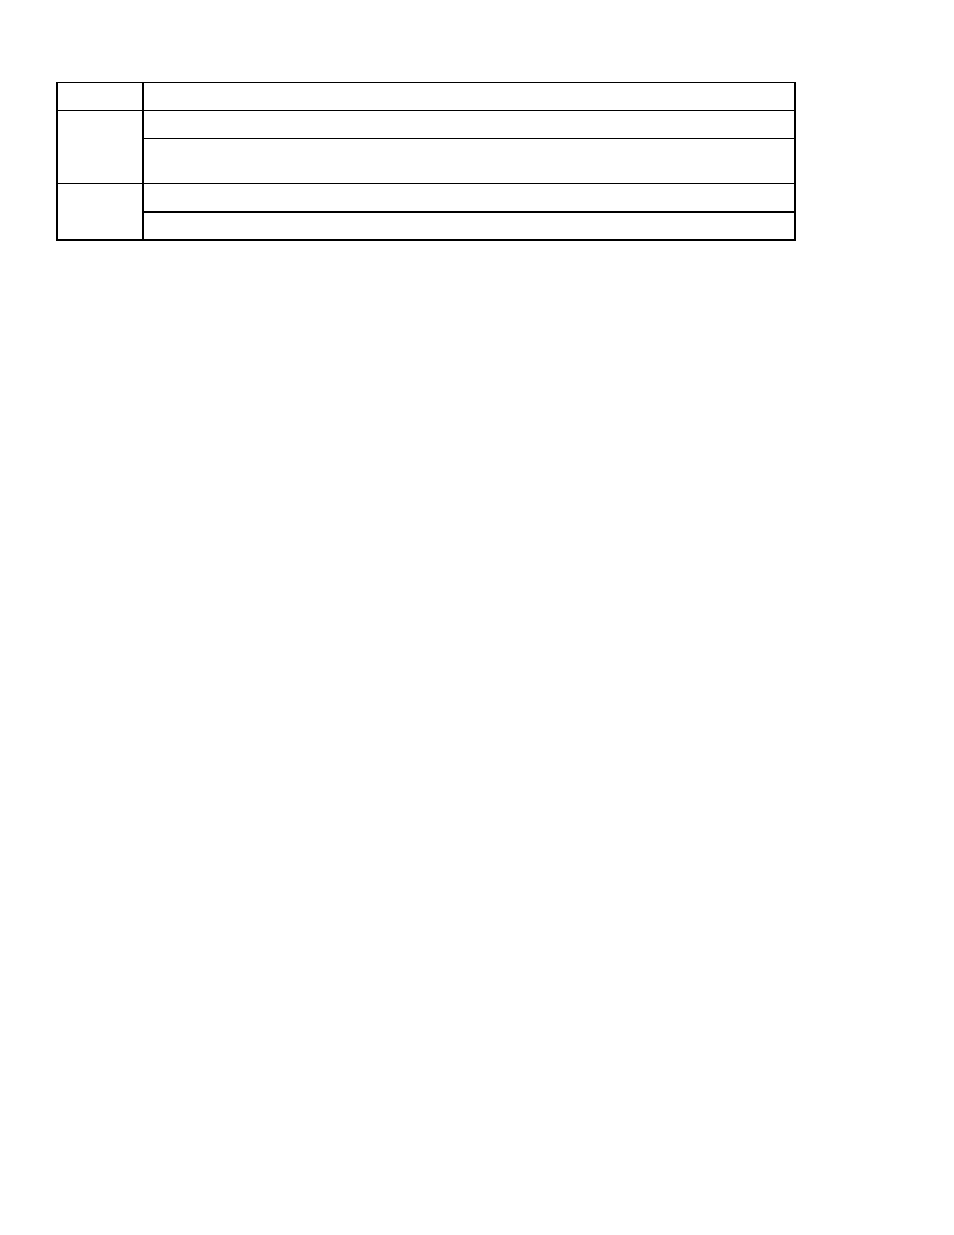
Gusty winds - use wind damping kit (capillary tubes, averaged over 5s)
EN13829-
FR
Measure at the bottom floor level, but if tall building, measure at the top as well
Keep exterior pressure taps out of the sun, and fitted to a T-pipe or connected to a perforated box to protect
from wind
USACE
Min 1 exterior pressure tap required, but if bias pressures high, use more
Interior pressure gauge references tied together in a manifold to read 1 pressure reading
4.4
Determine if corrections for temperature difference are
required
In conditions where the interior and exterior temperature differential varies greatly, the fan measurements can be
less accurate. In a depressurization test, the Door Fan system measures the fan flow out of the building. However,
the measurement is meant to reflect the air infiltrating into the house through all the leaks. When there is a
temperature difference, the air density changes, and the leaks will not exactly equal the measured fan flow. In
extreme conditions, this difference can be as much as 10%.
Each Standard that users comply with will require different corrections. FanTestic software will manage these
corrections when calculating results after you enter the data.
4.5
Install the Door Fan for Depressurization test
A building depressurization test (blowing air out of the building) is the most common way of conducting a Door Fan
measurement. This direction of testing has a number of advantages, but the primary reason is that back-draft
dampers in exhaust fans and dryers are pulled closed during depressurization. Since these dampers are usually shut,
leakage from them can be left out of calculations resulting from a typical Door Fan test.
The building's door frame can be used to help secure the fan and panel in place. For a depressurization test, install
the Door Panel on the inside of the door, the door frame will then help keep the panel in place when the negative
pressure tries to pull it through the door way.
To install the Door Fan
1. Install the Door Panel by following either the cloth or modular panel setup instructions.
1. Run the red pressure tube through the hole in the Door Panel to the outdoors. Make sure the end of the
tube is not in the path of the fan's airflow.
2. Install the fan in the Door Panel. Make sure the flow direction is out of the building.
3. Connect the digital gauge to the fan. Tubing for a Retrotec DM-2 is connected the same way for both
pressurization and depressurization.
4. Connect the fan to a suitable wall outlet for power.
4.6
Set up the Gauge for the Appropriate Test
Look at the Quick Guides or Manual for the DM-2 or the DM32, depending on which gauge you are using.
4.7
Connect a Fan to the gauge (DM-2 or DM32)
It's very simple to connect a Retrotec fan to the Retrotec digital gauges. Depending on which model fan is in use,
there will be some combination of red, blue, green, and yellow pressure tubes included. These tubes connect to