Chapter 3:getting started, 1 initial setup by lcd panel, 2 logging in as administrator – PLANET SIP-50 User Manual
Page 10: Chapter 3 : getting started, Nitial, Etup by, Lcd p, Anel, Ogging in as, Dministrator
SIP-50 SIP Proxy Server User’s Manual
Chapter 3:Getting Started
This chapter explains how to setup your computer to be a client to manage the SIP Proxy Server.
3.1 Initial Setup by LCD Panel
1. Press
(ENTER) button to enter Select menu.
2. Choose Setup Network and press (ENTER) button to enter IP setup process.
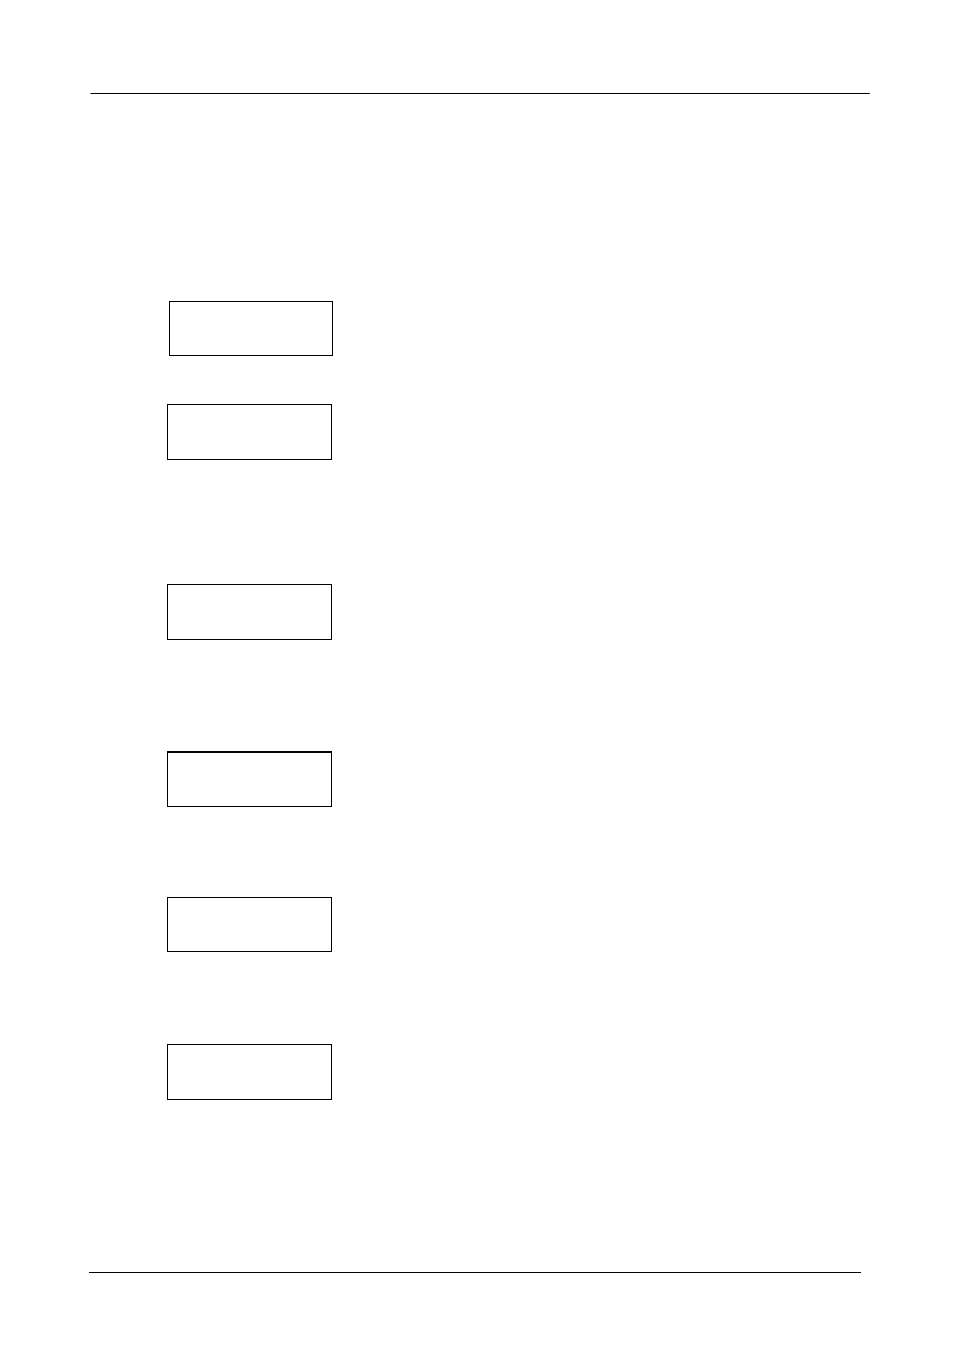
SELECT:
Setup Network
3. Set the SIP Proxy Server IP address:
Please press (▲) or (▼) button to edit the SIP Proxy Server IP address. Press (ENTER) button to
edit next number. After editing all the number, press (ENTER) button to start the Network mask
configuration.
NOTE: You can press (▲) or (▼) longer for it the number to change in unit of 10.
IP Address:
192.168.0.1
4. Set the SIP Proxy Server subnet mask:
Please press ((▲) or (▼) button to edit the SIP Proxy Server IP address. Press (ENTER) button to
edit next number. After editing all the number, press (ENTER) button to start the Gateway
address configuration.
Netmask Address:
255.255.255.0
5. Set the SIP Proxy Server Gateway address:
Please press (▲) or (▼) button to edit the SIP Proxy Server IP address. Press (ENTER) button to
edit next number. After editing all the number, press (ENTER) button to save the configuration.
Gateway Address:
192.168.0.254
6. Confirm and Save Configuration:
If the configuration is Ok, please press (ENTER) button to save. Otherwise, press (ESC) button to
go back to SELECT Menu.
Save Config?
Y(Enter) N(ESC)
7. After you press (ENTER), the following message is shown:
。
Now the new IP settings is active and you can start on web management of the SIP Proxy Server.
Setup Network
Save OK....
3.2 Logging in as Administrator
Now you can communicate with SIP Proxy Server by web browser.
- 7 -