Doremi Final Cut Pro User Manual
Page 13
2. Once you have selected the appropriate sequences, go to the "File" menu and select
“Export.” Scroll down and select “Export to DCP” ( Figure 5).
3. You will be prompted to select the destination for your DCP. Navigate to the desired
folder and press “Select” (Figure 6).
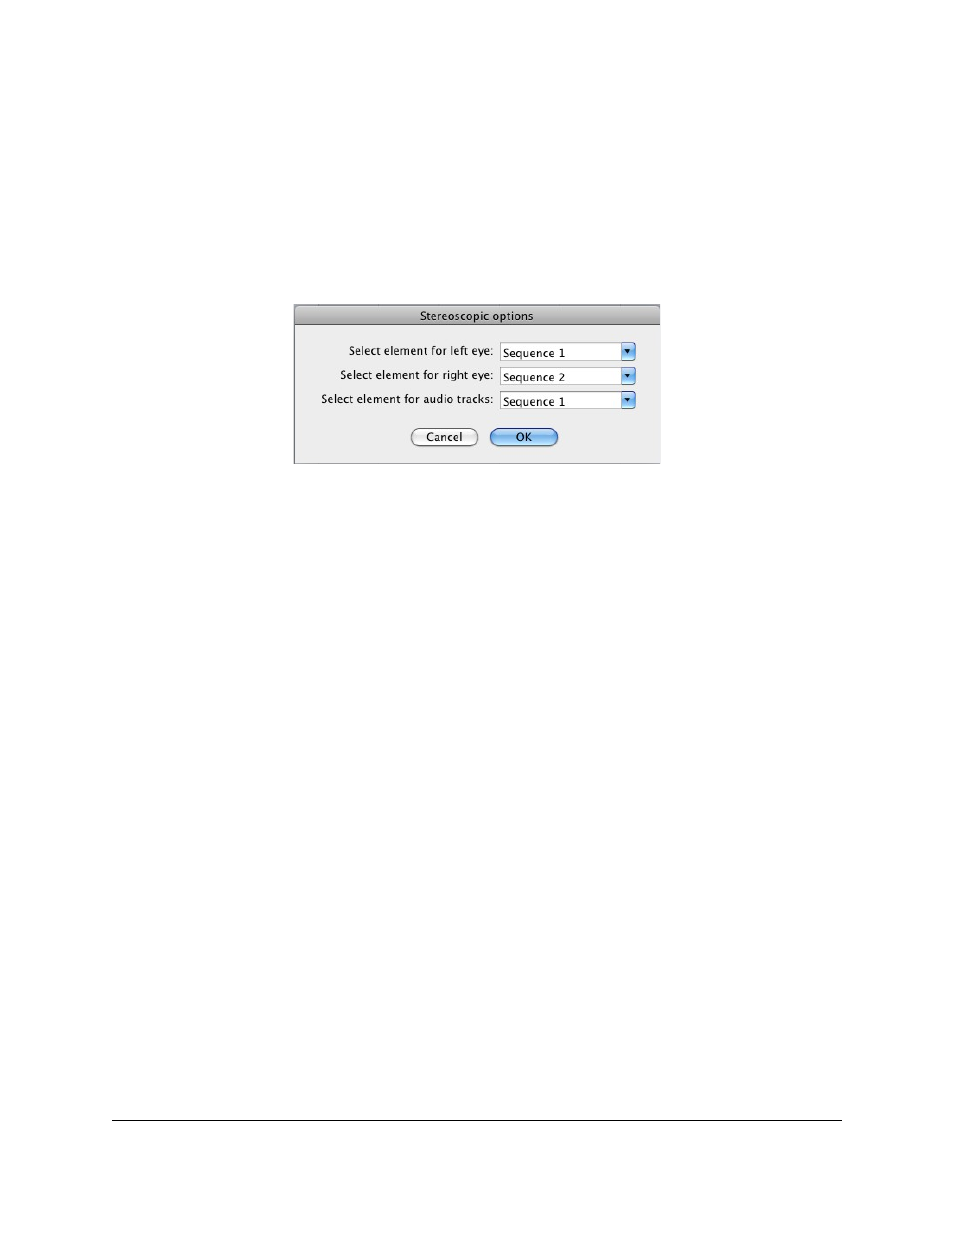
4. After pressing Select, the “Stereoscopic Options” window will appear.
Figure 12: Stereoscopic Options Window
5. Select which sequence to use for the left and right eyes.
6. Select which sequence to use the audio from for the 3D DCP.
7. Click the "OK" button when finished.
8. After pressing “OK,” the "Doremi Media Export" Window will appear (Figure 7).
9. Type the desired title for the 3D DCP in the Title text box (Figure 7).
10. The video codec is automatically set to JP2K for 3D exporting (Figure 7).
11. In the "MXF options" tab, select the package standard for the DCP and select the
category for the DCP (Figure 7).
12. Under the JP2K options tab, select the bitrate and whether to enable YCxCz' color
conversion (Figure 8).
13. In the "Scaling options" tab, enter the desired scaling options (Figure 10).
14. Once finished, click the "OK" button. The 3D DCP will be created in the selected folder.
FCP.OM.001676.DRM
Page 13
Version 1.6
Doremi Cinema LLC