Vectronics VEC-121K User Manual
Page 14
VEC-121K Owner's Manual
Crystal Radio Set Kit
12
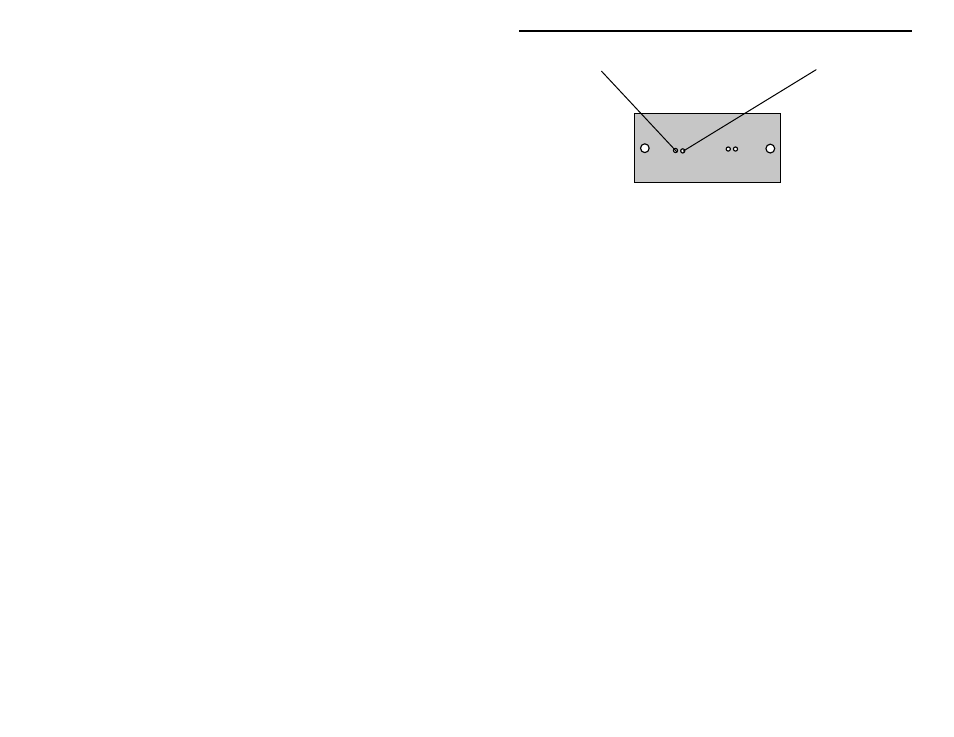
16” wire tail
! Tuck the 16” wire tail back inside of the coil form, so it will be out of the
way during winding.
! Hold the coil form in your left hand. The wire coming from the 100-foot
coil should be between you and the form. Insert the middle and index finger
of your left hand into the coil form. Place your left thumb over the wire at
the starting hole.
! Use your right hand to help turn the PVC coil form while winding the coil.
This takes a little practice, but you will quickly master the technique once
you start.
! Wind several turns of wire by turning the form. Use your left hand thumb to
guide the wire, and keep enough pressure on the wire with your thumb so
that the windings are tight, even, and spaced together.
! After several turns are completed, examine your work. (Keep your thumb in
place so the wire doesn’t loosen on the coil form!) The wire windings
should be even and spaced so the wire of each turn is firmly pressed against
the next. The windings should be tight. There should be no gaps between
the wire turns. You can squeeze the windings together to remove small
gaps.
! The first several turns of the winding form the foundation for the rest of the
windings. If you didn’t quite get it right the first time, unwind the coil and
try again.
! Once you are satisfied with your work, grab a piece of masking tape with
your right hand, and tape across the windings to hold them securely. Note:
Tape across and over the windings—the tape should follow the 5” width of
the coil.
! Using its dispenser tip, put a small drop of contact adhesive on the winding
at its beginning and end point. Smear any excess back over adjacent