Vectronics VEC-1220K User Manual
Page 15
VEC-1220K/1230K/1240K/1280K Owner's
Manual
13
the markings on the capacitor body are unclear, the plus (+) lead is always the
longer of the two.
! ! 12. Locate the 470 uF capacitor. Observing polarity, install this at C4 and
solder.
This completes capacitor installation for now. There are several multilayer
capacitors remaining, but these will be installed later as frequency-determining
components. Also, the VXO variable capacitor will be installed near the end of
construction because of its larger size. Before moving on, make a quick
inspection of your work to make sure each part is installed at the correct
location. Also, double-check the polarity of C4.
Now that you've accumulated good collection of nipped-off lead-ends, this is a
good time to install the board's four (4) jumper leads. These jumpers tie together
the ground areas surrounding the transmitter circuitry. Each should be pre-
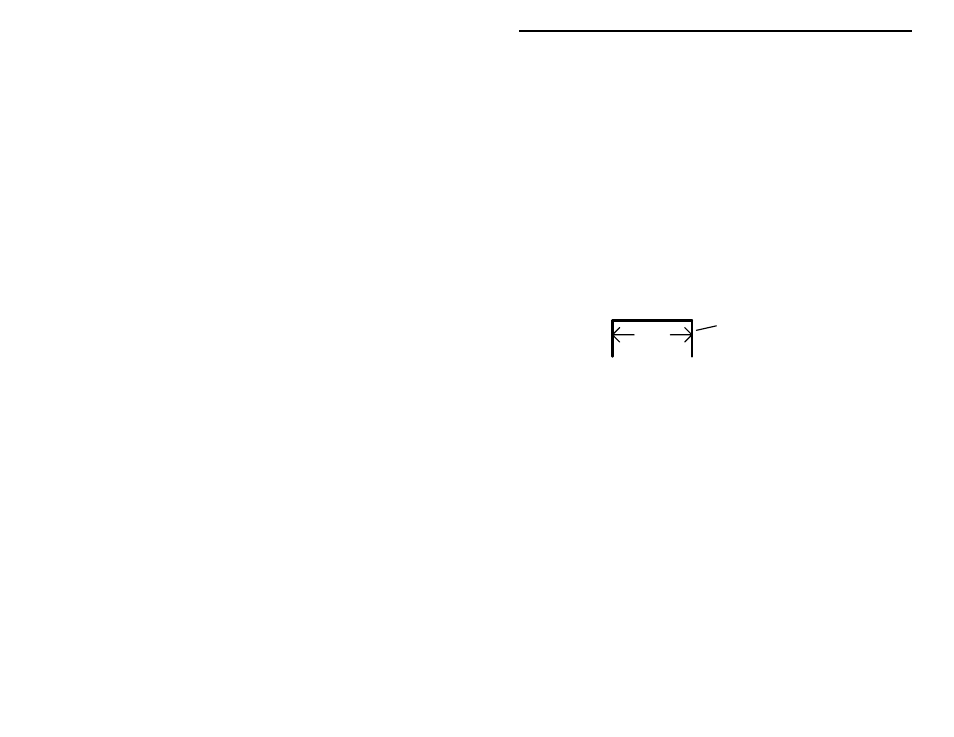
formed prior to installation, as shown below. An approximate distance between
mounting holes is given to help you pre-form each one. When installed, each
jumper should lay flat against the PC board.
span
discarded lead end
Phase 3: Jumpers
! ! 1. Form a 11/32" jumper and install at JMP1.
! ! 2. Form a 11/32" jumper and install at JMP2.
! ! 3. Form a 3/8" jumper and install at JMP3.
! ! 4. Form a 1/4" jumper and install at JMP4.
Save one additional resistor lead for connecting variable capacitor C5 later on.
There are five (5) molded-epoxy radio-frequency chokes in your kit. The two
100-uH chokes are generic, and should be installed now. Note that the fourth
color-code band on a molded choke indicates tolerance. This may be either gold
(5%) or silver (10%).
Phase 4: Chokes
Find the two 100 uH molded chokes (brown-black-brown-silver or gold).
! ! 1. Install 100 uH at RFC4
! ! 2. Install 100 uH at RFC5
Next, you'll install the kit's transistors and diodes. Positioning of these parts is
critical--they must be oriented correctly.