Adjusting the cutting height, Mow-ball, Support – DR Power Sprint (2000 - 2004) User Manual
Page 15: Adjusting the handlebar
DR
®
TRIMMER/MOWER
™
Safety & Operating Instructions
9
Adjusting the Cutting
Height
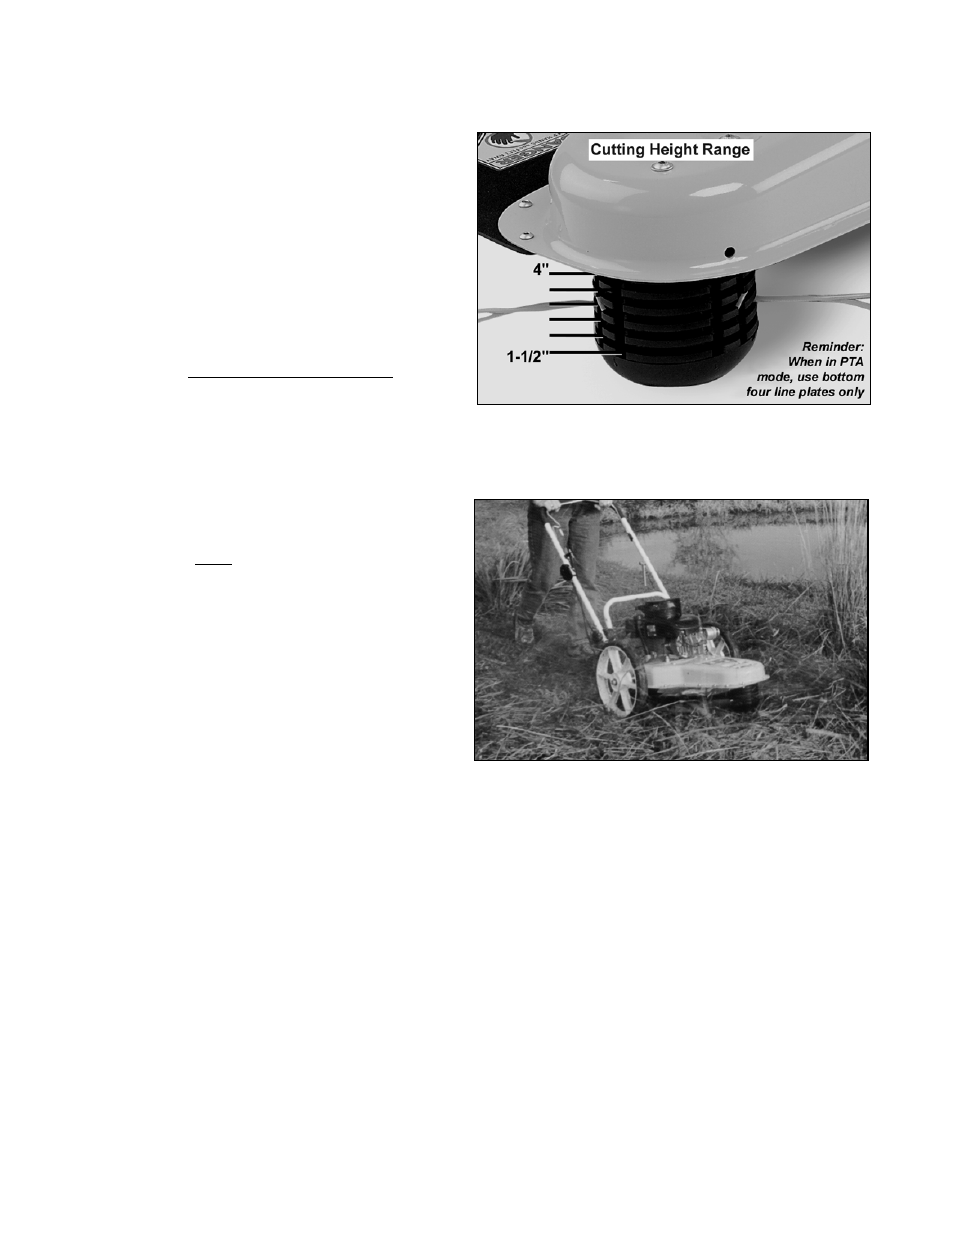
Adjusting the cutting height is easy.
Simply install the cutting cords in the line
plate that gives you the desired height.
Cutting heights range, in 1/2" increments,
from 1-1/2" when using the bottom line
plate, to approximately 4" when using the
top line plate (Figure 14).
IMPORTANT! When using PTA
™
mode,
you should install the cutting cords in one
of the bottom four line plates only. Using
the upper line plates may cause the cords
to hit the wheel.
Mow-Ball
™
Support
Allow the front end of the machine to rest
lightly on the Mow-Ball
™
Support as you
are trimming. The Mow-Ball
™
Support
should glide on the ground as you
maneuver the machine.
In order to achieve the best and smoothest
cut, do not lift up on the handlebar while
operating your DR
®
TRIMMER/
MOWER
™
. Lifting the handlebar causes
weight to be forced down on the Mow-
Ball
™
Support. This uses more energy,
slows down the cutting, and produces a
less than satisfactory cut. Ideally, the
Mow-Ball
™
Support should lightly rest on
the ground while the wheels balance most
of the weight of the machine (Figure 15).
Adjusting the Handlebar
The correct handlebar height depends on many factors for each individual. However, it is crucial
to find a height that allows the Mow-Ball
™
Support to glide along the ground and remain
balanced without the operator having to push down or pull up on the handlebar.
At the proper height, your hands should rest at a comfortable level and the front end of the
trimmer should roll easily on the Mow-Ball
™
Support as shown in Figure 15.
You may find you like different handlebar heights for different mowing conditions.
Figure 14
Figure 15