Installation and activation, Installation, Purchasing songgenie – equinux SongGenie 2.2.7 User Manual
Page 4
Installation and Activation
Installing SongGenie is a breeze and can be done in just a
few simple steps.
Installation
Before you can start naming your songs, SongGenie needs to be installed on
your computer.
If you bought a boxed version of SongGenie
1 Insert the SongGenie CD into your Mac’s CD/DVD drive.
2 Double-click the SongGenie CD icon on your Desktop.
3
Double-click “SongGenie 2” and follow the onscreen
instructions.
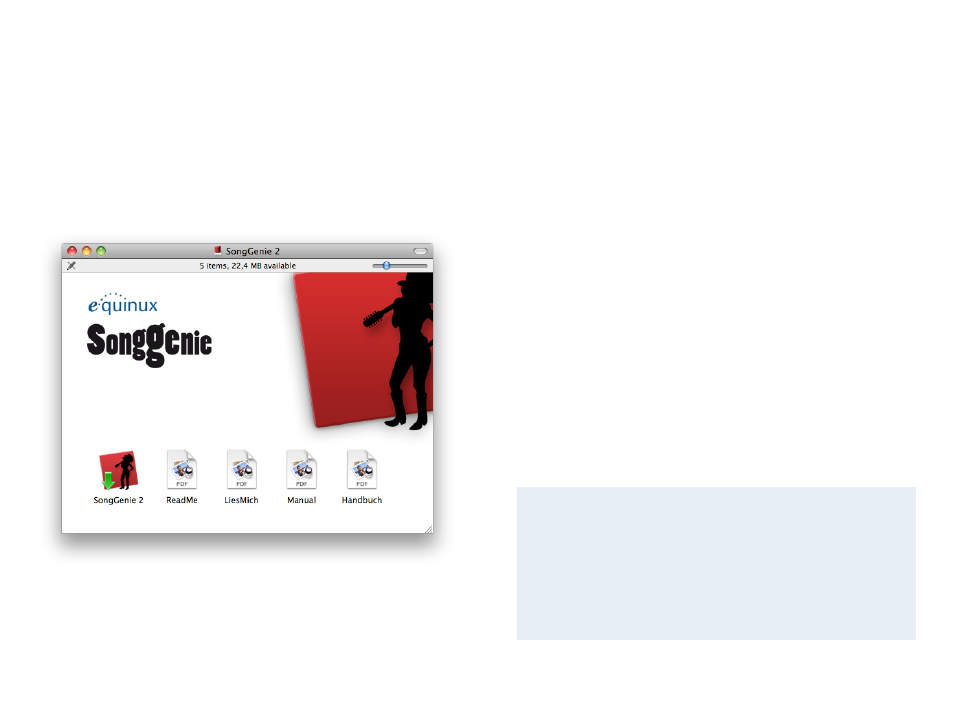
If you downloaded SongGenie from our website
1 Double-click the “SongGenie_2.dmg” file in your downloads folder.
2 A new window will open: Double-click the “SongGenie 2” installer and
follow the onscreen instructions.
Purchasing SongGenie
If you have not already done so, you can buy SongGenie directly within the
application. All you need is a connection to the Internet and your payment
details to hand.
To purchase SongGenie
1 Open SongGenie, and choose SongGenie > Buy SongGenie… from the
menu bar.
2 A window will appear showing our online store. Add the SongGenie Edi-
tion of your choice to the cart and proceed to checkout.
If you paid by credit card your license will be added to your equinux ID as
soon as your card details have been verified.
If you paid via bank transfer or PayPal, we will send you an email as soon as
we receive your payment. You’ll then be able to activate SongGenie using the
very same equinux ID and password you created at our Online Store.
Your equinux ID
Store all your software licenses under one roof with a handy equinux
ID and stop worrying about keeping those long, unsightly activation
codes safe. Create your very own free equinux ID during the check-
out process or, if you are a first-time retail box buyer, during the
software activation process and start reaping the benefits today.
4