Installation reference images – Fat Bagger 500 REMOVABLE TOURPAK MOUNT User Manual
Page 7
138 East Lincoln Ave. | Chariton, Iowa 50049 | (641) 774-7499 | fax: (641) 774-7505 | www.fatbaggers.com
Page 3—FBI500-09-FIX Removable Trunk Mount
NOTE: Even though you have mounting holes in the bottom of your Tour Pak already, you will most
likely need to drill 4 holes in the bottom of the trunk since there are variations in the placement of the
original holes and because you may want it further forward or back than the original holes would locate
it.
10. Once the location of the Tour Pak is determined, use a fine point marker to reach up through the holes in
the FBI mount and mark the front 2 and the rear two holes on the bottom of the Tour Pak to indicate
where to drill holes for (4) ¼”x1” bolts, included, which you’ll use to attach the trunk to the new mount. If
you want to be able to move the Tour Pak to a different position periodically, decide which four holes are
best to use.
11. Place your Tour Pak upside down on a padded bench or work surface then use a 5/16” bit to drill the
holes you just marked for the ¼”x1” mounting bolts.
12. Now set the Tour Pak back on top of the mount, on your bike, and bolt it into place using the ¼”x1” bolts,
nuts and flat washers (one washer above and one below the holes in the Tour Pak) provided. See
IMAGE #15.
13. Replace your saddlebags. Your installation is now complete.
INSTALLATION REFERENCE IMAGES
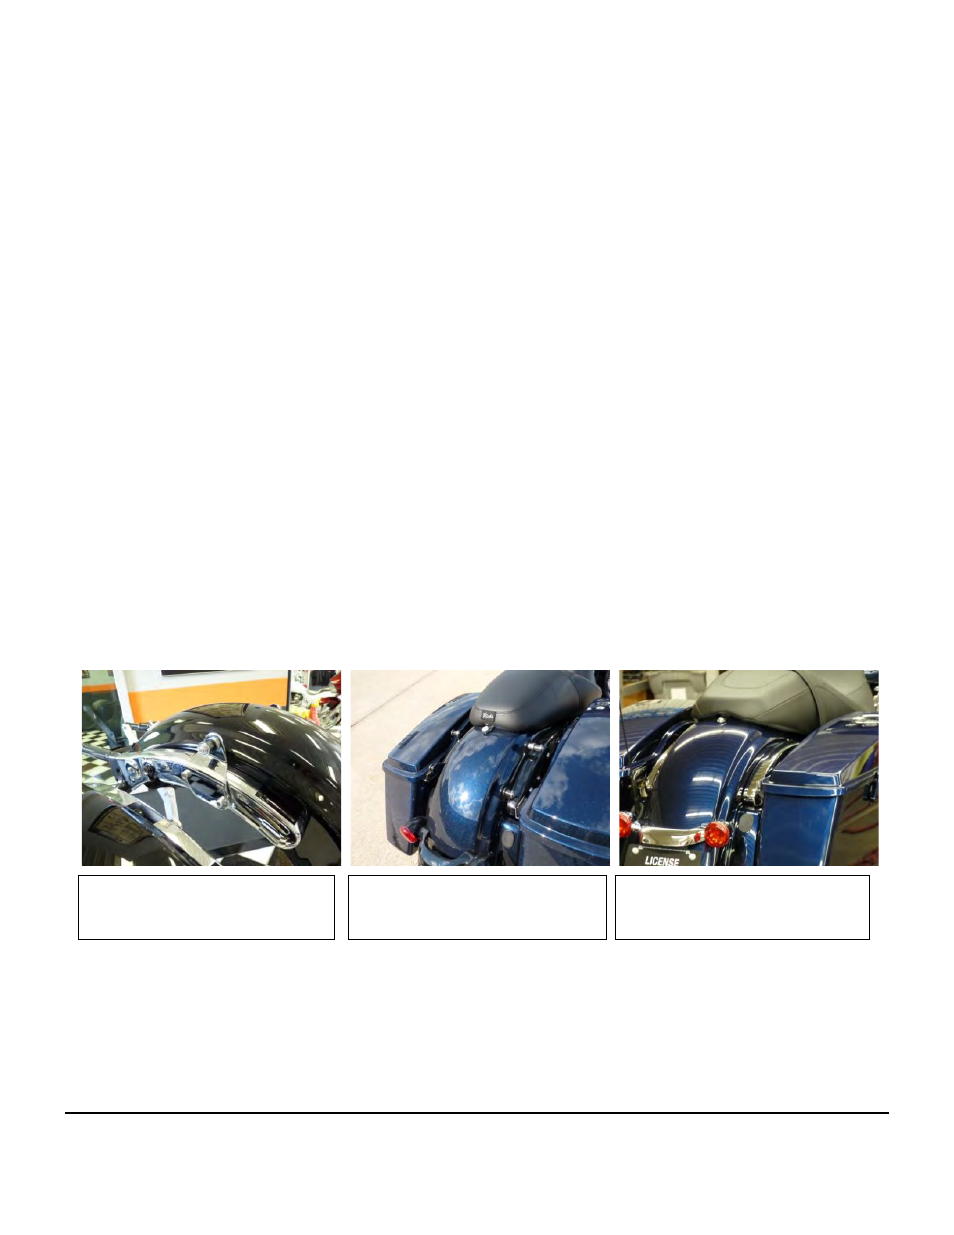
IMAGE #1 Sample of 2-Point
Backrest Hardware that would
need to be removed
IMAGE #2 Sample of 4-Point
Backrest Hardware that would
need to be removed
IMAGE #3 Rear Fender with all
stock mounting hardware
removed.