Section 2: installation – Hypertherm PCBS-0124 User Manual
Page 13
9
I
NSTALLATIONS
2.1 System
Installation
2.1.1 CPU
Installation
Carefully follow the steps below in order to install the CPU:
1. Check and confirm that the jumpers are correctly set for the CPU you are
going to install (figure 3).
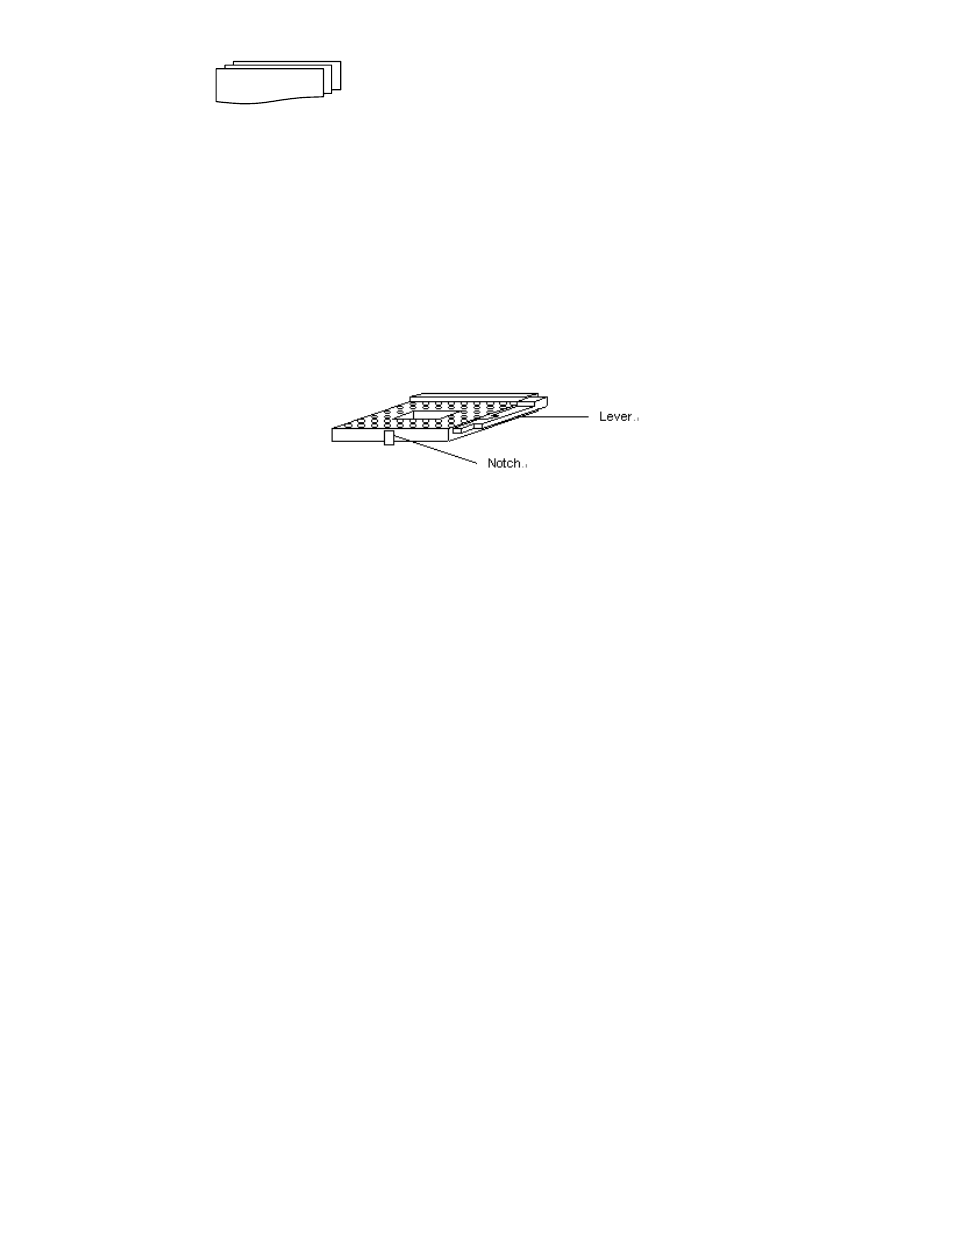
2. Lift the releasing lever of the Socket 478.
3. Align the pin of the CPU against the pinholes of the Socket 478. Be sure
to pay attention to the orientation of the CPU.
Figure 3: CPU Socket
4. Push down the CPU into the Socket 478.
5. Push down the release lever and lock it against the key hook.
6. Hook the hole in ZIF clip for the CPU cooling fan onto the notch on the
socket 478.
7. Place the CPU cooling fan atop the CPU surface.
8. Push down the opposite side of the ZIF clip and hook it.
9. Slide the head of the clip to left and lock it.
10. Connect the cooling fan cable to the socket as shown below. Be careful
not to place the cable on the CPU cooling fan.
S
ECTION
2