Ivoclar Vivadent IPS Empress CAD Labside User Manual
Page 35
35
2
nd
Incisal/Transpa firing (corrective firing) with IPS Empress Esthetic Veneer
After firing, carefully place the restoration on the model and rework. Proceed as follows for the 2
nd
firing:
– Clean the restoration with ultrasound in a water bath or with the steam jet and completely dry it.
– Already mixed ceramic material may be rewetted with distilled water, or mix fresh IPS Empress Esthetic Veneer materials
with the Build-Up Liquid.
– Complete the missing areas taking the final tooth shape into account.
– Once the tooth shape has been completed, allow the ceramic material to dry for a short period of time.
– Place veneers and anterior crowns on the honey-comb firing tray with the help of metal pins. Additionally support the
veneers with a small amount IPS Object Fix.
Complete the tooth shape with the 2
nd
firing and fire using the firing parameters below.
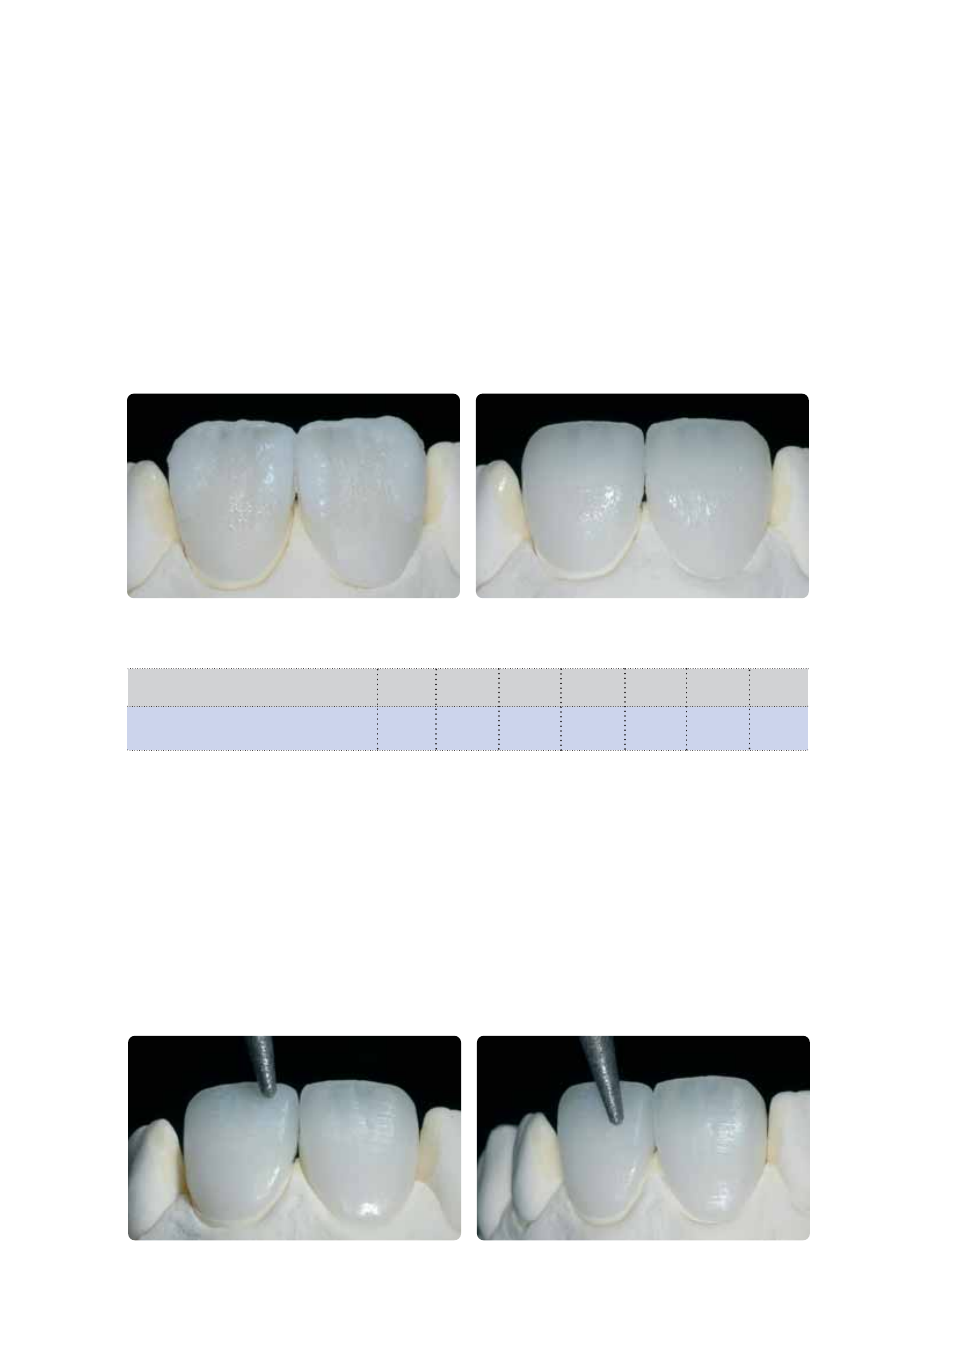
Finish the restoration with diamonds and give it a true-to-nature shape and surface structure.
Firing parameters for the 2
nd
Incisal/Transpa firing
(note the temperature control)
IPS Empress CAD with
B
S
t
➚
T H
V
1
V
2
IPS Empress Esthetic Veneer
2
nd
Incisal/Transpa firing
403°C
4'
60°C
830°C
2'
450°C
829°C
757°F
4'
108°F
1526°F
2'
842°F
1525°F
Finishing and preparing for stain and glaze firing
Before the stain and glaze firing, the restoration has to be finished as follows:
– Finish the restoration using diamonds and give it a true-to-nature shape and surface structure, such as growth lines and
convex/concave areas.
– The surface structure may have to be worked out more strongly, since it has been weakened by the glazing procedure.
– The areas that are not covered with layering ceramic have to be smoothed out and prepolished using silicone disks in
order to obtain an even gloss on the surface after glaze firing.