Calibration – Ivoclar Vivadent IPS Empress Esthetic User Manual
Page 27
27
Calibration
The furnace must be regularly calibrated to achieve optimum press results. Calibrate the EP 500 with the Temperature
Checking Set 2 and the EP 600 with the Automatic Temperature Checking Set 1.
EP 500
1. Switch on the EP 500 and allow the furnace to heat up to the stand-by-temperature of 700 °C/
1292 °F. Hold this temperature for at least 30 minutes.
2. Select a program for the staining technique T=1075 °C/1967 °F. Run the program with the furnace empty. After
activation of the holding time H=20 min., which the EP500 does automatically,
interrupt the program after 15 minutes (set timer) by pressing the STOP key twice.
If you fail to interrupt the program, the ER16 error message appears. Rectify this error by following the instructions
given on the corresponding list of error messages. Allow the furnace to cool until the stand-by-temperature of
700 °C/1292 °F has been reached with the furnace head closed. Hold this temperature for at least 30 minutes.
3. Place the calibration set on the honey-combed firing tray in order to ensure the appropriate height (temperature
range) in the furnace.
4. Conduct the calibration using the Temperature Checking Set 2.
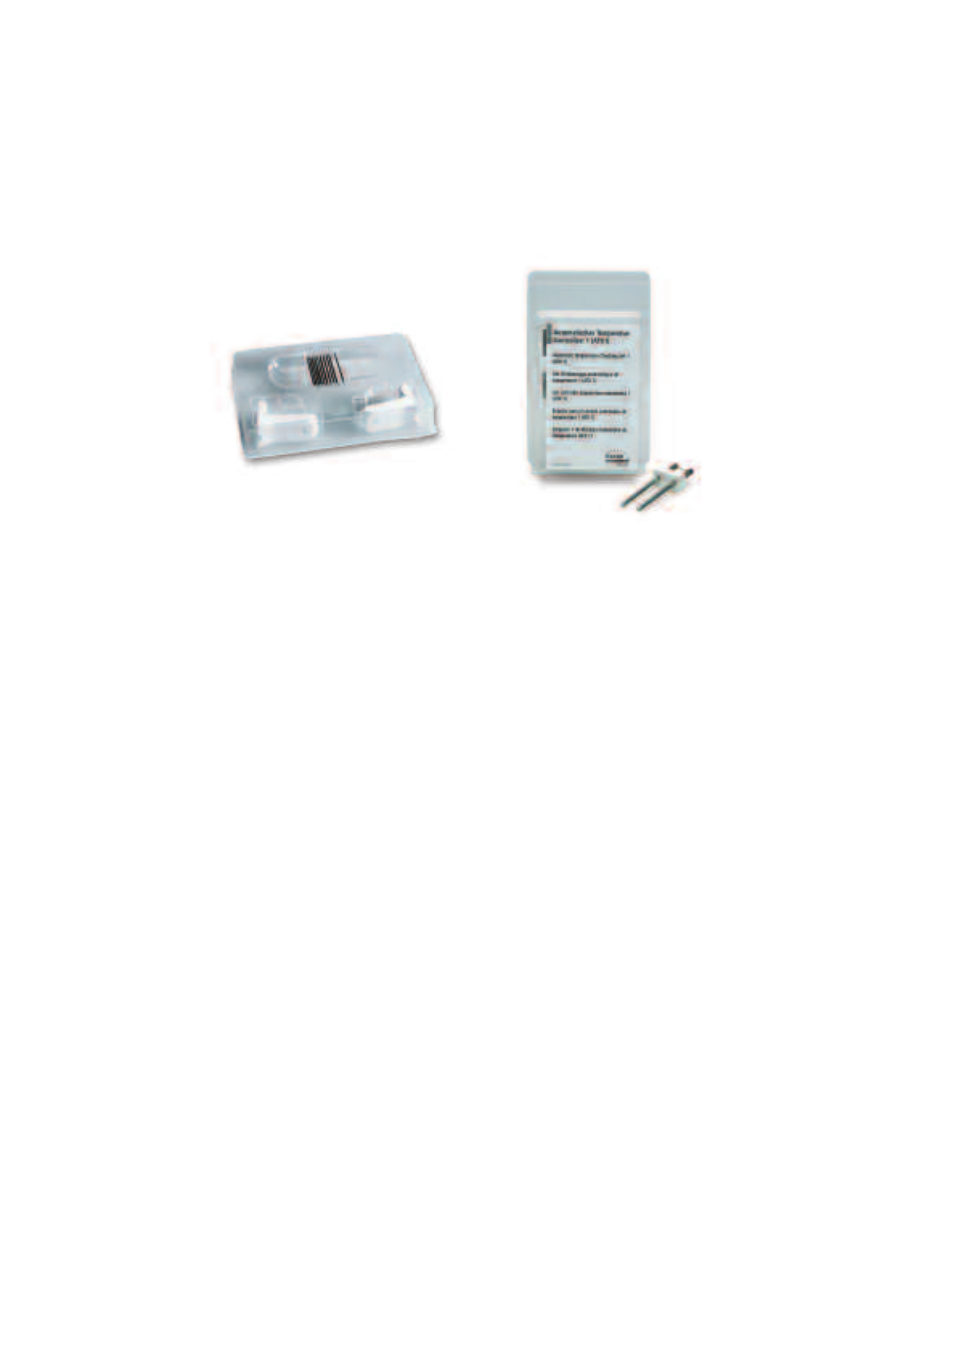
EP 600
1. Place the melting sample in the ceramic base.
2. Tighten the contact pin to secure the melting sample.
Important: Do not use tweezers or tongs. Apply slight pressure to secure the melting sample in place.
3. Select the calibration program in the 'Miscellaneous' menu. The furnace head opens.
4. Remove the firing plate from the furnace and place it on the cooling plate using the firing tongs.
5. Place the calibration tray in the holes for the Automatic Temperature Checking Set ATK 1 in the stone lining.
6. Slightly press the calibration tray into place with the firing tongs until you feel it click into place.
7. Start the calibration program
8. Once the program is completed, remove the calibration sample from the furnace using the tongs and allow it to cool.
Contraindication:
Do not pull at the melting sample. The ceramic base may fracture when you do so.
9. Replace the firing tray and select the firing program. The furnace head closes automatically.
10. Once it is cooled, disassemble the calibration sample.
11. Use a new melting sample for the next calibration procedure and start with item 1.