6 disk compare – Kanguru 4HD SATA User Manual
Page 18
18
3.1.6 Disk Compare
The Disk Compare function compares drives sector by sector to assure that all of the Target drives
have the same information as the Master drive. Disk compare can be used in conjunction with the
Disk Copy function.
Note: Compare functions can only be used when the UDMA transfer mode is disabled. To disable
the UDMA you have to enter the CONFIGURATION mode, select TRAN MODE and then define
the Transfer Mode as “UDMA0”. For more information on Transfer Mode, please see section 3.4.2
Tran Mode, p.35.
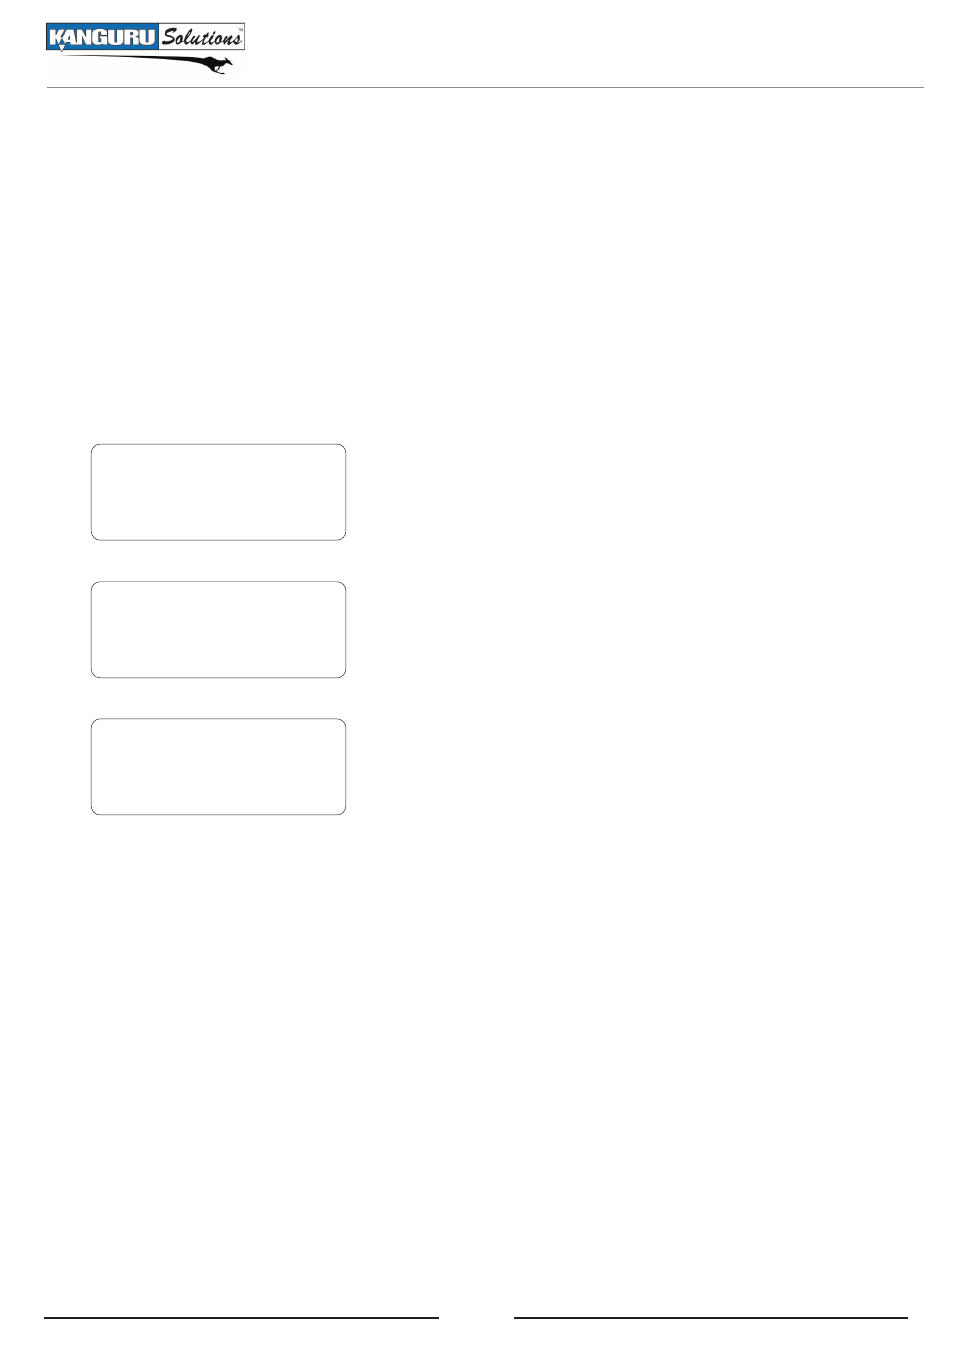
COPY
DIAGNOSTIC
TOOL
->
<- Back UP/DN Sel ->
[ ] AREA COPY
[ ] RATIO COPY
[ ] DISK COMPARE
->
<- Back UP/DN Sel ->
X
[COPY]
DISK COMPARE
Run by ‘>’
1. Leave all drives in place after a Disk Copy session has
completed.
2. From the Setup Menu, press the UP or DOWN buttons to
navigate to COPY mode. Press the RIGHT button to enter
COPY mode.
3. From the COPY Function Menu, press the UP or DOWN
buttons to navigate to the DISK COMPARE function. Press
the RIGHT button to select DISK COMPARE.
4. Press the LEFT arrow twice to return to the Main Menu.
5. Press the RIGHT button to begin the Disk Compare.
6. Once the KanguruClone has finished comparing, it will
display a “V” for verified target drives or an “X” for failed
drives.
Disk Compare