Sf 53w, Fastmig sf 52w, sf 53w, Power – Kemppi SF 52W User Manual
Page 10
FastMig SF 52W, SF 53W
8
EN
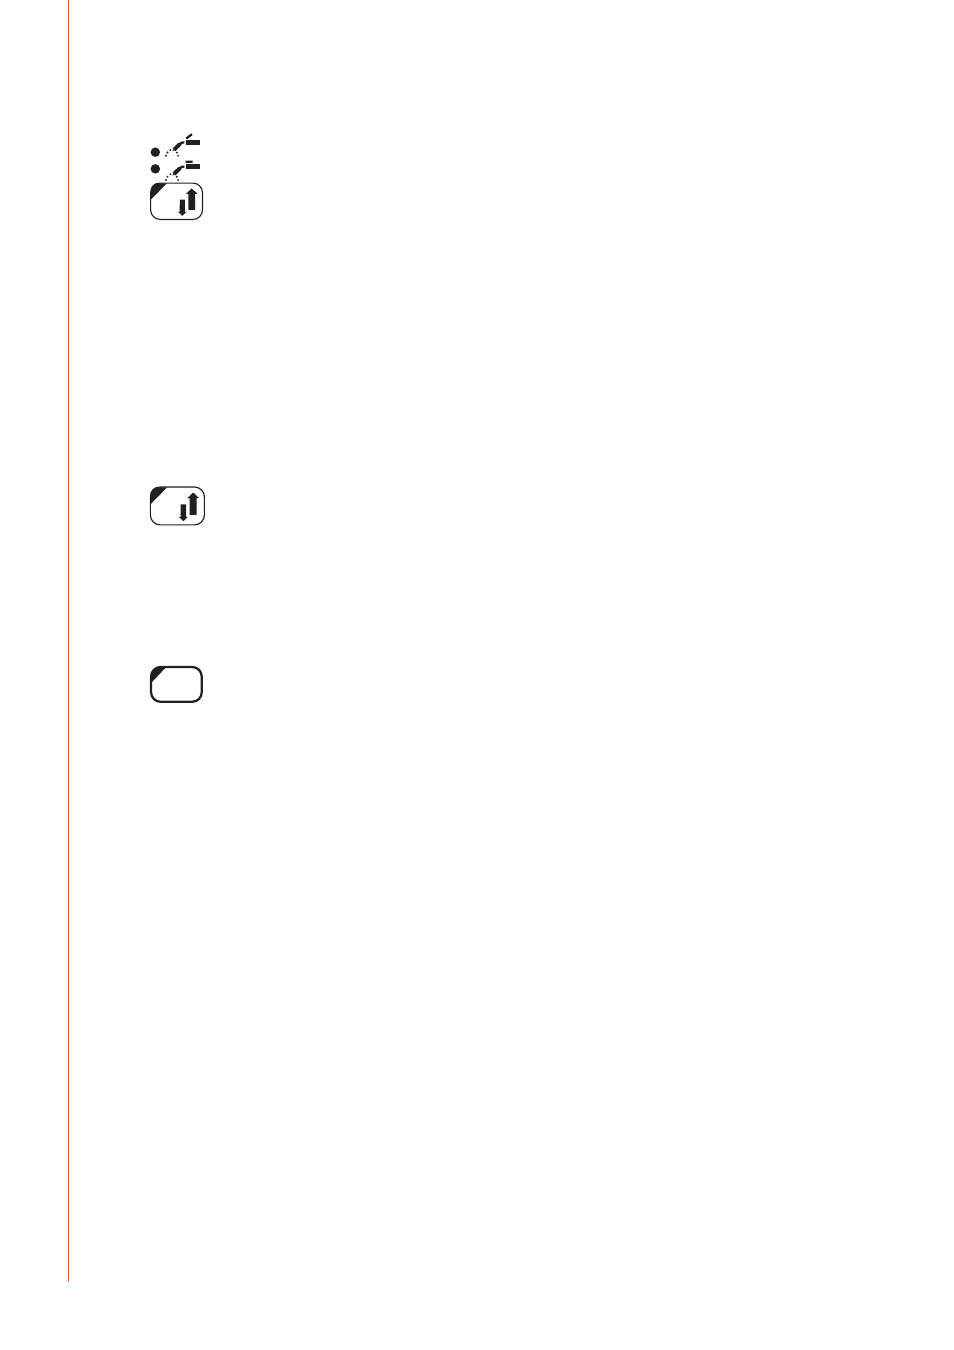
Selection of MIG operating procedure (10)
4T
2T
SETUP
/ MINILOG
MIG 2T: MIG welding with two-sequence procedure of welding gun start switch
1.
switch pressed: welding starts
2.
switch released: welding stops
MIG 4T: MIG welding with four-sequence procedure of welding gun start switch
1.
switch pressed: shielding gas flow starts
2.
switch released: welding starts
3.
switch pressed: welding stops
4.
switch released: shielding gas flow stops
Minilog: When Minilog is selected, 4T/Minilog LED flashes. Minilog is an additional function,
which can be purchased separately. (Minilog is also referred as 'Matchlog' in DataStore.)
Without Minilog license, press of the button chooses between 2T and 4T.
Setup (10)
WIRE INCH
GAS TEST
SET
ON
CH
PANEL
SAVE
SET
ch clear
ch remote
MEMORY
SELECT
quick
setup
weld
data
ARC FORCE
DYNAMICS
4T
2T
SETUP
MMA
PEN
MMA
WISE
1-MIG
MIG
POWER
U
SYNERGIC
PROGRAM
A
V
m/min
mm
SF 53W
W004270
/ MINILOG
When the adjustment of SETUP parameters has been confirmed with a long press of the
SETUP button (10), the adjustable parameter is selected via left potentiometer (control knob)
and the name of the parameter is shown on the left display. The parameter’s value is set via
right potentiometer (control knob) and the value is shown on the display on the right (see
’SETUP functions’).
Synergic 1-MIG or Wise welding (9, 11)
SELECT
SYNERGIC
PROGRAM
In Synergic 1-MIG welding, the optimal welding parameters for the welding wires and gas
used are recorded in the unit. The welding is controlled by adjusting the welding power and
arc length.
Synergic Wise processes are additional functions, which can be purchased separately.
Welding program selection:
Before starting to weld, a welding program suitable for the welding wire and gas used must
be chosen based on this Operating Manual.
Welding program selection is activated by pressing Synergic Program button longer than one
second. In this case both displays begin to flash and the material group is selected from the
left-hand potentiometer and the welding program for the material group in question from the
right potentiometer; see the enclosed table.
The selected programme is immediately recorded in the memory. To get back to normal status
press ON/OFF (1) key, or Synergic PROGRAM button (9).
Use of a selected welding program:
Select the relevant welding process with the 1-MIG selection button (11). Check that the
welding program corresponds to the welding wire and shield gas in use. The check is
performed by briefly pressing the Synergic PROGRAM button (9), after which the displays
show the material group and the welding program number. Consult the above-mentioned
table for the wire type and gas that correspond with the welding program.
Set the desired welding power via the left-hand potentiometer (control knob) and the arc
length via the potentiometer (control knob) on the right.