Marantz NR1601 User Manual
Page 13
7
Basic version
Advanced version
Information
ENGLISH
DEUTSCH
FRANÇAIS
ITALIANO
ESPAÑOL
NEDERLANDS
SVENSKA
Simple version
ENGLISH
DEUTSCH
FRANÇAIS
ITALIANO
ESPAÑOL
NEDERLANDS
SVENSKA
About setup microphone placement
• Measurements are performed by placing the setup microphone
successively at multiple positions throughout the entire listening
area, as shown in GExample qH. For best results, we recommend
you measure in six positions, as shown in the illustration (up to six
positions).
• Even if the listening environment is small as shown in GExample wH,
measuring at multiple points throughout the listening environment
results in more effective correction.
FL SW C
FR
SR
SBL
SBR
SL
*M
FL SW C
FR
SR
SBL
SBR
SL
*M
( : Measuring positions)
G
Example qH
G
Example wH
( : Measuring positions)
FL Front speaker (L)
SL Surround speaker (L)
FR Front speaker (R)
SR Surround speaker (R)
C
Center speaker
SBL Surround back speaker (L)
SW Subwoofer
SBR Surround back speaker (R)
About the main listening position (*M)
The main listening position is the position where listeners would
normally sit or where one would normally sit alone within the listening
environment. Before starting Audyssey Auto Setup, place the setup
microphone in the main listening position. Audyssey MultEQ® uses
the measurements from this position to calculate speaker distance,
level, polarity, and the optimum crossover value for the subwoofer.
The “Simple version” section provides the speaker installation, connection, and setup methods for the 7.1-channel system with surround back
speakers. For the installing, connecting, and setup methods of speakers other than the 7.1-channel system (with surround back speakers), see page 31.
Set up speakers (Audyssey® Auto Setup)
3
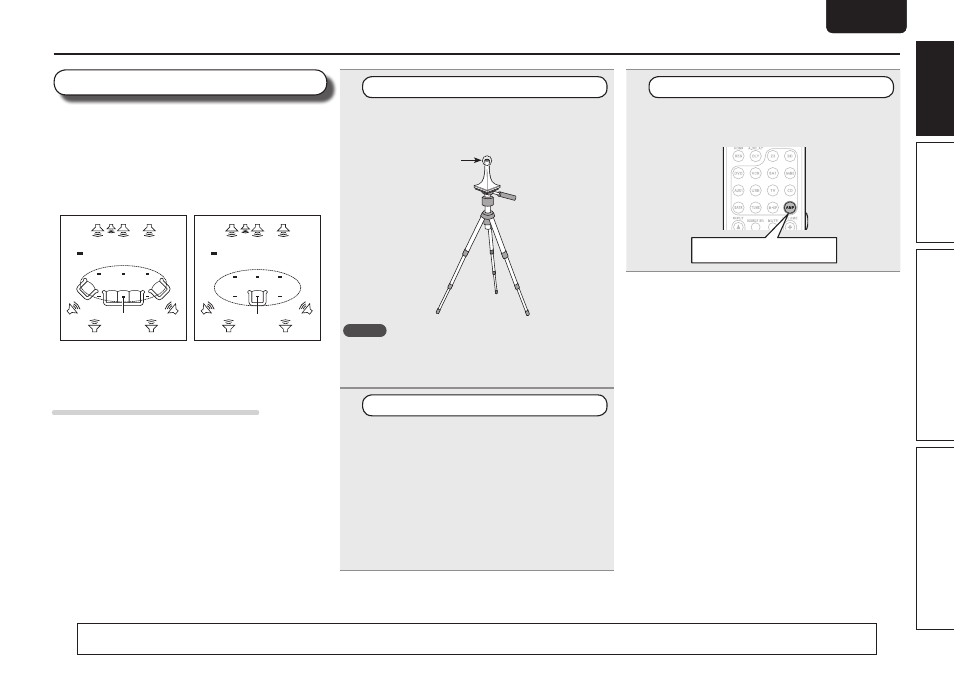
Set up the remote control unit
n
Set up the operation mode
Press
AMP
to set the remote control unit to amplifier
operation mode.
Press AMP
1
Set up the microphone
Mount the setup microphone on a tripod or stand
and place it in the main listening position.
When placing the setup microphone, adjust the height of the
sound receptor to the level of the listener’s ear.
Sound receptor
Setup
microphone
NOTE
• Do not hold the setup microphone in your hand during
measurements.
• Avoid placing the setup microphone close to a seat back or wall as
sound reflections may give inaccurate results.
2
Set up the subwoofer
If using a subwoofer capable of the following
adjustments, set up the subwoofer as shown below.
n
When using a subwoofer with a direct mode
Set the direct mode to “On” and disable the volume adjustment
and crossover frequency setting.
n
When using a subwoofer without a direct mode
Make the following settings:
• Volume : “12 o’clock position”
• Crossover frequency :
“Maximum/Highest Frequency”
• Low pass filter : “Off”
• Standby mode : “Off”