Startup, Ncast telepresenter reference manual – NCast Telepresenter M4 User Manual
Page 10
NCast Telepresenter Reference Manual
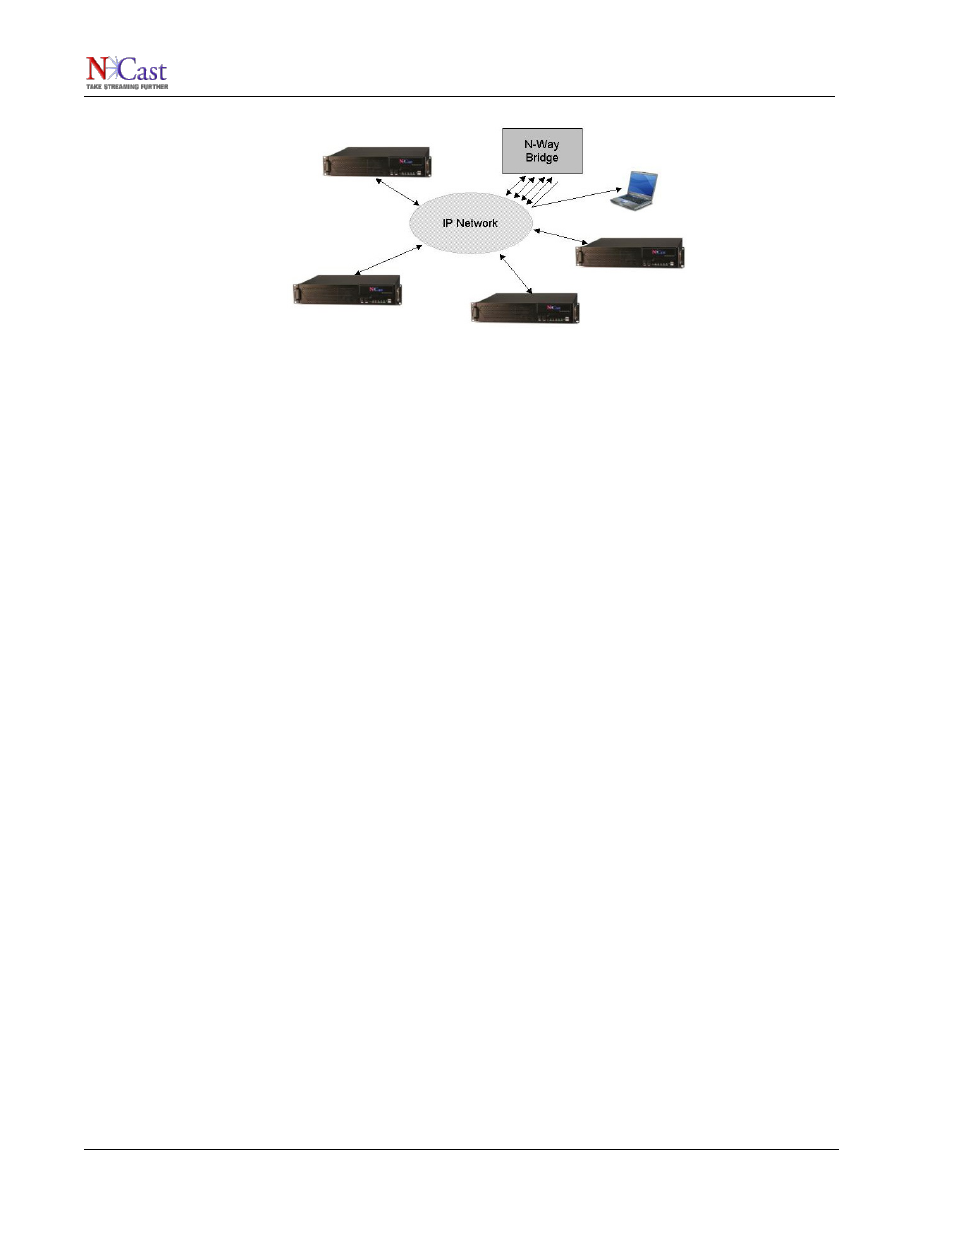
N-Way functionality and services are described in the N-Way Reference Manual. Contact
NCast Corporation for more information on N-Way Servers and Services.
1.6. S
TARTUP
1.6.1. Really, Really Quick Start
Here’s a really short description on how to get started:
1. Plug the unit into a network with DHCP, and plug in an LCD Display to the VGA Out, your
laptop into the VGA In, a camera into a video connector (if you have one) and turn on the
power.
2. When you see the bootup screen with the IP network address, log into the unit at
http://ipaddress using “admin” as the user and “ncast” as the password.
3. On the Sources page select your input feeds from the top two rows of buttons and then on
the Channels page click the Channel Start button “1” on the left.
4. Go to the View page, click on “Quicktime RTSP” and you’re done!
1.6.2. Mini Start
This is a short introduction on how to get started with a Telepresenter:
1. Plug the unit into a network and plug in an LCD Display to the VGA Out, your laptop into the
VGA In, a camera into a video connector (if you have one) and turn on the power. If you
aren’t using DHCP and need to enter static IP addresses, edit a “ntwkconf.txt” file onto a USB
stick and plug it into a USB port. See the Network Settings section for details on this file.
2. When you see the bootup screen with the IP network address, log into the unit at
http://ipaddress using “admin” as the user and “ncast” as the password.
3. Go to the Configuration/Unit Options page and fill in all the information required.
4. Go to the Display page and setup your local loopback display parameters.
5. On the Sources page select your input feeds from the top two rows of buttons. Select your
Audio Input source. Also select the Main and PIP Window settings. Turn the audio meter on.
You should see your captured graphics and video on the local display screen. Check your
audio levels on the meter.
6. On the Channels page modify a Channel for the transmission rates and multicast or unicast
addresses you wish to use. Use the Layout tab to specify the resolution and window
placement desired. Review the Recording options. Update the Channel information. Click the
Channel Start button on the left for the Channel you have modified.
7. You will see a Session Start page come up with details about your ongoing transmission. If
you wish to start recording the Session, press the Record button.
NCast Corporation
Revision 2.2
Page 10