User management, Server, Client – OpenEye OE2-E480 User Manual
Page 26
26
USER MANAGEMENT
Use the User Management Setup to Add or Delete user accounts on the DVR and accounts for remote access.
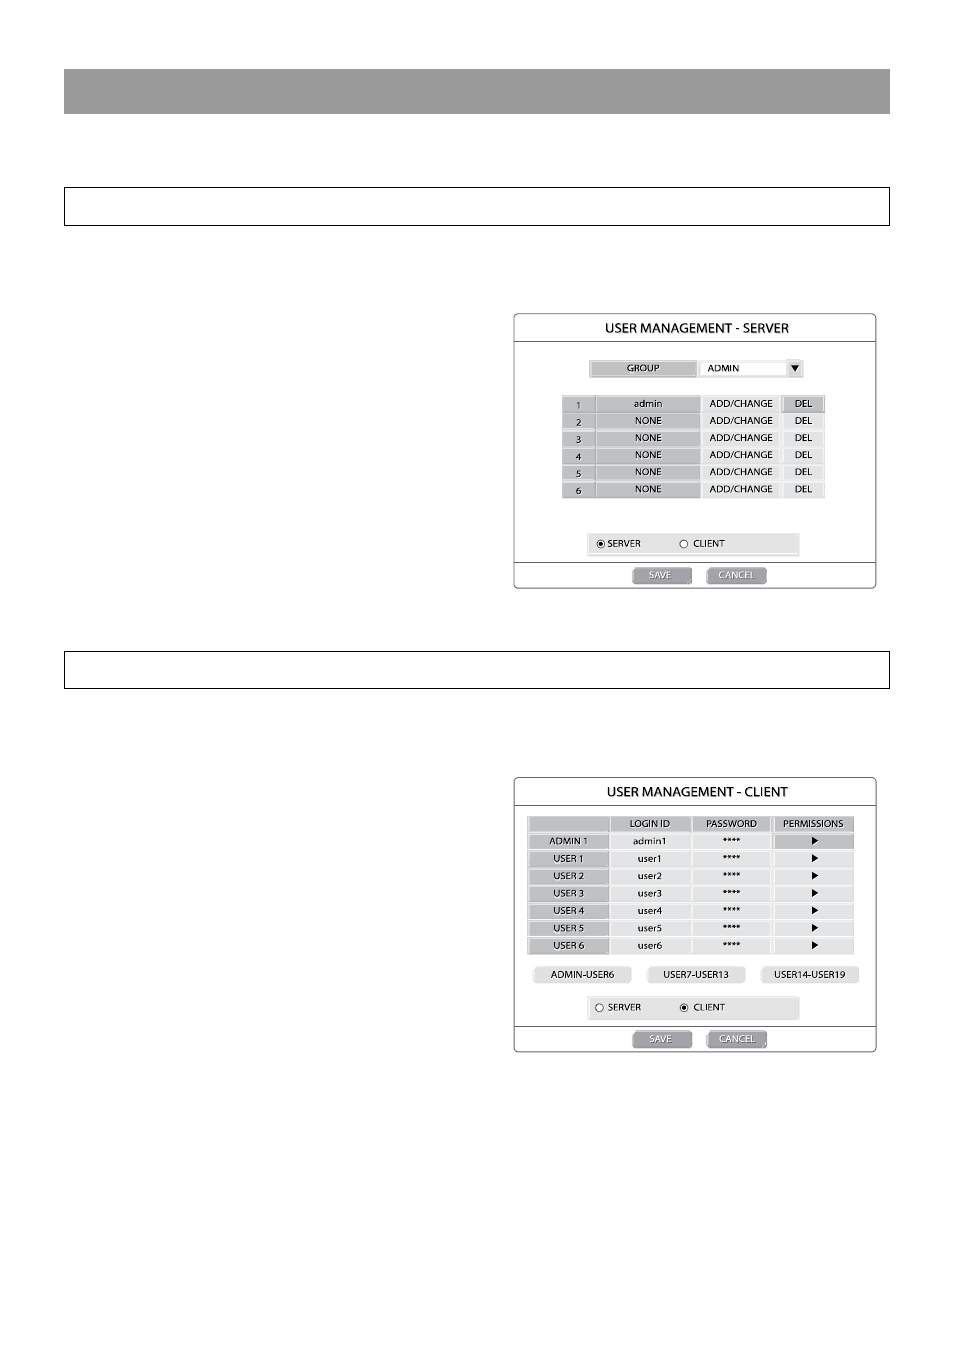
Server
Use the Server menu to manage users that access the DVR locally.
There are three user levels available (Admin, SuperUser, User).
To add a new user:
1. Select the authorization level from the GROUP list.
2. Select ADD on an unused row and press ENT.
3. Select OK to confirm.
4. Use the on-screen keyboard to input the user name.
5. Set the user password using the onscreen keypad,
front panel buttons, remote controller or mouse.
6. Repeat to set up more users with appropriate
authorization levels.
7. Select SAVE and press ENT to save settings.
Client
Use the Client menu to manage users that access the DVR remotely. Remote users must be defined on this page. Only the
users defined here can access the DVR remotely. Add up to 19 users in addition to the Admin user.
To add a new user:
1. Select a LOGIN ID and press ENT.
2. Use the on-screen keyboard to input the user name.
3. Set the user password using the onscreen keypad or
the number buttons on the front panel or remote
control. Repeat the password to confirm.
4. Set the user permissions.
Playback – ON/OFF
Backup – ON/OFF
Health Check –
ON/OFF
Live View – 1~16, ALL, OFF
PTZ Control – 1~16, ALL,
OFF
5. Repeat the above steps to set up additional users.
6. Select SAVE and press ENT to save settings.