General information, Cleaning, Care & maintenance – LG GW-B489SMFZ User Manual
Page 14
14
ENGLISH
CARE & MAINTENANCE
General information
Power failure
1~2 hour power failure does no harm to the foods
stores. Try to avoid opening and closing the door
too frequently.
If you move
• Take out foods from the fridge-freezer and fi rmly fi x
the loose items with tape.
• Turn the leveling screws until they stop before
moving the fridge-freezer. Otherwise the screw may
scratch the fl oor or the fridge-freezer cannot move.
Anti condensation pipe
The Anti-Condensation pipe is
installed around the front side of
fridge and freezer, only freezer as
well as on the partition between
fridge compartment and freezer
compartment to prevent dewing.
Especially after installation or when ambient
temperature is high, the fridge-freezer may feel hot,
which is quite normal.
Defrosting
Defrosting takes place automatically.
The defrosting water fl ows down to the evaporating
tray and is evaporated automatically.
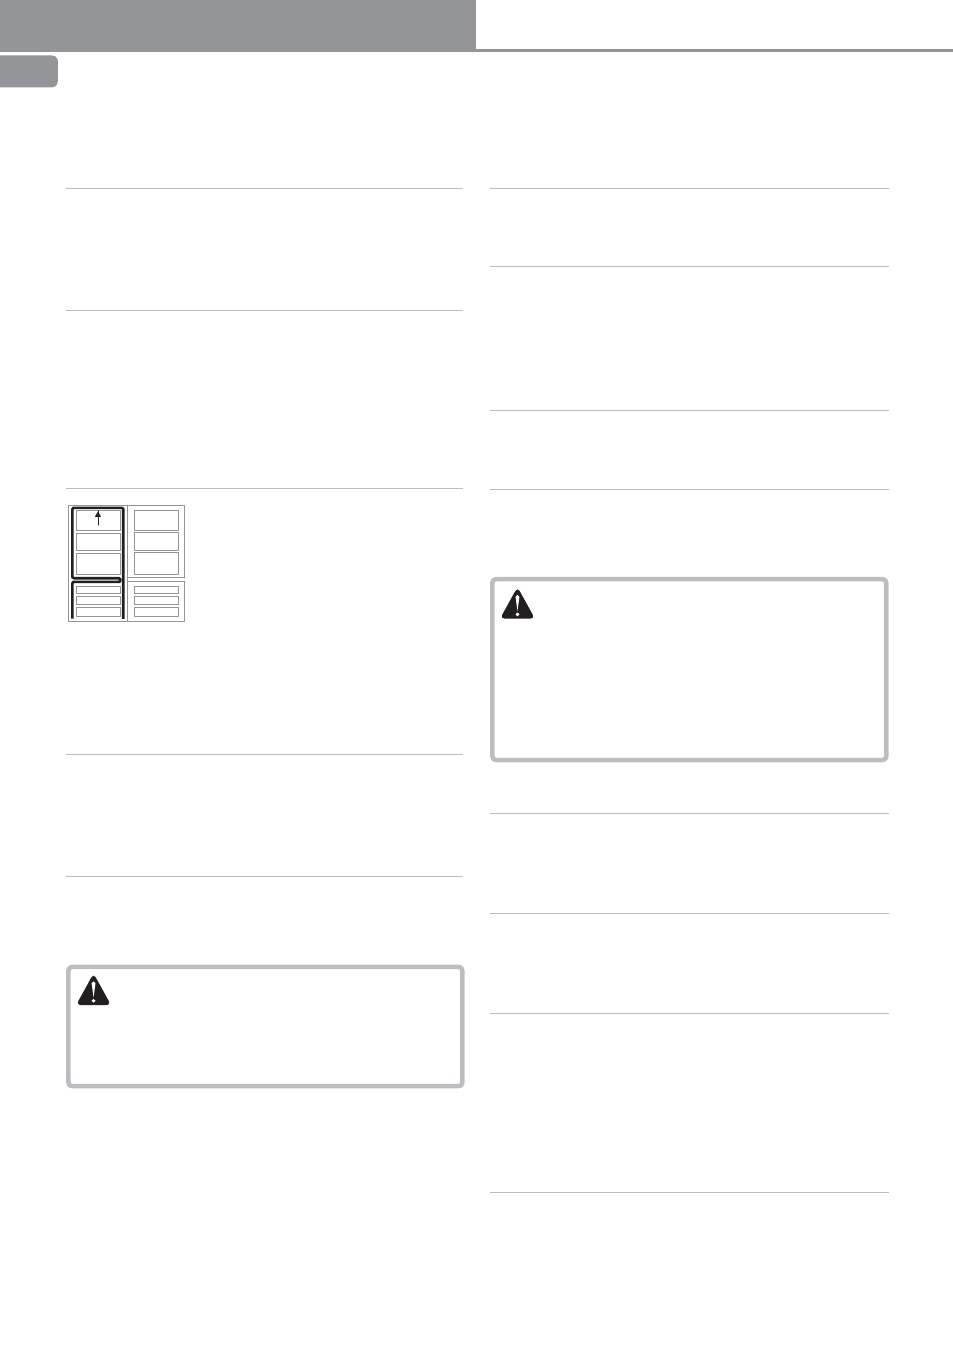
To reverse the doors
Your fridge-freezer is designed with reversible doors,
do that they may open from either the left of right
hand side to suit your kitchen design.
CAUTION
However, when you want to reverse the doors, you
must call to service agent. Reversing the doors is
not covered by the warranty.
Cleaning
Before cleaning
Be sure to unplug the power.
Exterior
Clean the outside of the fridge-freezer with a soft
cloth soaked with hot water or liquid detergent. If
you use a detergent, be sure to wipe it with a clean
wet cloth.
Interior
Same as above.
After cleaning
Check that the power cord is not damaged, power
plug has not overheated, and that the power plug is
tightly inserted into the outlet.
WARNING
Be sure to dry the appliance with a cloth after
washing it with water.
Do not use abrasive, petroleum, benzene, thinner,
hydrochloride acid, boiling water, rough brush,
etc, as they may damage parts of the fridge-
freezer.
Drip tray
Wipe moisture out around the door part and the
drip tray using a clean cloth.
Exterior dispenser
Wipe moisture out of dispenser and on the dis-
penser pad using a cloth.
Water tank
1.
Turn the knob shutter to open. And pull out
the water tank assembly.
2.
After unlocking the clamp and remove it, clean
and fully rinse the inside/outside part of the
water tank by using neutral cleansing agent.
Cap assembly tank and cap tank
Clean and fully rinse the cap assembly tank & cap
tank by using neutral cleansing agent.
Especially for the groove part of the cap tank, it is
convenient to cleanse it by using a small brush.