QuickLabel Kiaro! User Manual
Page 145
RW-5 Rewinder
Kiaro! User Guide
129
6
Feed the media under the rewinder dancer arm [5] and up around the empty label
core. The inside edge of the media should be aligned squarely with the inner flange
[1].
If the media is not squarely aligned with the inner flange, adjust the position of the
rewinder as needed.
•
Loosen the thumb screws that fasten the RW-5 rewinder to the R-U bracket.
Slide the rewinder left/right as allowed by the adjustment slots until the media
is squarely aligned with the inner flange. Then tighten the thumb screws.
•
If a greater adjustment range is needed, loosen the thumb nuts that fasten the
R-U bracket to the R bracket. Slide the rewinder left/right as allowed by the
adjustment slots until the media is squarely aligned with the inner flange.
Then tighten the thumb nuts.
7
Fasten the end of the media to the core with tape. Ensure the printed side faces out.
8
Adjust the spring collar on the dancer arm. Slide the collar just before it contacts
the media. Label media should be able to move smoothly without being hindered
by the collar.
9
Reinstall the outer flange [2] and then turn the mandrel adjustment knob [4]
clockwise to tighten the mandrel.
10
Turn the power switch [3] on the rewinder to the on position.
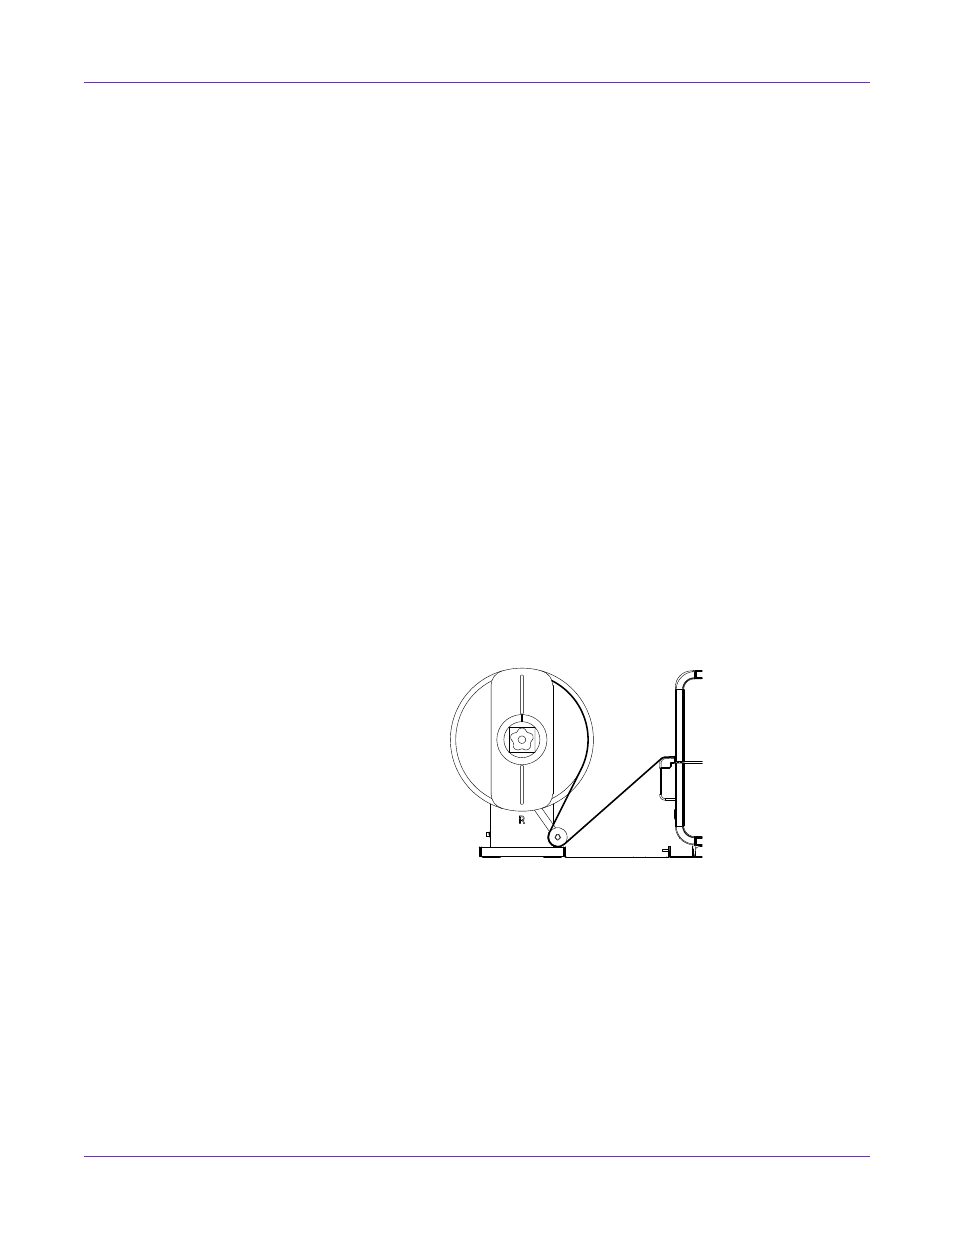
When the dancer arm is in a lowered position, the rewinder mandrel will rewind
media as needed. Do not turn the mandrel by hand to rewind the media. The
media rewind path is illustrated below.
11
Resume the print job on the Kiaro! printer. The rewinder will rewind media
automatically as needed. The rewinder will stop when the printer stops advancing
media or when the printer is out of media.