Adjusting the flash head, Setting of flash coverage angle – SIGMA ELECTRONIC FLASH EF-610 DG SUPER NA-iTTL (ニコン用) User Manual
Page 17
16
3. Close the cover.
4. Slide the Power Switch to the ON position. After few seconds the Ready Lamp will light, indicating
that the flash unit can be fired.
5. Please press the “Test Button” to be sure that the flash is working properly.
AUTO POWER OFF
To conserve battery power, the flash unit automatically turns itself off when the flash is not used within
approximately 80 seconds. To turn the flash on again, depress the TEST button or the camera shutter
button halfway. Please note that the “Auto Power Off” mechanism does not work with wireless TTL
flash mode, normal slave flash, and designated slave flash modes.
Please Note; However, “Auto Power Off” mechanism does not work with slave flash mode.
ERROR INDICATION
If the battery power is not sufficient, or if there is an electric information error between the camera and
flash unit, the “Er” icon will blink on the LCD panel. When this occurs, turn the power switch off and on.
If it still blinks, after this procedure, check the battery power.
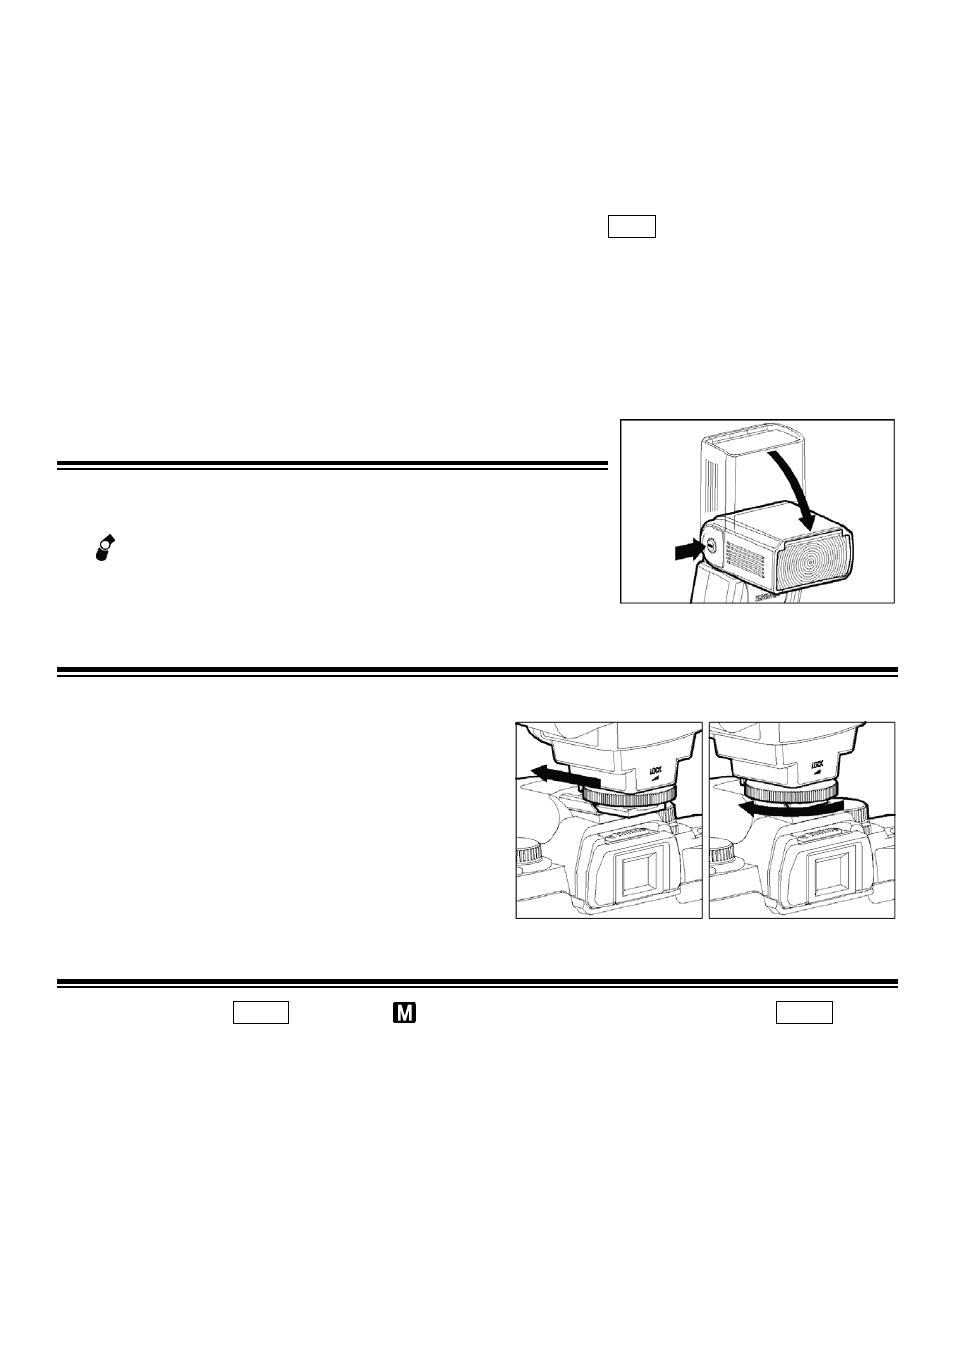
ADJUSTING THE FLASH HEAD
Depress the Bounce “Up and Down” Lock and Release Button and
adjust the flash head to the desired position.
◆
If appears on the LCD panel when you turn on the flash, and
if this mark blinks, then the flash head is adjusted to an incorrect
position.
ATTACHING AND REMOVING THE FLASH TO AND FROM THE CAMERA
Be sure to turn off the Power Switch, then insert the Shoe Base into the hot shoe on the camera and
turn the Shoe Locking Ring until it is tight.
◆
When you attach or remove the flash, grasp the
bottom of the flash to prevent damage to the shoe
foot and the camera’s hot shoe.
◆
If the camera’s built-in flash is set in up position,
please close it before you attach the flash unit.
◆
To remove the flash, rotate the shoe-locking ring in
the opposite direction of ◄LOCK mark, until it
stops.
SETTING OF FLASH COVERAGE ANGLE
When you press the ZOOM button, the
symbol appears. Each time you press the ZOOM button,
the LCD panel display will change and indicate the zoom position in sequence as follows.
24mm → 28mm → 35mm → 50mm → 70mm → 85mm → 105mm →
(
Auto)
Please confirm the distance from <<CHART A>> page 18. If the setting is possible with 1 then
depending on the focal length of the lens, the flash coverage angle will be set automatically, when TTL
mode is chosen.
◆
When you turn on the main switch, the flash will memorize and set the zoom head position to the
last setting used.
◆
If you use a lens wider than the flash head setting, there may be under exposed areas around the
edges of the picture.
◆
Depending on the flash head setting, the flash’s Guide Number will change.