Step 7: access the camera live view, Step 8: adjust the viewing angle and focus – ACTi Outdoor Dome on Straight Wall with L-Bracket Wall Mount User Manual
Page 15
Installation Guide
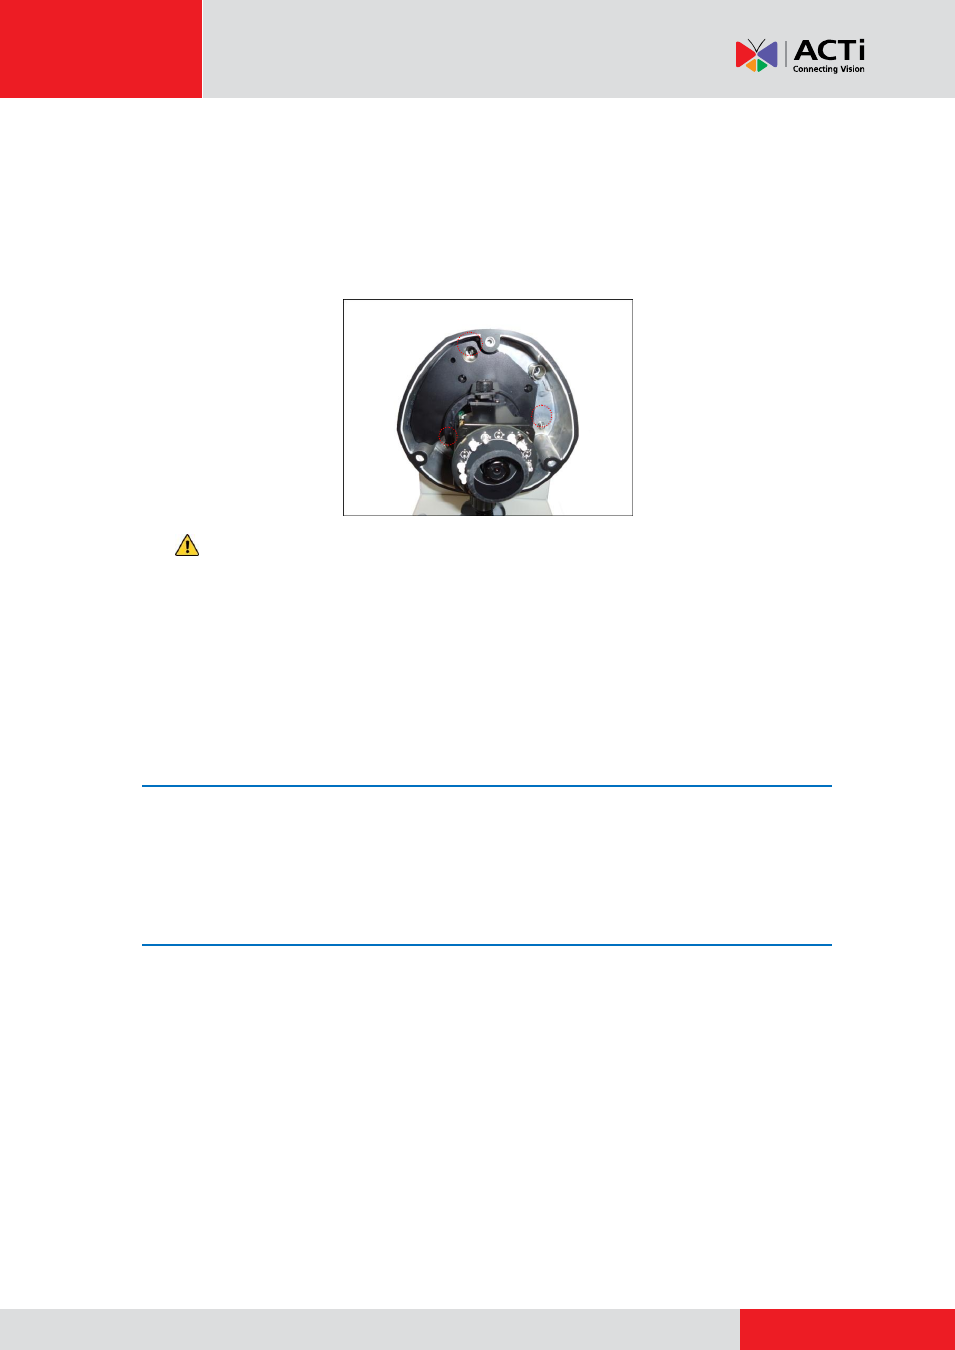
3.
Attach the three (3) screws (included in the L-type wall mount package) to secure the camera
to the mount.
NOTE:
The L-Type wall mount includes several screw packs of varying sizes, select the
screw pack that corresponds to the camera model.
CAUTION:
When using electric screwdrivers,
be careful not to touch the internal
camera components while attaching the screws. Since electric screwdrivers vary in sizes,
speed, and force, they may bruise and damage the internal camera components.
DISCLAIMER:
ACTi will
not be responsible for camera damage caused by improper
installations or the misuse of equipment for installation.
Step 7: Access the Camera Live View
Accessing the Camera Live View
on page
17 for more information.
Step 8: Adjust the Viewing Angle and Focus
Based on the Live View, adjust the viewing angle and orientation of the camera. Adjustments vary
per model, for detailed information, please refer to the following sections:
For D7x / E7x camera models, see
on page 25.
For D8x / E8x / ACM-7411 camera models, see
on page 27.
For KCM-7111 camera models, see
on page 28.
For KCM-7311 camera models, see
on page 29.