1 fundamentals, Overview, Fundamentals – HEIDENHAIN TNC 640 (34059x-04) Cycle programming User Manual
Page 490

Touch Probe Cycles: Automatic Workpiece Inspection
17.1 Fundamentals
17
490
TNC 640 | User's Manual Cycle Programming | 3/2014
17.1
Fundamentals
Overview
When running touch probe cycles, Cycle 8 MIRROR
IMAGE, Cycle 11 SCALING and Cycle 26 AXIS-
SPECIFIC SCALING must not be active.
HEIDENHAIN only gives warranty for the function of
the probing cycles if HEIDENHAIN touch probes are
used.
The TNC must be specially prepared by the machine
tool builder for the use of a 3-D touch probe.
Refer to your machine manual.
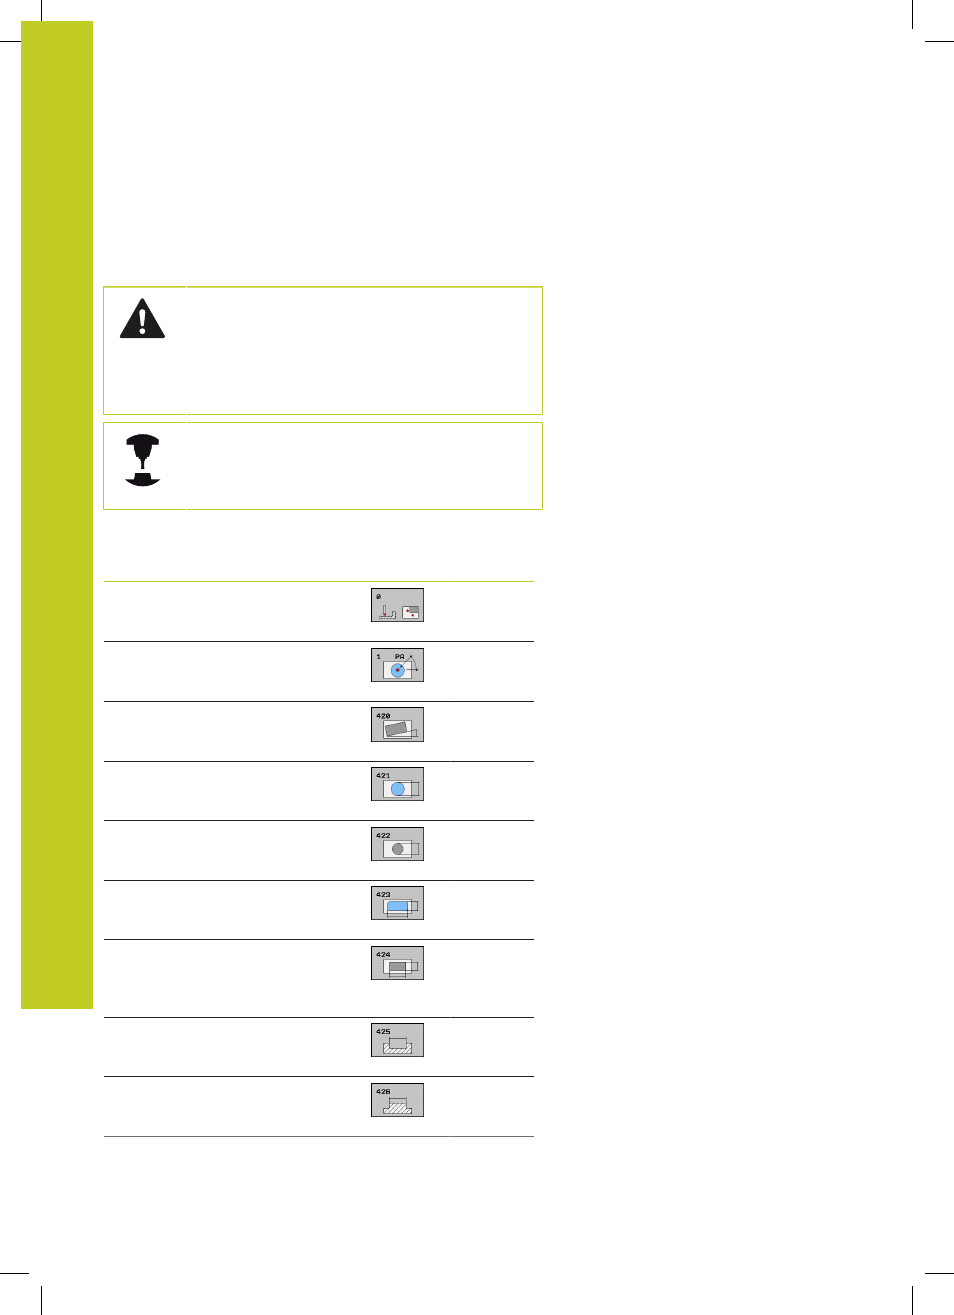
The TNC offers twelve cycles for measuring workpieces
automatically.
Cycle
Soft key
Page
0 REFERENCE PLANE
Measuring a coordinate in a
selectable axis
1 POLAR DATUM PLANE
Measuring a point in a probing
direction
420 MEASURE ANGLE
Measuring an angle in the working
plane
421 MEASURE HOLE
Measuring the position and diameter
of a hole
422 MEASURE CIRCLE OUTSIDE
Measuring the position and diameter
of a circular stud
423 MEASURE RECTANGLE INSIDE
Measuring the position, length and
width of a rectangular pocket
424 MEASURE RECTANGLE
OUTSIDE
Measuring the position, length and
width of a rectangular stud
425 MEASURE INSIDE WIDTH
(2nd soft-key level) Measuring slot
width
426 MEASURE RIDGE WIDTH
(2nd soft-key row) Measuring the
width of a ridge