Whelen SK02V3AA User Manual
Automotive: lightheads
Page 1
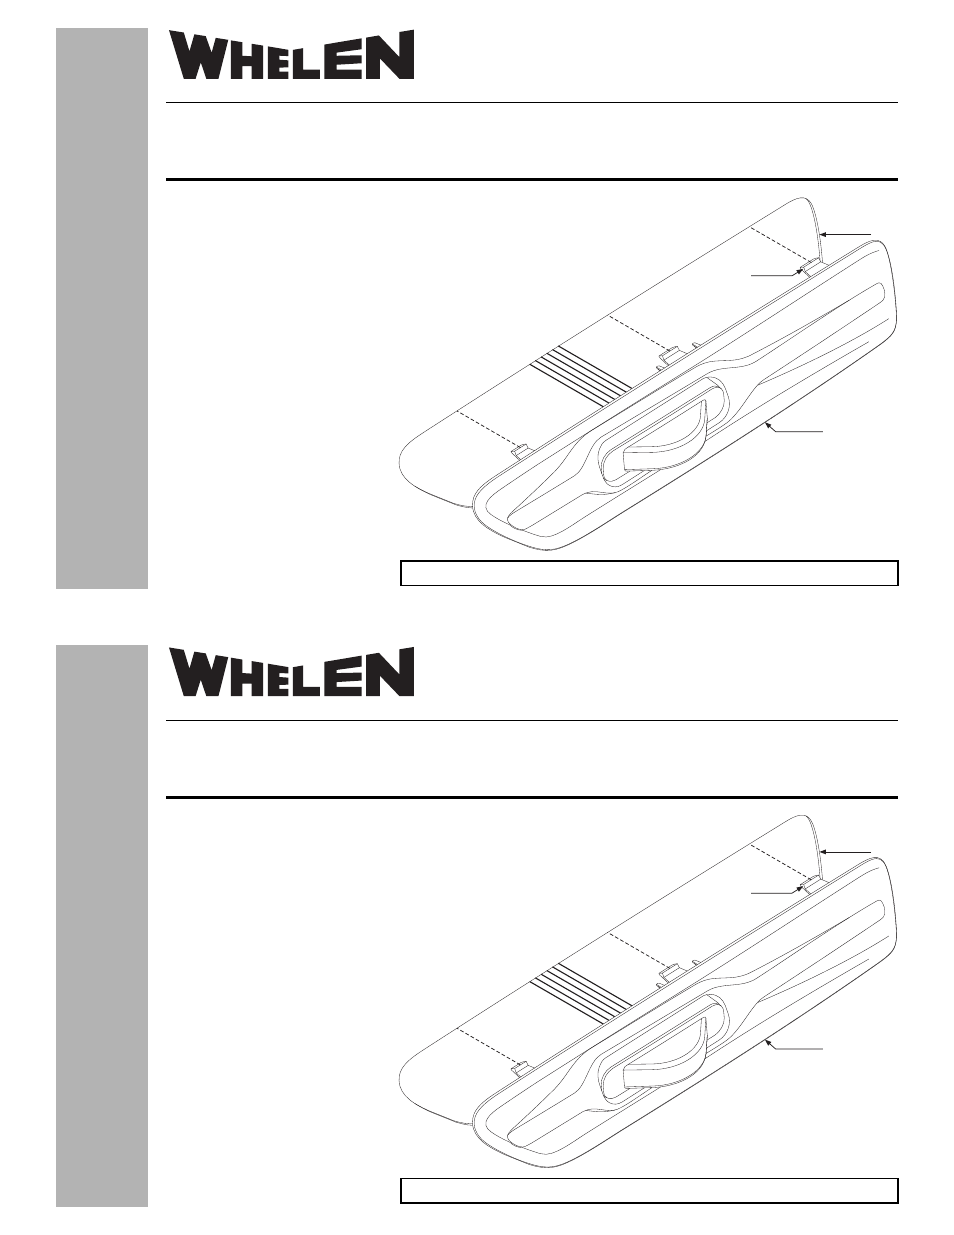
SideKick™
Bezel
Fender
Opening
Retaining
Tab
©2013 Whelen Engineering Company Inc.
Form No.14721(080713)
Automotive:
Lightheads
Installation Guide:
SideKick™ V Series Fender Light
2012 - 2013 Chevrolet Caprice
®
ENGINEERING COMPANY INC.
51 Winthrop Road,
Chester, Connecticut 06412-0684
Phone: (860) 526-9504
Fax: (860) 526-4078
Internet: www.whelen.com
Sales e-mail: [email protected]
Canadian Sales e-mail: [email protected]
Customer Service e-mail: [email protected]
For warranty information regarding this product, visit www.whelen.com/warranty
Installation:
1.
Remove the vent panel from the vehicle per manufacturers instructions.
2.
Install the V Series lighthead into the SideKick panel using the 2 supplied
washer head screws.
3.
Extend the lighthead wires into the fender and to their
appropriate designations. Refer to the reverse side of this
document for wire colors, functions, fuse values and
switch information.
4.
Install the SideKick panel, making sure all
of the retaining tabs are fully engaged
and locked into place.
IMPORTANT: Before returning
the vehicle to active service,
visually confirm proper
operation of this product as well
as all vehicle components/equipment.