Solar-600 solar analyzer – Amprobe SOLAR-600 Solar-Analyzer User Manual
Page 6
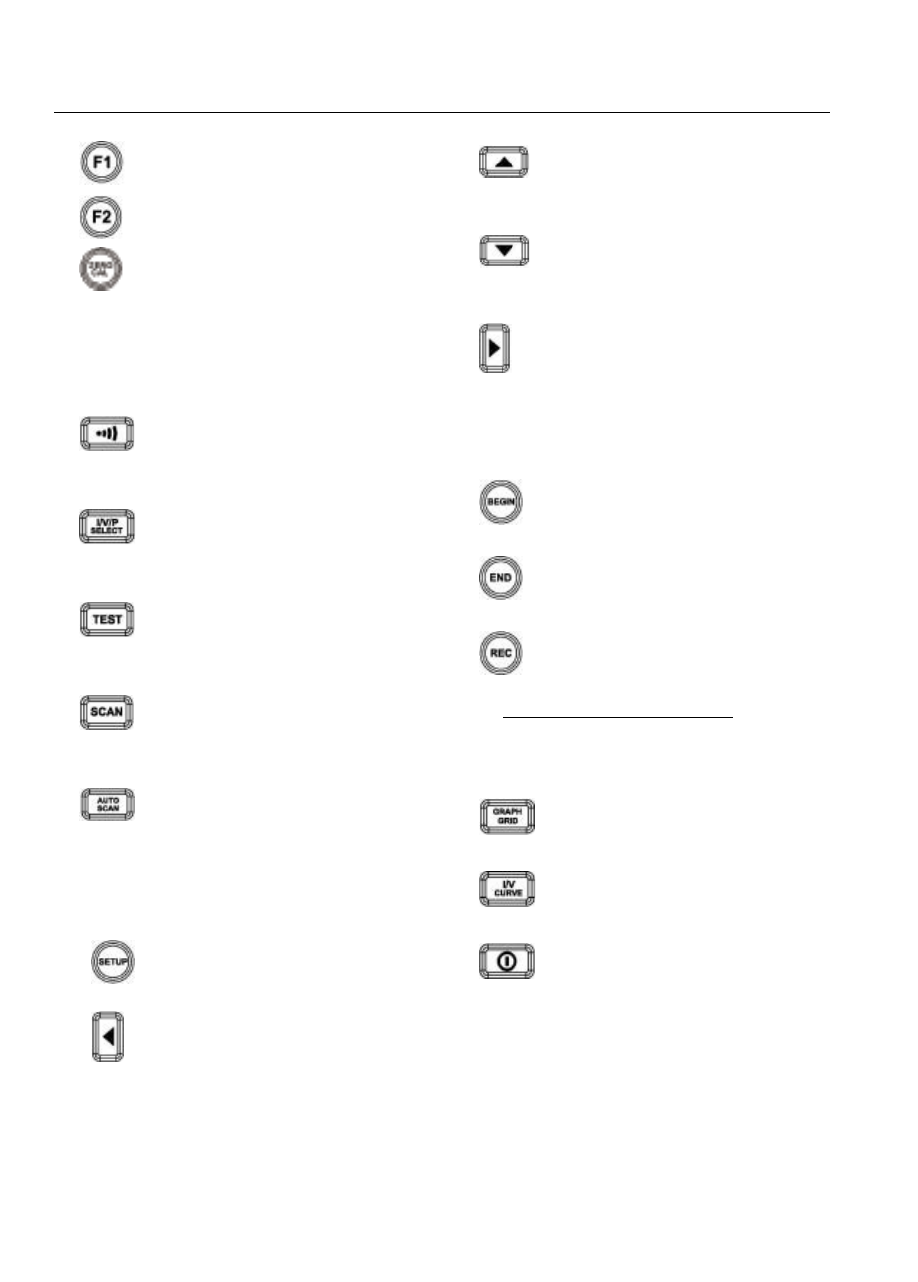
1)
F1Button: (Reserved)
2)
F2 Button: (Reserved)
3)
ZERO CAL
Zero calibration of voltage and current.
Connect (short) the two Kelvin clips
together and press this button. Regular
calibration of zero would maintain the
accuracy of the instruments.
4)
(Buzzer) Button
Press this button to turn on/off the
beeper (low Power) alarm function
5)
I/V/P Select Button
Select display of I-V/ V-I curve, P-V/P-I
curve, or both curves
6)
Test Button
Single point I-V test based up specified
value
7)
Scan Button
Manual scan I-V curve test based upon
specified value
8)
Auto Scan Button
Auto scan I-V curve test
9) LCD
LCD displays measurement data and
curves
10)
Setup Button
Enter/Exit SETUP menu
11)
Button
(1) In a curve, press it to move the
cursor left
(2) In SETUP menu, press it to
decrement value by 1
SOLAR-600
Solar Analyzer
12)
Button
In the SETUP menu, press
p
button to
select previous item
13)
Button
In the SETUP menu, press
q
button to
select next item
14)
Button
(1) In a curve, press it to move the cursor
right
(2) In SETUP menu, press it to increment
value by 1
15)
Begin Button
Start scanning point (current) setting
16)
End Button
Stop scanning point (current) setting
17)
Rec Button
(1) Record the present measurement data
(2) How to clear recorded data: keep
pressing REC button and turn on the
analyzer, then all the data recorded in
the analyzer will be deleted
18)
Graph Grid Button
Display/Cancel graph grid
19)
I/V Curve Button
Select I or V as horizontal coordinate
20)
Power Button
Turn on/off the power of Solar Analyzer