Configuration – PLANET WAP-7500 User Manual
Page 2
- 9 -
- 10 -
- 11 -
- 12 -
- 13 -
- 14 -
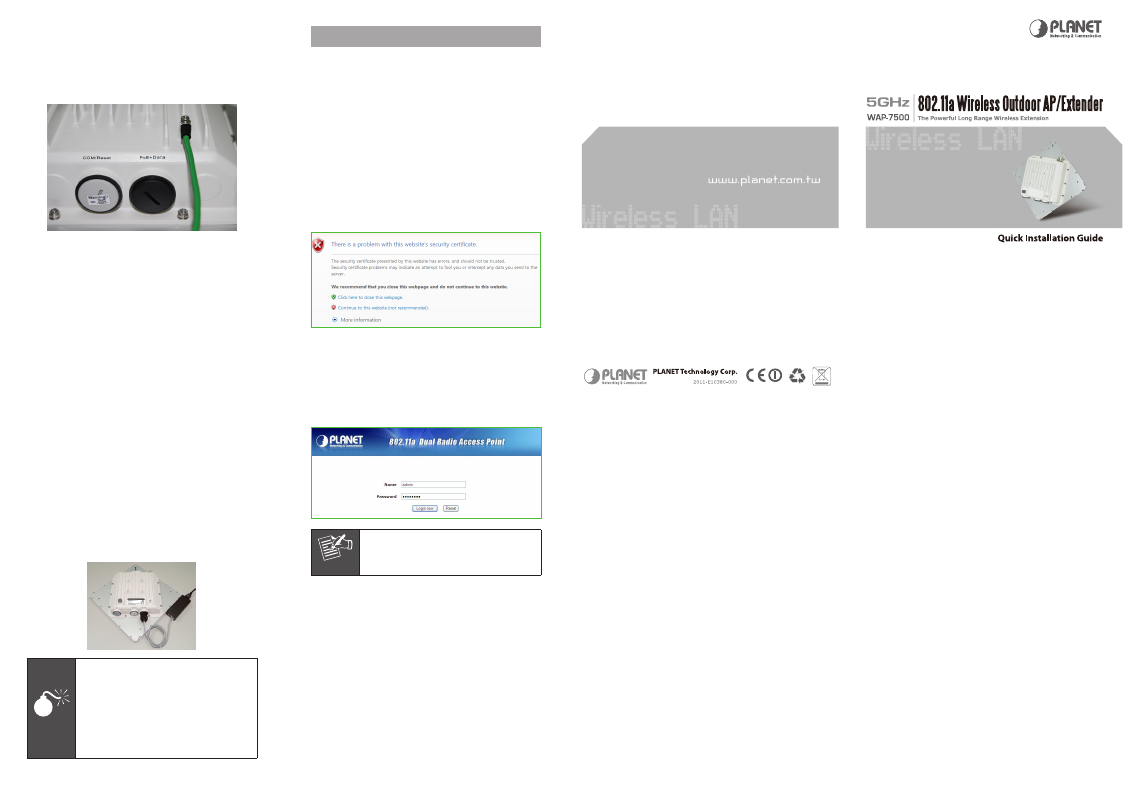
3.6 Ground the Wire
The WAP-7500 is shipped with a grounding wire. The unit
must be properly grounded to protect against power surges.
The grounding point can be found on the bottom of the
unit. It is supplied with an appropriate grounding lug for
attachment to the WAP-7500.
4. Configuration
Connect a PC to the power injector’s Ethernet port using a
Cat-5 Ethernet cable.
1. Assign a static IP address to your PC which should be in
the same network segment with the WAP-7500. As the
default IP address of the WAP-7500 is 192.168.1.1, you
may choose from 192.168.1.2 to 192.168.1.254. Then
click OK.
2. Open the web browser, enter “https://192.168.1.1/”
in the address bar, and then enter.
3. The default username is “admin” and password is
“password”.
Due to browser’s security trusted sites, 192.168.1.1
might not able to be opened. You may choose to
continue to the website.
3.7 Power On
1. Plug an Ethernet cable from your PC into the power
injector RJ-45 jack (DATA IN); Plug an Ethernet cable
from the WAP-7500 into the power injector RJ-45 jack
(P+DATA OUT).
2. Connect the power module to the power injector and plug
the AC cord into an AC power receptacle.
3. After being powered on, the device will send out the
beep sound lasting about 1.5 seconds, informing you that
the WAP-7500 is powered up! Wait for about 60 seconds
the system will be initialized and start working.
Warning
1. Make sure PoE is correctly connected to
the RJ-45 port on the WAP-7500 labeled
PoE+Data. DO NOT connect to the
port labeled “Warning!! No POE”,
otherwise the WAP-7500 will be severely
damaged!
2. When install the secondary antenna,
please make sure power off the device to
prevent unexpected damage.
Note
Please refer to the User’s manual in CD-
ROM for more information about how to set
each mode after successful log-in.