Erica Synths EDU DIY EG Eurorack Module Kit User Manual
Page 53
53
DIY electronics is a great (and quite addictive) hobby, therefore we highly recommend you
invest in good tools. In order to really enjoy soldering, you’ll need:
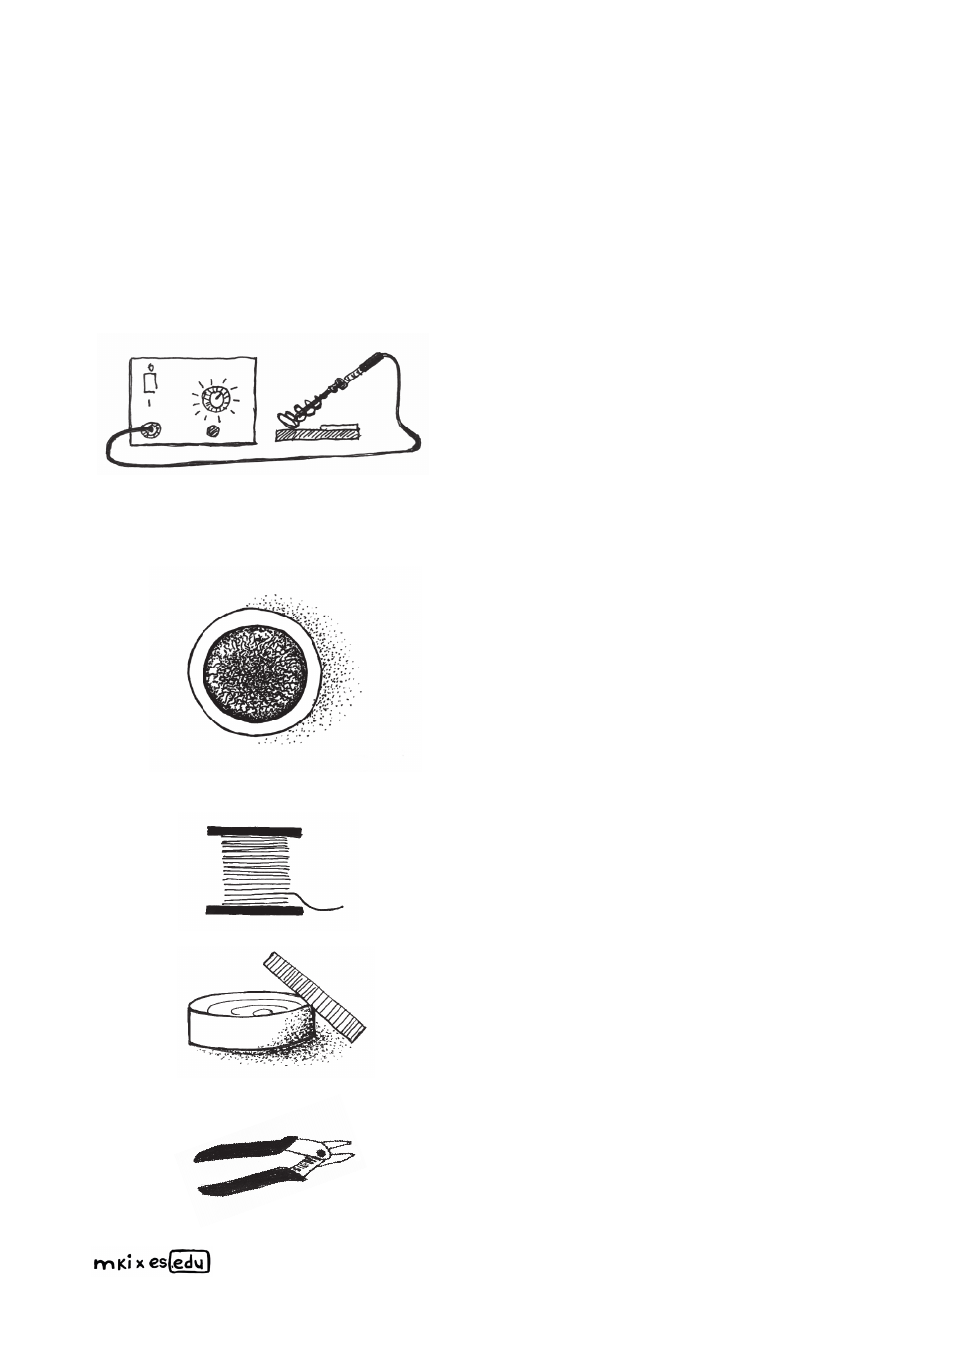
A decent soldering station.
Top-of-the-line
soldering stations (brands like Weller) will cost
200
€
and above, but cheaper alternatives
around 50
€
are often good enough. Make
sure your soldering station of choice comes
with multiple differently-sized soldering iron
tips. The most useful ones for DIY electronics
are flat, 2mm wide tips.
When heated up, the tips of soldering irons
tend to oxidize. As a result, solder won’t
stick to them, so you’ll need to clean your
tip frequently. Most soldering stations
come with a
damp sponge for cleaning the
iron tips
– but there are also professional
solder tip cleaners with
golden curls
(not
really gold, so not as expensive as it
sounds). These work much better because
they do not cool down the iron.
Solder wire with flux
. I find 0,7mm solder
wire works best for DIY projects.
Some
soldering flux
paste or pen will be
useful as well.
Cutting pliers.
Use them to cut off excess
component leads after soldering.
A solder suction pump.
No matter how
refined your soldering skills are, you will
make mistakes. So when you’ll inevitably
need to de-solder components, you will
also need to remove any remaining solder
from the solder pads in order to insert new
components.
Once you have finished soldering your
PCB, it’s recommended to remove
excess flux from the solder joints.
A PCB
cleaner
is the best way to go.
All of these tools can be found on major electronic components retailer websites, like
Mouser, Farnell and at your local electronics shops.
As you work your way towards
more and more advanced projects, you’ll need to expand your skillset and your tool belt
– but the gratification will be much greater.
“Twenty years from now you will be more disappointed by the things that you didn't do
than by the ones you did do. Explore. Dream. Discover.”
If you’ve never soldered before – or if your skills have become rusty – it’s probably wise
to check out some
THT
(through-hole technology)
soldering tutorials on YouTube
.
The main thing you have to remember while soldering is that melted solder will flow
towards higher temperature areas. So you need to make sure you apply equal heat to
the component you are soldering and the solder pad on the PCB. The pad will typically
absorb more heat (especially ground-connected pads which have more thermal mass),
so keep your soldering iron closer to the pad on the PCB. It’s critically important to dial
in the right temperature on your soldering station. I found that about 320 °C is the opti-
mal temperature for most of parts, while for larger elements like potentiometers and
sockets, you may want to increase that temperature to
370 °C.
Here’s the recommended soldering sequence:
After you have completed soldering, inspect the solder joint: