Baby Lock Imagine Wave (Previous Model) (BLE3ATW) Instruction and Reference Guide User Manual
Page 16
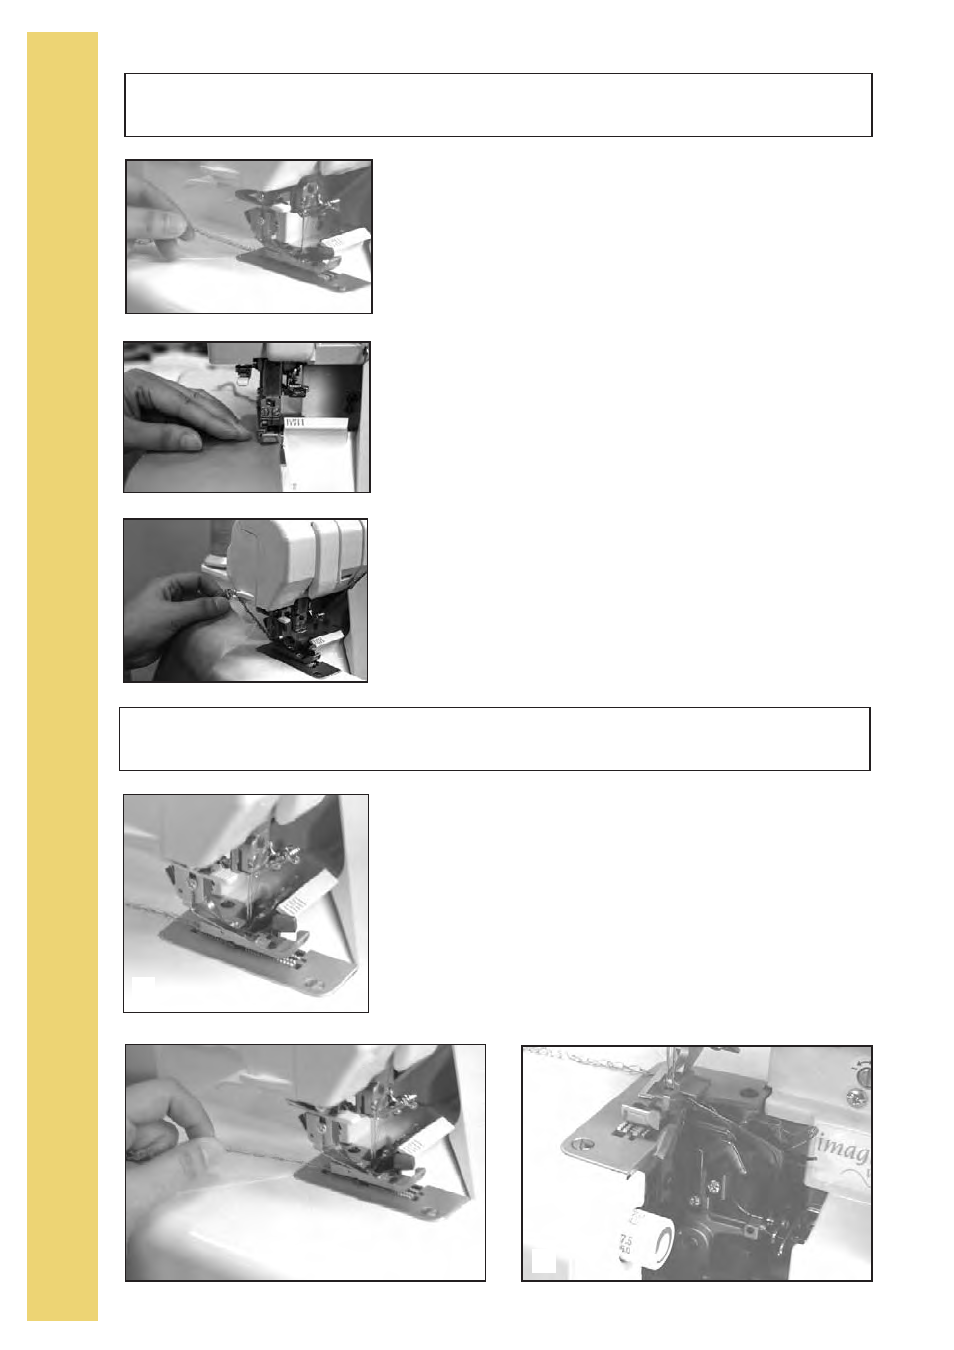
With the needle and upper looper threads under the foot and to the
back, lower the presser foot. While holding the threads in your left
hand, press down on the foot controller gently to begin a thread
chain before serging fabric (fig.A).
You can leave the presser foot down for most serging applications.
Just place the fabric at the toe of the presser foot. As you step on
the foot controller, the feed dogs will begin moving the fabric toward
the needle (fig.B). You need to raise and lower the foot only when
working with thick, spongy or lofty fabrics, or when precise
positioning is required.
Be careful not to push or pull the fabric. The Imagine Wave will feed
it evenly without help. At the end of a seam, just sew off the fabric
edge and continue serging to create 5" - 6" thread chain. Cut the
thread chain with the thread cutter on the left side cover (fig.C).
As you sew, you will discover that maneuvering the fabric is different
from conventional sewing because the threads form around the stitch
fingers (fig. A).
To clear the stitch fingers, simply raise the presser foot, which releas-
es all threads. Raise the needle(s). Then pull the threads gently from
behind the foot (fig. B). The stitches are now released from the fin-
gers (fig. C).
S
E
R
G
I
N
G
W
I
T
H
F
A
B
R
I
C
14
Serging with fabric
Clearing the Stitch Width Fingers
A
B
C
A
B
C