Cleaning replacing light bulb – Baby Lock Imagine Wave (Previous Model) (BLE3ATW) Instruction and Reference Guide User Manual
Page 51
M
A
I
T
E
N
A
N
C
E
49
Cleaning
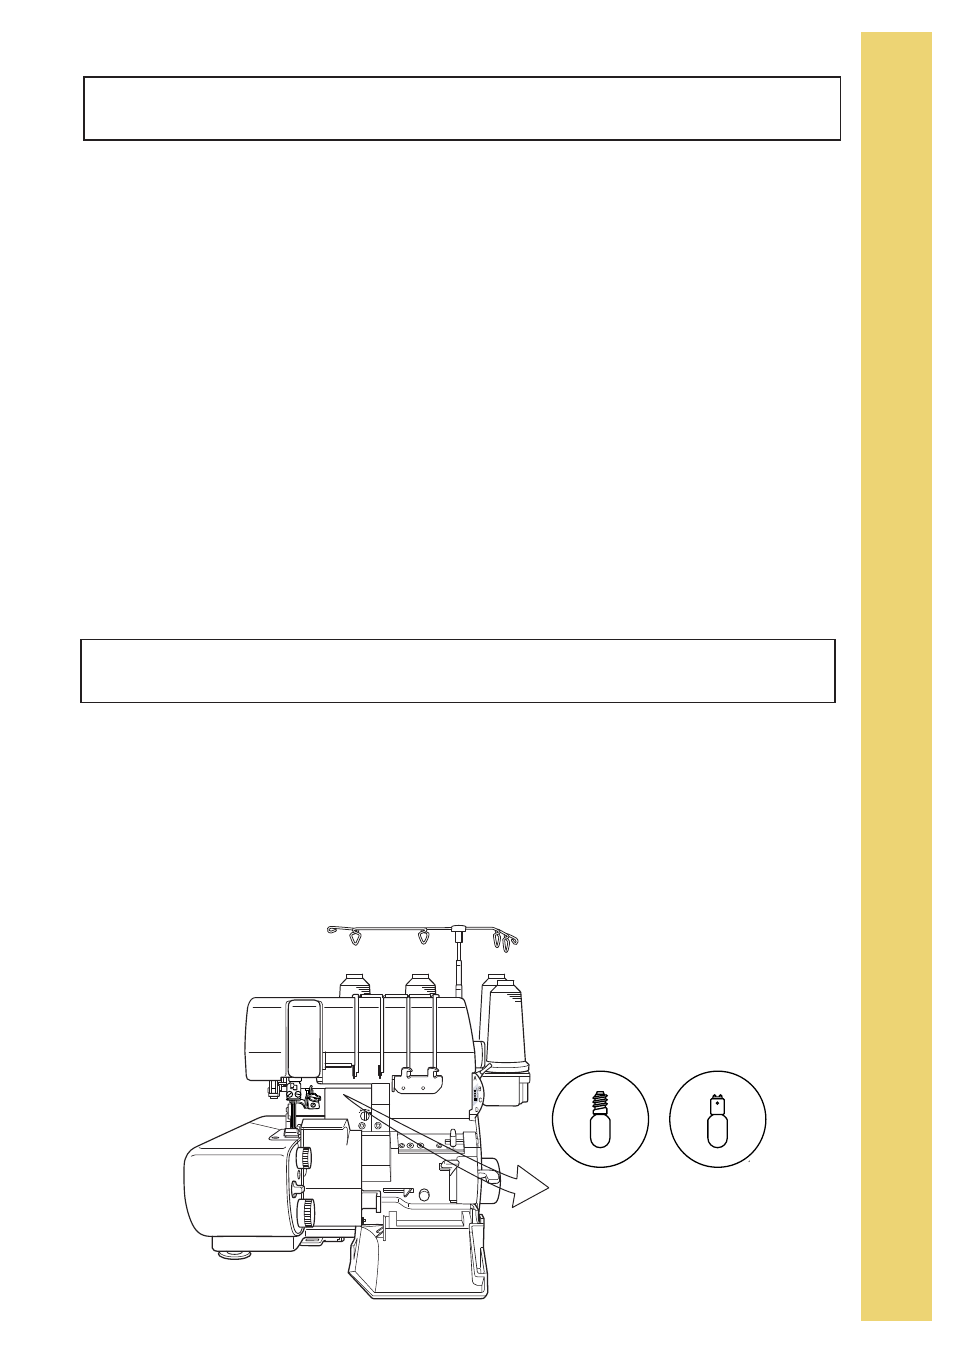
Replacing Light Bulb
15W / 110V 10W / 240V
Screw Type Bayonet Type
Your Baby Lock will operate at best performance if it is kept clean at all times. The serger's cutting action
creates much more lint than you will find on conventional sewing machine.
Your serger's major moving parts are well protected and do not need to be oiled.
However, we recommend to use the cleaning brush often during garment construction in order to keep lint off
the blades, the needle bar, the feed dog mechanism and loopers. If machine needs to be oiled, check with
your nearest Baby Lock retailer for use of high grade recommended sewing machine oil.
TO REMOVE NEEDLE PLATE PROCEED AS FOLLOW:
1. For safety reasons, unplug main power cord.
2. Raise and remove presser foot.
3. Select stitch length dial to rolled hem setting.
4. Remove needles from needle clamp.
5. Turn your handwheel until the upper looper is in the far right position.
6. Remove the needle plate. Remove front screw with screwdriver and back screw with allen wrench.
7. With your right hand, first raise the needle plate in front of the blade. Pull slightly to the right, then remove
to the left.
8. Replace in reverse procedure.
1. For safety reasons, unplug main power cord prior of replacing light bulb.
2. Open front cover and cutting blade cover.
3. Remove light bulb and replace bulb with the same type rated (15watts/120volts or 10watts/230volts).
See below draft for reference.
Note: Use the Bulb Remover Tool to easily extract the light bulb from your machine.
The Bulb Remover Tool - Part B7525-01A (262011) can be purchased at your Baby Lock retailer.