Casio YC-430 User Manual
Page 30
Setting Up the Multi PJ Camera System
E-30
7.
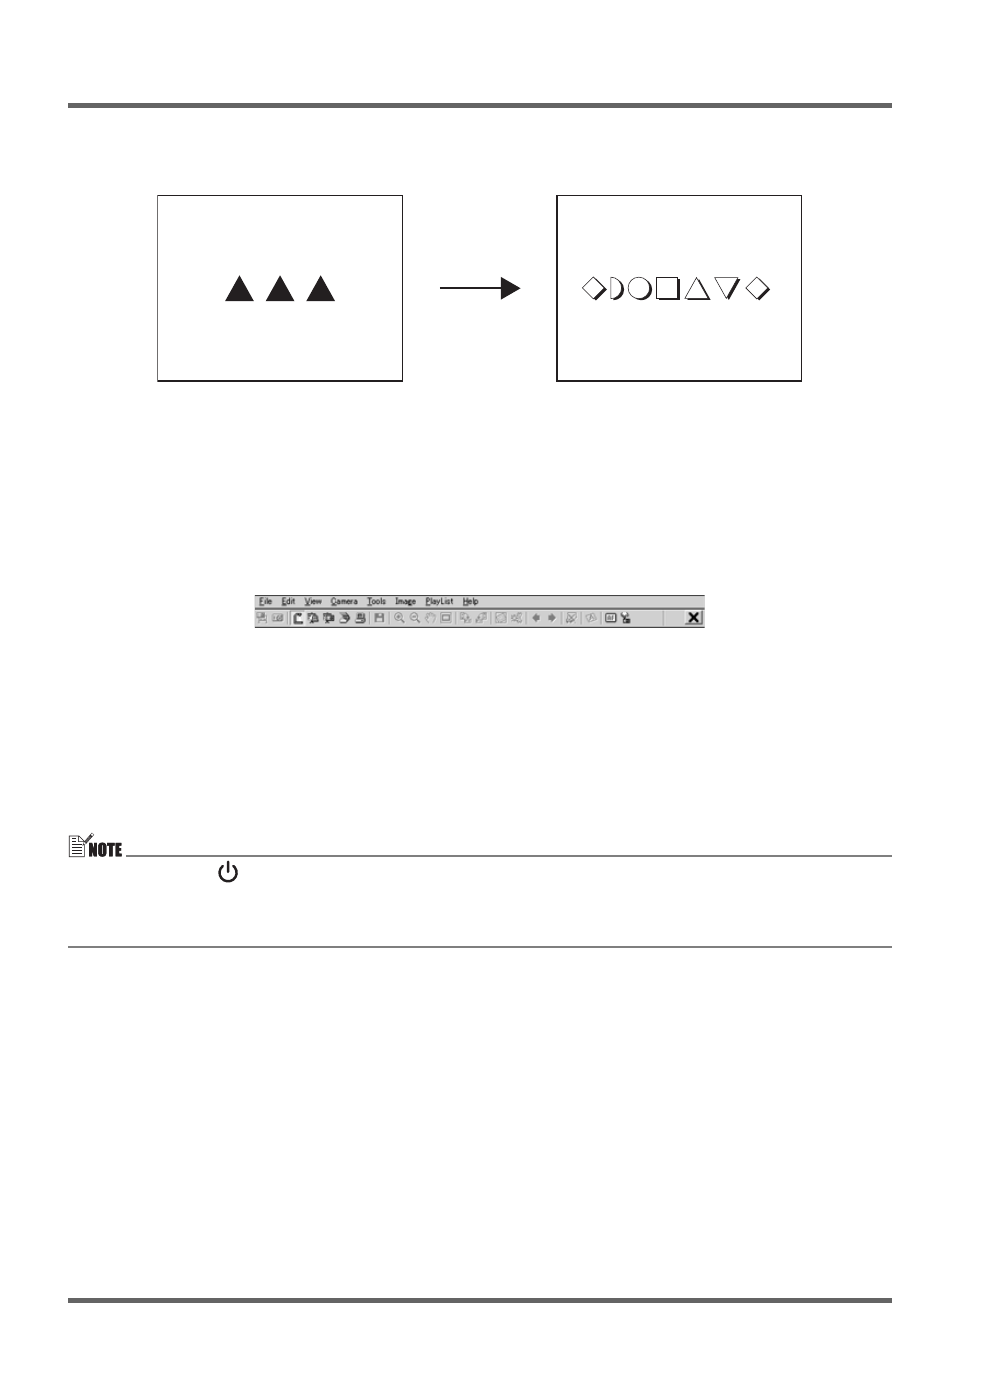
Replace the document on the document stage with the next one you want to project.
z The currently projected image is replaced by the new image.
z A copy of each image you project is stored automatically in a folder on your computer’s hard
disk, where it remains until you quit PJ Camera Software. This makes it possible to scroll
back and re-display a previous image in your presentation, without re-recording that image.
8.
To scroll back to a previous image, move the mouse pointer to the top center of your
computer screen.
z This will cause the PJ Camera Software operation bar to appear.
9.
On the operation bar, select [Back] on the [View] menu.
z This displays the full-resolution recorded version of the previously projected image.
10.
This completes the Multi PJ Camera System test.
To quit PJ Camera Software, display the operation bar and then select [Exit] on the [File]
menu.
z This exits PJ Camera Software and automatically turns off the PJ Camera.
z Pressing the [
] (power) button in step 10 of the above procedure will turn off the PJ
Camera without quitting PJ Camera Software.
z See the PJ Camera Software User’s Guide for other operations you can perform with PJ
Camera Software.
Current document camera image
New document camera image