Transmission timer, Sending faxes from the connected phone, Receiving faxes – Epson Stylus Office TX600FW User Manual
Page 12
12
Faxing Photos or Documents
Note:
To cancel adding an entry, press l.
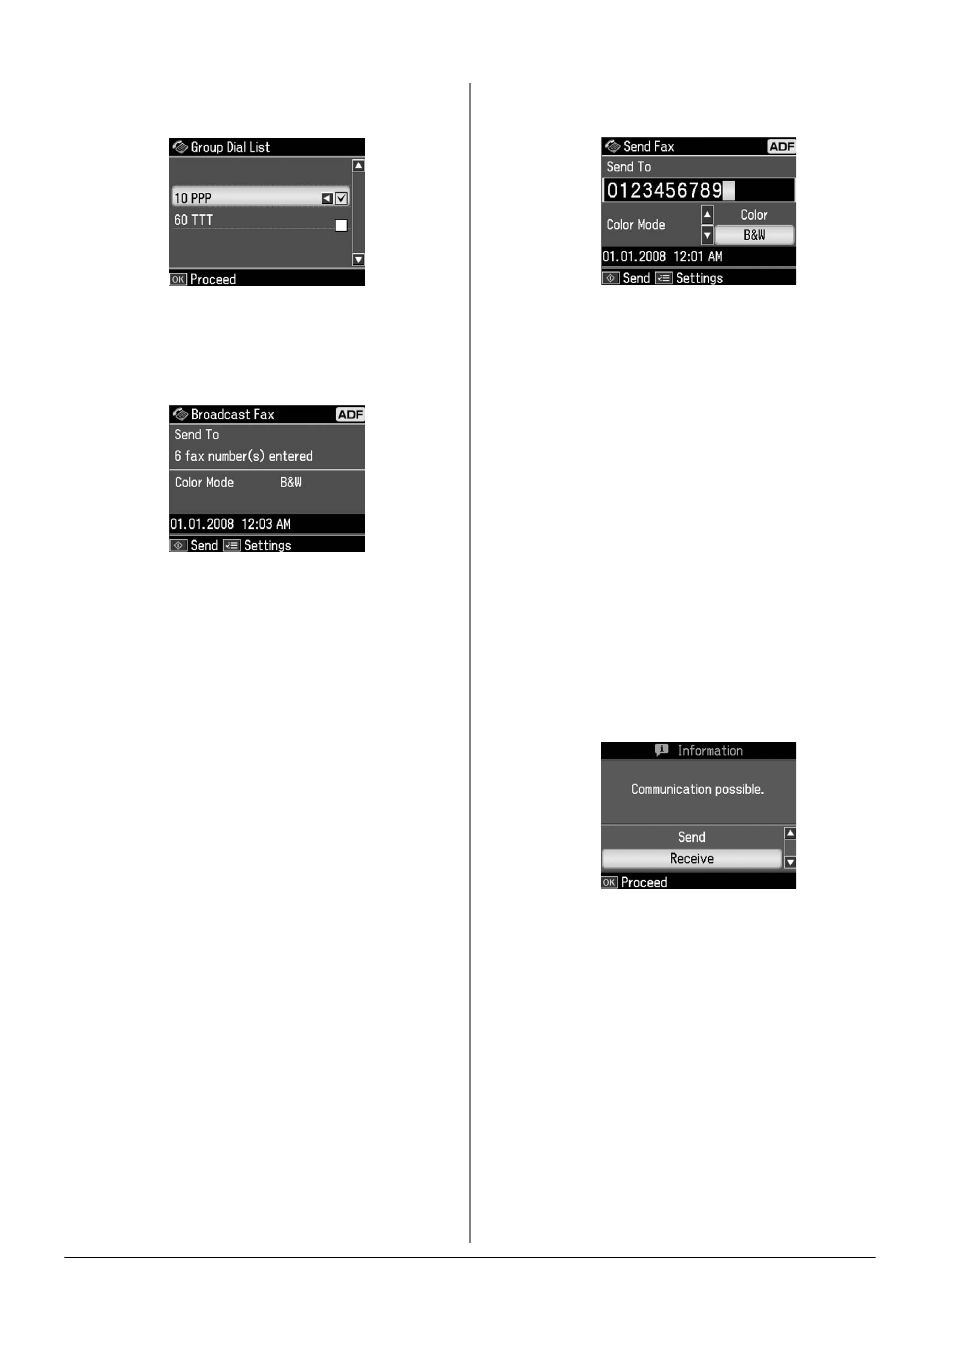
10.Press OK. You see a confirmation
message. If you want to change the
entry number, press y Back and repeat
steps 4 to 10.
Note:
You cannot change the color mode when
using Broadcast sending.
11.Carry out steps 4 to 5 from "Entering or
redialing a fax number" on page 10.
Note:
If you use broadcast sending, only B&W is
available.
Transmission timer
You can specify at what time you want to
send your fax.
1. Carry out steps 1 to 2 from Entering or
redialing a fax number (& "Entering or
redialing a fax number" on page 10).
You can also use speed dial or group
dial lists to select fax numbers.
2. Press x Menu to display Fax Send
Settings
, and then press OK.
3. Press u or d to select Delayed Fax and
then press r.
4. Press u or d to select On, and then
press r.
5. Set the time that you want to send the
fax, and then press OK.
6. You return to Fax Send Settings, and
then press OK.
7. Press x Start to reserve Fax.
Once it has been scanned, the fax is
transmitted at the time you specified.
Note:
If you need to cancel faxing at the time you
specified, press y Stop/Clear.
Sending faxes from the
connected phone
If your phone is connected to the product,
you can send fax data after the connection
is made.
1. Place your original in the automatic
document feeder or on the document
table.
2. Dial a number from the phone
connected to the printer. You see this
screen.
3. Select Send, then press OK.
4. Follow steps 4 to 5 from Sending a Fax
(& "Entering or redialing a fax number"
on page 10).
5. Put the phone down on the hook.
Note:
If you need to cancel faxing at any time,
press y Stop/Clear.
Receiving Faxes
There are three ways to receive faxes.