Switching automatically (auto scan), Freezing input video (freeze), P. 20 – Roland V-1SDI 4-Channel HD Video Switcher User Manual
Page 20: Setting the freeze mode, Freezing input video, 20 video operations
20
Video Operations
Switching Automatically (Auto Scan)
The video on channels 1 through 4 is switched
automatically in sequence.
MEMO
5
Any channels carrying no video input are skipped.
1.
Display the SETUP menu (p. 12), then select
“AUTO SCAN.”
2.
Use the A/B fader to set this to “ON.”
Value Explanation
ON
Video automatic switching is turned on. The
video on channels 1 through 4 is switched
automatically.
OFF
The video automatic switching feature is turned
off.
5
You can use the following SETUP menu items to set the
interval for video display and the time applies to the
video transition.
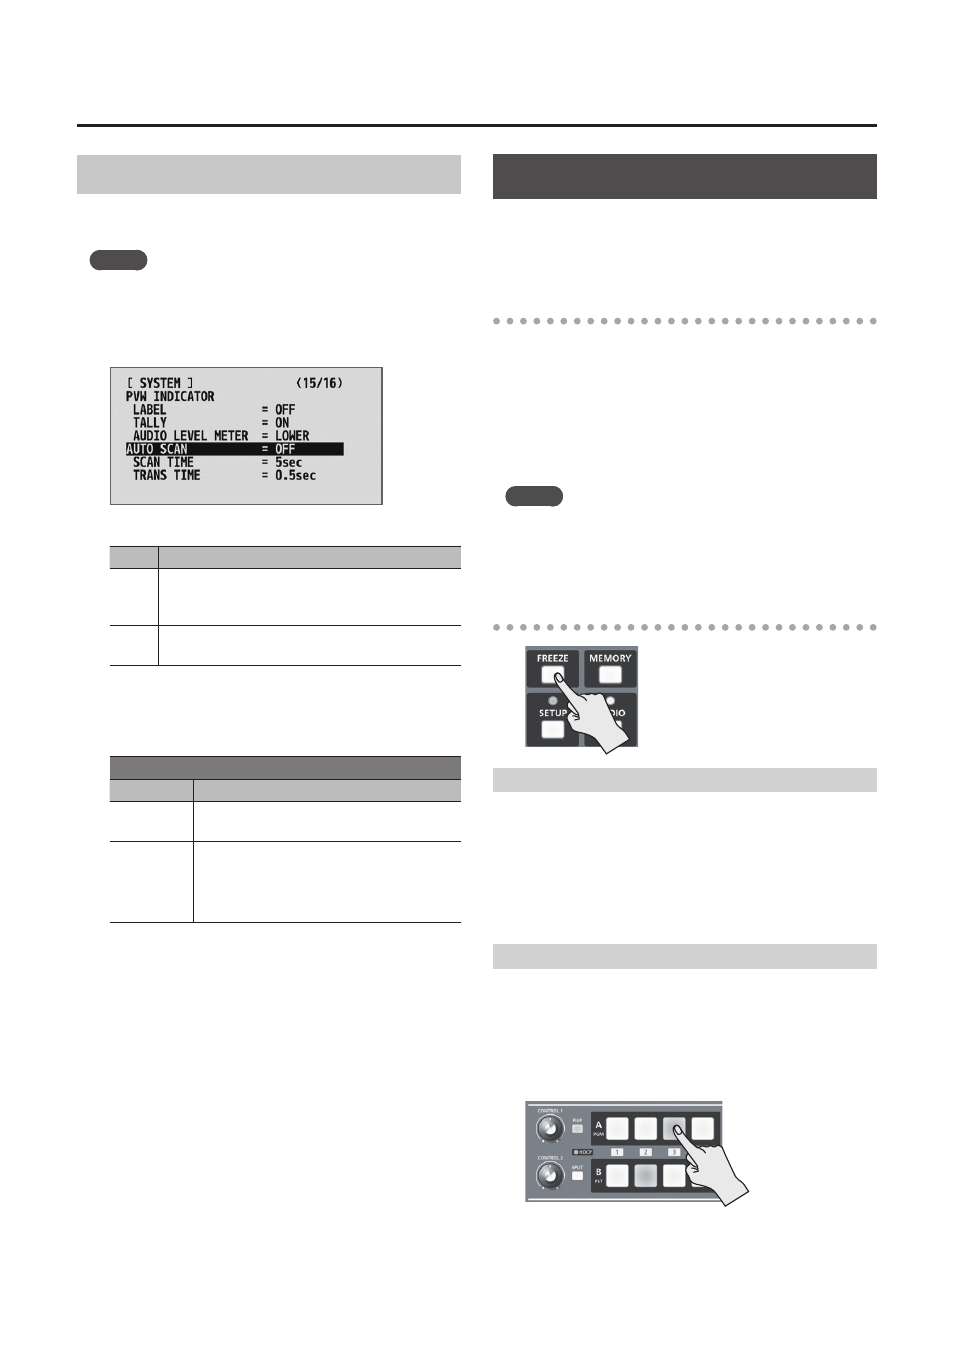
SYSTEM
(page 15/16)
Menu item Explanation
SCAN TIME This sets the display interval for video
within a range of 1 to 120 seconds.
TRANS TIME
This sets the time the video transition
takes, within a range of 0.0 to 4.0 seconds.
* These are effective when a mix or wipe
is selected as the transition effect.
* If the time that the video transition takes is longer
than the video display interval, the time interval for
the video transition takes precedence.
3.
Freezing Input Video (Freeze)
This temporarily pauses the incoming video.
You can apply transition effects and perform video
compositing during a video freeze.
Setting the Freeze Mode
Two operation modes are available for freezes: the
“ALL mode” and the “SELECT mode.”
By factory default, this is set to “ALL” (freeze all
incoming video).
If you want to select the input video to freeze, go to
the SETUP menu, and at SYSTEM (page 14/16), set
“FREEZE MODE” to “SELECT.”
MEMO
5
When the “FREEZE MODE” is set to “STILL,” the [FREEZE]
button functions as a still-image output button.
For more information, refer to “Outputting a Still Image”
Freezing Input Video
When the Freeze Mode Is Set to “ALL”
1.
Press the [FREEZE] button to turn on freeze
(lighted).
All video that is input freezes.
2.
To turn off freeze, press the [FREEZE] button a
second time.
When the Freeze Mode Is Set to “SELECT”
1.
Press the [FREEZE] button to turn on freeze
(lighted).
The [A-1] through [A-4] buttons all flash in red.
2.
Press one of the [A-1] through [A-4] buttons to
select the incoming video you want to freeze.
The selected input video freezes.
3.
To turn off freeze, press the [FREEZE] button a
second time.