2 assigning the chassis serial number – Doremi DCP to ShowVault Conversion Procedure User Manual
Page 20
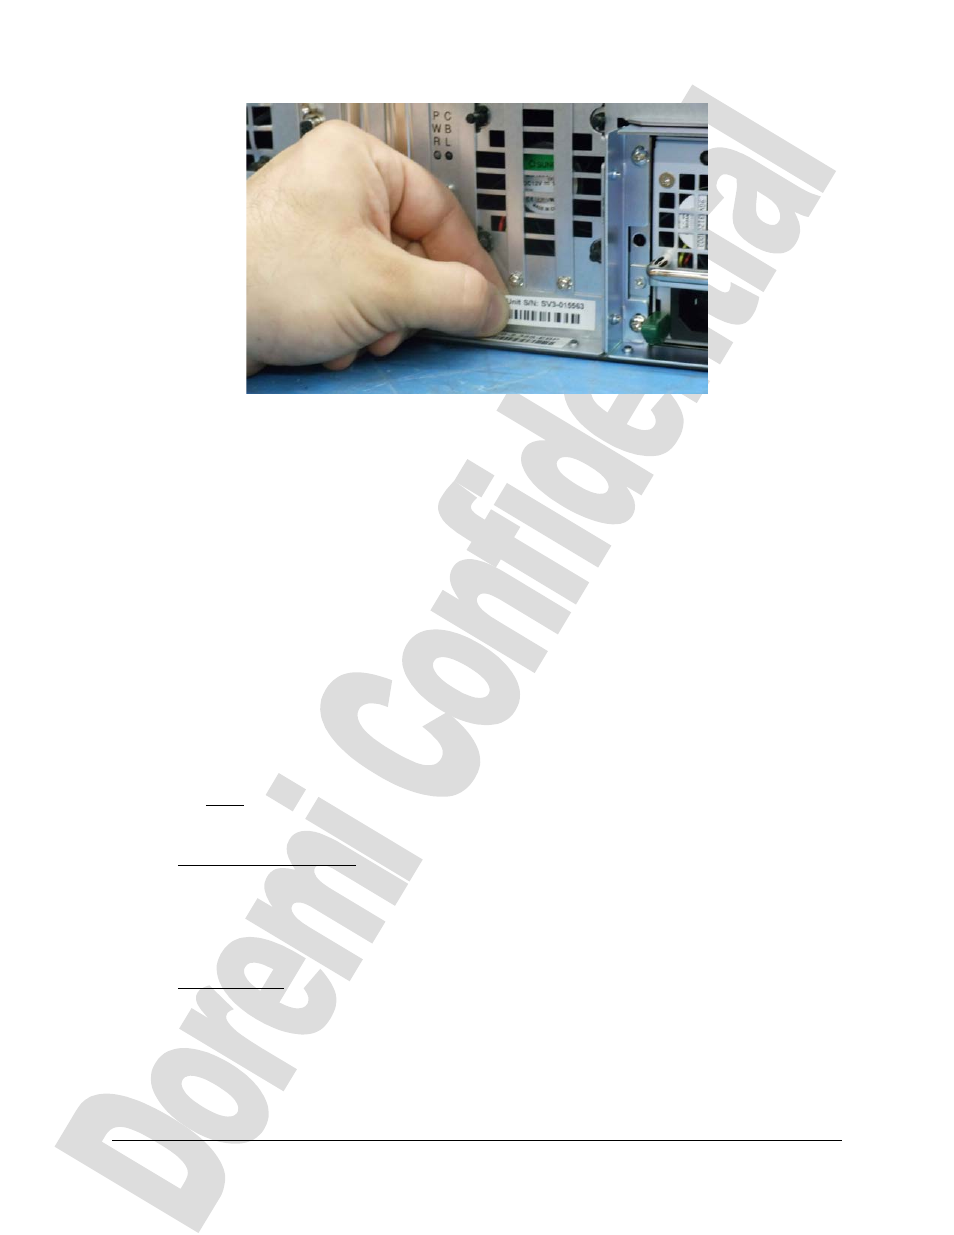
Figure 46: Serial Number Sticker
The hardware installation is now complete.
5.2 Assigning the Chassis Serial Number
Because the Serial number for the unit has changed, the software must be configured with the
new serial number. To configure the serial number of the chassis, connect the power cables to
the ShowVault unit, turn it on, and allow it to fully boot up. After boot up is complete, use the
following command to assign the chassis its new serial number, and confirm it with the Unit S/N
sticker on the rear panel of the unit (Figure 46):
•
Open a terminal (Menu → System → Terminal).
•
Log in as root. Ask your Supervisor for proper login credentials.
•
type:
mount -orw,remount / <enter>
•
type:
rwdo echo UUU-NNNNNN | tee /etc/chassis <enter>
◦
where UUU-NNNNNN is the unit serial number, UUU representing the 3 digits
prefix showing the product name (e.g. SV3 for a ShowVault-3, SV4 for a
ShowVault-4) and NNNNNN represents the 6 digit number.
◦
Note
: The serial number is found on the back of the unit (Figure 46).
To read the existing chassis serial number, use one of the following methods:
•
Command Line Method
◦
Open a new terminal (Menu → System → Terminal).
◦
Log in as root. Ask your Supervisor for proper login credentials
◦
type:
cat /etc/chassis <enter>
•
About window
◦
Go to Menu → About, and check the chassis number entry as illustrated below
(Figure 47):
SHV.DP.001547.DRM
Page 20
Version 1.4
Doremi Labs