3 configure touchscreen in penmount mouse driver – NEXCOM VMC 3000/ 3001 User Manual
Page 110
Copyright © 2012 NEXCOM International Co., Ltd. All rights reserved
94
VMC 3000/4000 Series User Manual
Chapter 7: Touchscreen Installation Guide
7.1.2 Install PenMount Digitizer Driver in Windows
XPT/VISTA/7/WES7/2008/8
The installation steps of the default settings are consistent with XP. When
you select “no” for step 6, PenMount will be installed as a digitizer device;
If your operating system doesn’t support Windows tablet input, digitizer
device can’t be used, therefore you have to select “yes” here, otherwise
after the installation the touch doesn’t work after re-booting.
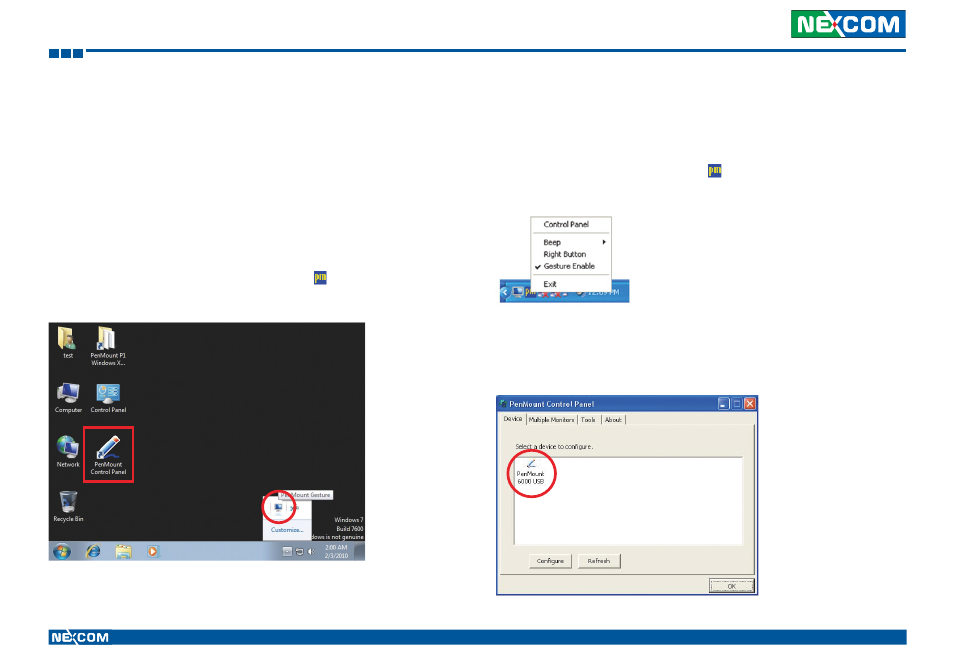
After the installation, you will see the difference that a PenMount Control
Panel icon shows up on the desktop without a icon in the notification
area. See the screenshot below:
7.1.3 Configure Touchscreen In PenMount mouse
driver
Click on the PenMount Monitor icon in the notification area and select
Control Panel from the menu.
On PenMount Control Panel you are able to see the device of PenMount
6000 USB/RS-232 detected by your system under Device tab. Select a
device and click the Configure button.