DR Power 9 HP (March 2004 - March 2010) User Manual
Page 11
SECTION V - MAINTENANCE
LUBRICATION OF THE ENGINE
Check engine oil level regularly-WHILE THE UNIT IS IN A LEVEL POSITION. Check the oil every five hours of
operation and before each usage. Stop engine and wait several minutes before checking oil level. With engine
level:
1. Remove the oil filler plug and check oil level. It should be to the top of the fill plug.
2. If the level is low, fill to the top of the fill plug.
Change oil after the first five hours of operation and every 25 hours thereafter. Refer to the engine manual
enclosed with this unit for additional information on your engine.
AIR CLEANER
Refer to the engine manual for additional information on the air filter
1. Do not operate engine if air cleaner or cover directly over carburetor air intake is removed. Removal of
such parts could create a fire hazard.
2. Do not use flammable solutions to clean the air filter.
BEARINGS
Grease cutter head bearings after every use. Greasing should be done after unit has been washed down as
water pressure can remove grease from the bearings. The greasing process will remove any water that has
penetrated the bearing. Lubricate bearings with a #2 lithium based grease while manually rotating cutter head
until fresh clean grease is seen purging from the bearing seals.
BELT TENSION
Check belt tension frequently. This is especially important in the first one hour of use. Once the belt is “seated”
and initially stretched (approximately two hours), recheck the tension. You should check the tension each time
you use the machine. To test belt tension, push down on the belt at mid span with moderate pressure. The belt
should move approximately 1/2”.
To adjust belt tension:
1.
Loosen the four motor bolts
2.
Tighten or loosen the adjustment nut on the belt tensioner (item #36, pg. 15) until desired belt
tension is reached.
3.
Retighten the four motor bolts.
CALIPER BRAKES
The brake is needed to prevent the machine from moving away from the stump during cutting. To adjust the
brake:
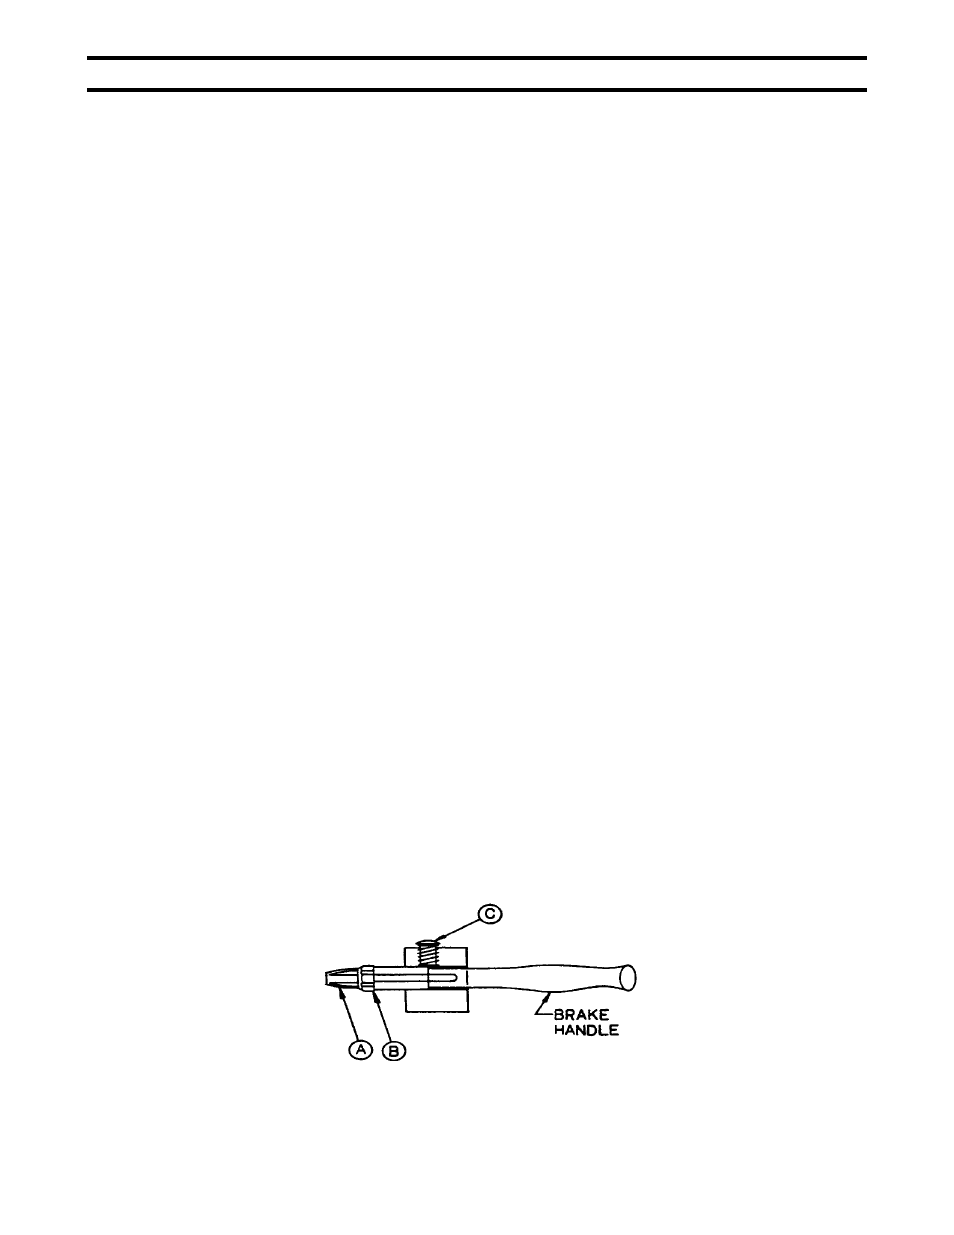
1. Loosen the locking nut on the brake handle. (Item B, fig. 9)
2. Turn the brake adjuster (Item A, fig. 9) out, away from the handle, a few turns.
3. Continue to check to see if the brake is holding.
4. When the brake “holds”, the correct adjustment is reached. Re-tighten the locking nut. (Item B, fig. 9).
fig. 9
11